Brass compression fittings are essential in many industries, from plumbing to HVAC systems, offering a reliable and durable solution for connecting pipes. However, leaks in these fittings can lead to significant issues, from water damage to system inefficiencies. Understanding the causes of leaks and how to address them is crucial for maintaining the integrity of your systems. This post will delve into the common causes of brass compression fitting leaks and provide practical solutions to fix them.
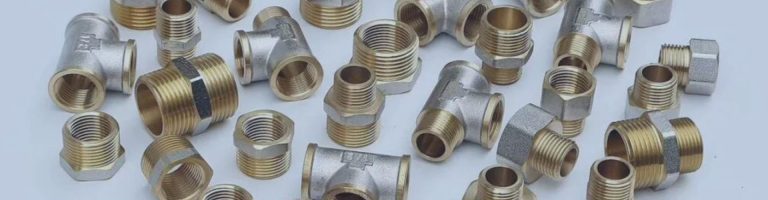
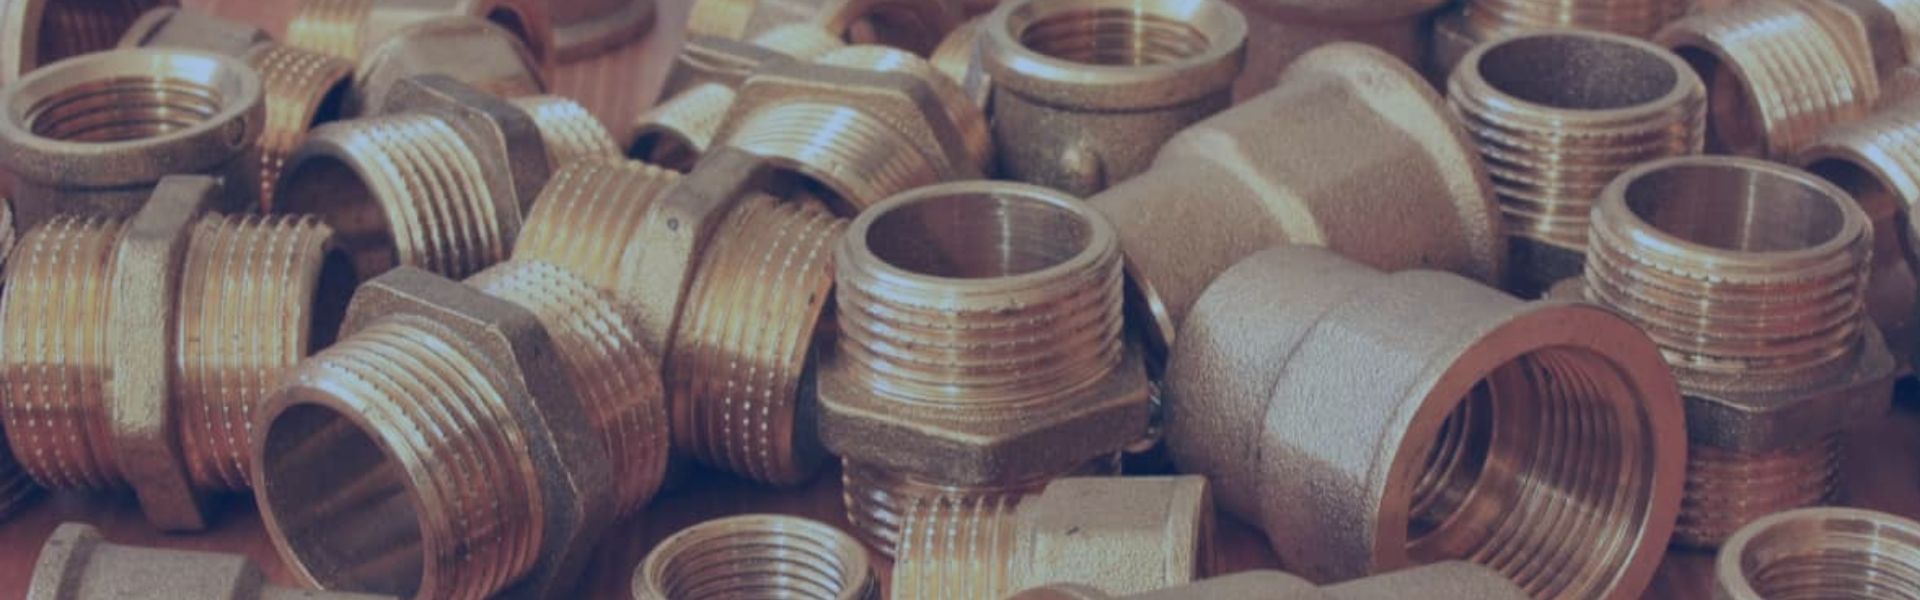
Brass compression fittings are essential components in plumbing and hydraulic systems, designed to create secure connections between pipes. These fittings consist of three main parts:
Compression Nut: This is a threaded nut that, when tightened, compresses the other components to form a seal. It is typically hexagonal for easy tightening with a wrench.
Compression Ring (Ferrule): The ferrule is a small ring, usually made of brass or copper, that fits around the pipe. When the compression nut is tightened, the ferrule is squeezed between the nut and the compression body, creating a tight seal around the pipe.
Compression Body: The main part of the fitting, the compression body, houses the ferrule and serves as the conduit for the fluid or gas being transported. It usually has threaded ends to connect with the compression nut and the pipe.
These components work in harmony to create a secure and leak-proof connection. The ferrule deforms slightly under the pressure from the nut, gripping the pipe tightly and sealing any gaps. This mechanical action ensures a reliable and durable connection without the need for heat or soldering.
Brass compression fittings are highly versatile and find application in a wide range of industries and settings. Some of the most common uses include:
Water Supply Lines: Used extensively in residential and commercial plumbing systems, brass compression fittings connect pipes carrying potable water to various fixtures like sinks, toilets, and showers. Their ease of installation and reliability make them ideal for both new installations and repairs.
Gas Lines: These fittings are also used in gas distribution systems, including natural gas and propane lines. The robust seal provided by compression fittings ensures the safe and efficient transfer of gas without leaks.
Hydraulic Systems: In industrial settings, brass compression fittings are used in hydraulic systems to transport hydraulic fluids under high pressure. Their durability and resistance to corrosion make them suitable for demanding applications in manufacturing and machinery.
HVAC Systems: In heating, ventilation, and air conditioning systems, brass compression fittings are used to connect refrigerant lines and other components.
Explanation: Improper installation is one of the most common causes of leaks in brass compression fittings. When fittings are not installed correctly, it compromises the integrity of the seal. This can occur in several ways:
Over-tightening: Applying too much force when tightening the compression nut can distort the ferrule and the pipe, leading to an imperfect seal. Over-tightening can also cause the fitting threads to become damaged, making it difficult to achieve a proper seal.
Under-tightening: Conversely, not tightening the compression nut enough can leave gaps between the ferrule and the pipe or fitting body. These gaps allow fluids or gases to escape, resulting in leaks.
Misalignment: If the pipe is not properly aligned with the fitting, the ferrule cannot seat correctly, and the seal will be compromised. Misalignment can occur due to improper handling or fitting placement.
Unclean Surfaces: Any debris, dirt, or oil on the pipe or fitting components can interfere with the ferrule’s ability to form a tight seal. Ensuring all surfaces are clean before installation is crucial.
Explanation: Over time, the components of a brass compression fitting can wear out or become damaged, leading to leaks. This wear and tear can occur due to regular use, exposure to harsh conditions, or simply the aging of the material.
Compression Ring (Ferrule): The ferrule is particularly susceptible to wear. Repeated tightening and loosening can deform the ring, preventing it from forming a proper seal. Cracks or breaks in the ferrule also lead to leakage.
Compression Nut: Damage to the threads of the compression nut can result from over-tightening or using the wrong tools. Damaged threads make it difficult to achieve a secure connection.
Compression Body: The body of the fitting can develop cracks or other forms of damage due to physical stress or corrosion. Any compromise in the integrity of the fitting body can lead to leaks.
Signs: Indications that parts need to be replaced include visible cracks, deformities, or corrosion. Additionally, if a fitting that was previously leak-free starts leaking after being disturbed, it may indicate that the components have worn out.
Explanation: Using the wrong size fitting is another common cause of leaks. Brass compression fittings are designed to fit pipes of specific diameters. If the fitting is too large or too small, it cannot form a proper seal.
Too Large: A fitting that is too large for the pipe will not compress the ferrule sufficiently to form a tight seal. This leaves gaps where leaks can occur.
Too Small: A fitting that is too small can force the ferrule to deform excessively, compromising the seal and potentially damaging both the fitting and the pipe.
Impact: Incorrect sizing can lead to leaks, system inefficiencies, and even damage to the piping system. It can also make future maintenance more challenging, as the improperly sized components may not fit correctly with other parts of the system.
Explanation: Defects in the brass material used to manufacture compression fittings can also cause leaks. These defects may include cracks, porous sections, or uneven surfaces that prevent the ferrule from seating correctly.
Manufacturing Defects: Sometimes, defects occur during the manufacturing process. These can include microscopic cracks or other imperfections that are not visible to the naked eye but can still compromise the fitting’s integrity.
Quality Variations: Lower-quality brass can have inconsistencies in its composition or structure, leading to defects that cause leaks.
Detection: To identify defective materials, it is important to inspect fittings closely before installation. Look for any visible imperfections or irregularities. Using high-quality fittings from reputable manufacturers can also help minimize the risk of encountering defective materials.
Explanation: Environmental conditions can significantly impact the performance and integrity of brass compression fittings. Factors such as temperature changes, exposure to corrosive substances, and moisture can lead to leaks.
Temperature Changes: Brass expands and contracts with temperature fluctuations. Repeated cycles of expansion and contraction can loosen fittings and compromise the seal.
Corrosion: Brass is generally resistant to corrosion, but it can still be affected by certain chemicals and environmental conditions. Corrosion can weaken the material and create pathways for leaks.
Moisture: Continuous exposure to moisture, especially in humid environments, can accelerate the corrosion process and lead to leaks.
Steps: A thorough visual inspection is often the first step in diagnosing a leak in brass compression fittings. Follow these steps to conduct an effective inspection:
Turn Off the System: Before inspecting, ensure that the system is turned off and depressurized to prevent any accidents.
Clean the Area: Wipe down the fitting and surrounding area to remove any dirt, grime, or residue. This will make it easier to spot any leaks or damage.
Examine the Fitting: Look closely at the compression fitting for any visible signs of damage such as cracks, corrosion, or deformities. Pay particular attention to the compression nut, ferrule, and body.
Check for Moisture: Look for any signs of moisture or liquid accumulation around the fitting. This could indicate a slow leak.
Inspect the Pipe: Ensure that the pipe entering the fitting is free of damage and properly aligned. Misalignment can cause leaks.
Recheck Connections: Verify that all connections are properly tightened but not over-tightened.
Pressure testing is a reliable method to diagnose leaks in brass compression fittings. By applying pressure to the system and monitoring for drops or leaks, you can identify whether the fitting is compromised.
Process:
Prepare the System: Ensure the system is properly assembled and all fittings are securely in place. Close any valves that are not being tested.
Attach a Pressure Gauge: Connect a pressure gauge to the system at a point close to the fitting being tested.
Pressurize the System: Use a pump or other means to apply pressure to the system. Gradually increase the pressure on the system’s operating level.
Monitor the Pressure: Keep an eye on the pressure gauge for any pressure drops. A drop indicates that there is a leak somewhere in the system.
Inspect for Leaks: While the system is pressurized, inspect the fitting and surrounding areas for any signs of leakage. Use a flashlight and magnifying glass for a closer look if needed.
Release Pressure: Once the inspection is complete, safely release the pressure from the system.
Technique: Listening to leaks can be an effective method, especially for gas or air systems. Here’s how to do it:
Turn Off Other Noises: Ensure the environment is as quiet as possible to help you hear the leak.
Use a Stethoscope: A mechanic’s stethoscope or a simple piece of tubing can be used to amplify the sound of escaping gas or liquid.
Listen Closely: Place the stethoscope or tubing near the fitting and listen for hissing, bubbling, or other sounds that indicate a leak.
Identify the Sound: Different types of leaks produce different sounds. A high-pitched hiss typically indicates a gas leak, while a bubbling sound suggests a liquid leak.
Using Leak Detection Solutions
Products: There are several commonly used leak detection solutions available, including:
Soapy Water Solution: A simple mixture of soap and water can be very effective. Dish soap mixed with water in a spray bottle works well.
Commercial Leak Detection Fluids: These are specially formulated solutions designed to detect leaks. They are available at most hardware or plumbing supply stores.
Application:
Prepare the Solution: If using a soapy water solution, mix a few drops of dish soap with water in a spray bottle.
Apply to the Fitting: Spray the solution generously around the brass compression fitting and any suspected leak areas.
Observe for Bubbles: Watch for the formation of bubbles. Bubbles will form at the site of a leak as the escaping gas or liquid interacts with the solution.
Mark the Leak: If bubbles are detected, mark the location of the leak for repair.
Clean Up: After testing, clean the fitting to remove any remaining solution to prevent corrosion or residue buildup.
Steps:
Turn Off the System: Ensure that the system is turned off and depressurized to avoid accidents.
Clean the Area: Wipe down the fitting and surrounding area to remove any dirt or moisture, making it easier to see and handle.
Use the Correct Tool: Use an appropriately sized wrench to grip the compression nut.
Apply Pressure: Gradually tighten the compression nut. Apply steady, even pressure to avoid any sudden movements.
Check for Leaks: After re-tightening, turn the system back on and check the fitting for leaks. If the leak persists, further tightening might be necessary, but proceed with caution.
Cautions:
Avoid over-tightening: Over-tightening can damage the compression ring and the pipe, leading to more leaks or even permanent damage to the fitting.
Signs of Over-tightening: If the nut becomes difficult to turn, or you hear cracking sounds, stop immediately. These are signs that you may be over-tightening.
Turn Off and Depressurize the System: Ensure safety by turning off the system and relieving any pressure.
Disassemble the Fitting: Use a wrench to carefully unscrew the compression nut and slide it back along the pipe.
Remove the Ferrule: Gently slide the compression ring (ferrule) off the pipe.
Inspect Components: Check the compression nut and body for any signs of damage. Replace any components that show wear or defects.
Install New Parts: Place a new ferrule over the pipe, ensuring it is properly seated.
Reassemble the Fitting: Screw the compression nut back onto the fitting body, ensuring it is properly aligned.
Measurement:
Outer Diameter Measurement: Use a caliper to measure the outer diameter of the pipe. This measurement is critical for selecting the correct fitting size.
Matching to Specifications: Compare the measurement to the manufacturer’s specifications to ensure a correct match.
Adjustment:
Wrong Size Correction: If the fitting is too large, replace it with a properly sized one. If the fitting is too small, do not force it; obtain the correct size.
Using Reducers or Adapters: In some cases, reducers or adapters can be used to accommodate slight size mismatches.
Types:
PTFE Tape: Also known as Teflon tape, it is commonly used to seal threaded connections.
Thread Sealant Paste: A thick paste that can be applied to threads to ensure a tight seal.
Anaerobic Sealants: These sealants harden in the absence of air and are used for sealing metal threads.
Application:
Clean the Threads: Ensure the threads on both the fitting and the pipe are clean and free from debris.
Apply PTFE Tape: Wrap the tape around the male threads of the fitting, covering all threads without overlapping too much. Ensure the tape is wrapped in the direction of the threads.
Apply Thread Sealant Paste: If using a paste, apply a thin, even layer over the male threads.
Screw the Fitting: Assemble the fitting by screwing the components together. Tighten appropriately.
Routine Checks:
Regular Inspections: Schedule regular inspections of your fittings to catch potential issues early.
Tightness Check: Periodically check the tightness of compression nuts to ensure they have not loosened over time.
Cleaning:
Remove Debris: Clean the fittings and surrounding pipes regularly to prevent dirt and grime buildup, which can interfere with the seal.
Prevent Corrosion: Use corrosion inhibitors where appropriate, and ensure the environment around the fittings is dry and clean to prevent corrosion.
Regular maintenance and proper installation of brass compression fittings are crucial for preventing leaks and ensuring the efficiency and safety of your plumbing and hydraulic systems. Routine checks, cleaning, and timely replacement of worn parts can significantly extend the lifespan of your fittings and avoid costly repairs. Have you encountered issues with brass compression fittings in your systems? If you need professional assistance or have specific questions, feel free to reach out to us for expert advice and support.
Brass compression fittings consist of a compression nut, a compression ring (ferrule), and a compression body. These parts work together to create a secure and leak-proof connection.
Leaks can be caused by poor installation, worn or damaged parts, incorrect sizing, material defects, and environmental factors like temperature changes and corrosion.
You can diagnose leaks by performing a visual inspection, pressure testing, listening for leaks, and using leak detection solutions like soapy water or commercial leak detection fluids.
If you notice a leak, try re-tightening the fitting, replacing any worn or damaged parts, ensuring the correct sizing of the fitting, and applying appropriate sealants or tapes.
Regular maintenance, including routine checks and cleaning, should be performed periodically to ensure the fittings remain in good condition and to prevent leaks.
Yes, brass compression fittings can be reused. However, ensure that all components are in good condition and replace any parts that show signs of wear or damage.
Looking for unbeatable prices, top-tier quality, or custom solutions that fit your exact needs? Contact Topa Now!
“Still hesitating which product is right for you?” Send an inquiry and our hydraulics team will provide you with the best solution!