
Without properly functioning ferrules, the hydraulic system would be vulnerable to leaks, pressure drops, and potential failure, which could lead to significant operational disruptions. Damaged ferrules can lead to leaks that not only reduce system efficiency but also pose serious risks, including fluid spills, equipment malfunction, and operator injury. By addressing broken ferrules early, you can prevent more significant issues, extend the lifespan of your equipment, and ensure smooth, uninterrupted operations.
Regular visual inspection of hose ferrules is crucial to identifying potential issues early. Look for the following key signs of damage:
Cracking: Cracks on the surface of the ferrule are a clear indicator of damage. These fractures can occur due to over-crimping, material fatigue, or stress caused by constant high pressure. Cracked ferrules no longer provide a reliable seal, leading to fluid leaks or pressure loss.
Corrosion: Ferrules made from metal, especially those exposed to moisture or harsh chemicals, are susceptible to corrosion. Rust weakens the ferrule’s structure, reducing its effectiveness in maintaining a proper seal between the hose and fitting.
Deformation: Bending or warping of the ferrule suggests that it has been subjected to excessive force, improper crimping, or the use of incorrect tools during installation. Deformed ferrules can no longer perform their intended function properly, leading to system inefficiencies or potential failure.

A broken or compromised ferrule will often lead to fluid leaks around the connection point. Leaks can range from slow, steady drips to more significant fluid loss. Reduced hydraulic performance is another clear indicator of ferrule failure. This can manifest as:
Inconsistent Pressure: A system with a failing ferrule may experience inconsistent or erratic pressure levels, impacting the overall performance and responsiveness of the machinery.
Decreased Fluid Flow: When ferrules are compromised, they may partially obstruct the hose or cause a poor seal, reducing the fluid flow rate through the system.
In addition to visual signs, functional indicators can help detect a failing ferrule. These signs typically present as abnormal behavior within the hydraulic system:
Changes in Hydraulic Pressure: If the ferrule is damaged, the hydraulic system may struggle to maintain steady pressure. Pressure fluctuations, especially when under load, may indicate that the ferrule is failing to maintain a tight seal.
Unusual Noise or Vibration in the System: A broken ferrule can cause irregularities in fluid movement, leading to vibrations or unusual noises such as hissing or squealing sounds. These noises are often a result of air entering the system through the compromised connection or pressure loss.
Before conducting any inspection of hose ferrules, it’s critical to follow proper safety protocols. Hydraulic systems operate under high pressure, and mishandling them can be dangerous. Always adhere to the following safety precautions:
Wear Protective Gear: Personal protective equipment (PPE) such as gloves, safety glasses, and protective clothing should be worn to prevent injury from hydraulic fluid exposure, high-pressure leaks, or contact with sharp edges on damaged ferrules.
Depressurize the System: Ensure that the hydraulic system is fully depressurized before beginning any inspection or repair. Residual pressure within the system can cause sudden fluid release, which may result in serious injury.
Handle Fluids Cautiously: Hydraulic fluid can be hazardous if mishandled. Be sure to contain any leaks or spills promptly, and avoid contact with skin or eyes. If necessary, dispose of hydraulic fluid according to local environmental regulations.
To replace a ferrule, you’ll need the following tools:
Hose Crimping Machine: Necessary for securing the ferrule to the hose. Manual or hydraulic options are available based on your system requirements.
Cutting Tools: A rotary cutter or hacksaw will help in removing the damaged ferrule.
Vice Grips: These help in stabilizing the hose during the replacement process.
Calipers or Measuring Tools: Ensure the correct sizing of new ferrules.
When replacing a ferrule, it’s essential to have the right materials on hand:
New Hose Ferrules: Make sure they are compatible with your specific hose and application.
Replacement Hose (if necessary): If the hose is damaged, it should also be replaced.
Hydraulic Fluid: You’ll need fluid to refill the system after replacement.
It is crucial to match the ferrule with the hose in both size and material:
Choosing the Right Size: Ensure the new ferrule fits the diameter and type of hose you are working with.
Material Considerations: Stainless steel, brass, or aluminum ferrules may be required depending on the hose material (e.g., rubber or PTFE) and the operating conditions.
Different hoses, such as rubber or PTFE, require unique ferrule types and installation methods. Always consult the hose manufacturer’s specifications to ensure compatibility.
Before beginning the replacement process, it’s essential to prepare both the work area and the system to ensure safety and efficiency. Follow these steps:
Safely Disconnect the Hose
Begin by isolating the hose from the hydraulic system. This involves disconnecting the hose from the machinery or system it is attached to. Make sure the machinery is turned off to prevent any unexpected activation during the replacement process.
Depressurize the Line: Hydraulic systems operate under high pressure, so it’s critical to fully depressurize the line before beginning any work. Use the system’s designated valve or mechanism to release pressure safely. Failure to do so can result in accidents or injury when the ferrule is removed.
Drain Hydraulic Fluid (if necessary)
If the hose in question is carrying hydraulic fluid, carefully drain the fluid to prevent spillage. This step is necessary when the hose is still attached to parts of the system where residual fluid might remain.
Contain Spills: Use appropriate containers to catch and contain any fluid that may escape during the process. Be prepared to clean up any accidental spills immediately.
Ensure No Pressure in the System
Double-check that the system is entirely depressurized and that there are no trapped air pockets or residual pressure. Even minimal pressure can cause fluid to escape forcefully when the hose or ferrule is disconnected.
Safety First: Always prioritize safety. Wear protective gear such as gloves, goggles, and coveralls to shield yourself from hydraulic fluid or debris during the process.
Once the system is safely disconnected and depressurized, the next step is to remove the damaged ferrule.
Proper Cutting Techniques
Using a rotary cutter, hacksaw, or another appropriate tool, carefully cut the ferrule away from the hose. The key here is precision: you want to remove the ferrule without damaging the hose underneath.
Make a Clean Cut: The cut should be smooth and even, without jagged edges. A clean cut will help ensure that the hose remains in good condition for the installation of the new ferrule.
Specialized Tools
Ferrule removal tools are specifically designed to help you cut through the metal of the ferrule without nicking or slicing into the hose itself. If possible, opt for these specialized tools, as they provide greater control and safety during the removal process.
Protect the Hose Surface: Take your time when cutting to ensure that the hose is not damaged in the process. A damaged hose will need to be replaced entirely, which could complicate the repair.
Use a Vice or Clamp: Stabilizing the hose in a vice or clamp can help keep it steady while you cut the ferrule, reducing the risk of slippage and accidental damage.
Once the damaged ferrule has been successfully removed, the next step is to prepare the hose for the installation of the new ferrule.
Clean the Hose End
Before installing the new ferrule, make sure the hose end is clean and free of debris, oil, or any remaining hydraulic fluid. Use a clean cloth or rag to wipe down the area thoroughly.
Check for Debris: Even small particles of debris can interfere with the crimping process and the secure attachment of the new ferrule, so it’s essential to ensure the hose is spotless.
Inspect for Additional Damage
Take a close look at the hose after the ferrule is removed. Check for any signs of additional damage, such as cracks, abrasions, or excessive wear. These could compromise the integrity of the hose and the newly installed ferrule.
Replace the Hose if Necessary: If the hose shows signs of significant wear or damage, replacing it entirely may be a better option than trying to salvage it with a new ferrule. A damaged hose could lead to further complications down the line.
Cut the Hose End if Required: If the hose end appears frayed or damaged, cut back the hose to a point where it is intact and undamaged. This will provide a solid base for installing the new ferrule.
Now that the hose is properly prepared, it’s time to install the new ferrule.
Align the Hose and Ferrule
Position the new ferrule over the prepared end of the hose. Ensure that the hose end is straight and properly aligned with the ferrule.
Check for Fit: The ferrule should fit snugly over the hose end without too much force. If it feels too tight or too loose, you may need to double-check that you’re using the correct size ferrule for your hose.
Crimp the Ferrule
Using a hose crimping machine, secure the ferrule to the hose. The crimping machine applies uniform pressure to the ferrule, squeezing it tightly onto the hose to create a leak-proof seal.
Step-by-Step Crimping: Adjust the crimping machine to the correct setting based on the ferrule size and material. Follow the manufacturer’s instructions to ensure a precise crimp. Generally, you’ll need to feed the hose and ferrule into the crimping machine and activate the machine to apply the crimping force.
Manual Methods: If using a manual crimping tool, apply consistent pressure to achieve a secure fit. It’s crucial to ensure even pressure across the ferrule to avoid over-crimping one side and under-crimping the other.
Check Crimping Machine Calibration: Ensure that the crimping machine is calibrated correctly. Incorrect settings can result in either over-crimping, which could damage the hose, or under-crimping, which could lead to a weak connection.
Visual Inspection: After crimping, visually inspect the ferrule to ensure it’s evenly crimped and securely attached to the hose.
Once the new ferrule is installed, the final step is to test the connection to ensure it’s secure and leak-free.
Reconnect the Hose
Carefully reattach the hose to the hydraulic system, ensuring all fittings are securely fastened. Double-check all connections for proper alignment and tightness.
Follow System Guidelines: Reconnection should be done following the hydraulic system’s specific guidelines to ensure compatibility and safety.
Test for Leaks
After reconnecting the hose, pressurize the hydraulic system slowly and check for leaks around the newly installed ferrule. Look for any signs of fluid escaping or reduced pressure within the system.
Visual Inspection: Look for visible signs of leaks or drips at the connection points. If leaks are found, depressurize the system and double-check the ferrule installation.
Listen for Noise: Pay attention to any hissing or unusual noises that may indicate a leak or poor fit.
Pressure Testing
Use a pressure tester to confirm that the system is holding the correct pressure. This final test ensures that the newly installed ferrule is functioning properly and that the hydraulic system is operating as expected.
Monitor Pressure Levels: Watch the pressure gauge during the test to ensure that the system maintains stable pressure without fluctuation or loss.
Final Adjustments: If any issues arise during testing, such as minor leaks, re-crimp the ferrule or re-secure the fittings as necessary. Make sure the system is performing optimally before considering the job complete.
Sometimes, ferrules may not crimp as expected, leading to a poor fit or insecure connection. Here’s how to address this issue:
Check Tool Settings: One of the most common causes of improper crimping is incorrect tool settings. Double-check that your crimping machine is calibrated to the correct settings based on the size and material of the ferrule you are working with. Machines with adjustable settings may have options for different ferrule sizes, and it’s crucial to select the right one to avoid over- or under-crimping.
Inspect Ferrule Size: Another possible issue is that the ferrule size doesn’t match the hose size. A ferrule that is too large or too small will not crimp properly. Ensure you are using the correct ferrule for the hose diameter and material. Measure both the hose and ferrule with calipers if necessary to confirm they are compatible.
Inspect Crimping Jaws: Ensure the crimping jaws of the machine are clean and in good condition. Debris or worn-out jaws may prevent proper crimping. If necessary, clean or replace the jaws before attempting to crimp again.
If these checks don’t resolve the issue, consider switching to a different crimping tool or consulting the manufacturer’s specifications to ensure compatibility.
When removing a damaged ferrule, there’s a risk of cutting too deep into the hose, leading to unnecessary damage. To avoid this issue, consider the following:
Using Proper Tools: Specialized ferrule removal tools are designed to minimize the risk of hose damage. These tools allow you to cut through the ferrule while avoiding contact with the hose surface. Rotary cutters or ferrule splitters are often the best choices for precision removal. Avoid using crude tools like regular pliers or saws, which may increase the risk of cutting too deep.
Take Extra Care: It’s essential to work slowly and carefully when removing the ferrule. Make gradual, controlled cuts to ensure you don’t accidentally slice into the hose material. If possible, stabilize the hose with a vice or clamp, which allows you to focus on cutting the ferrule without the risk of the hose moving or slipping.
Inspect the Hose Regularly: As you cut away the ferrule, stop periodically to inspect the hose and ensure that you haven’t nicked or damaged it. If you do accidentally cut into the hose, assess the extent of the damage. In cases of minor superficial damage, you may still be able to proceed, but more severe damage will likely require hose replacement.
Leaks after installing the new ferrule are a common issue and typically result from improper crimping or alignment. Here’s how to address leaks:
Recheck Installation: Start by thoroughly inspecting the ferrule to ensure it has been correctly aligned and securely crimped onto the hose. A misaligned ferrule will fail to create a tight seal, leading to leaks. Make sure that both the hose and ferrule are properly prepared and that no debris or misalignment is preventing a good connection.
Re-crimp if Necessary: If the crimp is not tight enough, you may need to re-crimp the ferrule. Ensure that you are applying the correct pressure according to the manufacturer’s guidelines. Under-crimping can cause a loose connection, while over-crimping may damage the ferrule or hose. Carefully recalibrate the crimping machine and try again, making sure to apply even pressure throughout the process.
Check for Other Issues: If leaks persist after re-crimping, inspect other potential sources of the problem, such as damaged hose material, worn-out fittings, or cracks in the hydraulic components. In some cases, the issue may not be with the ferrule at all but with the surrounding parts of the hydraulic system.
Perform a Pressure Test: Once the leak is addressed, perform a final pressure test to confirm that the hydraulic system is functioning correctly and that there are no further leaks. Monitor the system for a few minutes to ensure stable pressure and fluid flow.
Replacing broken hose ferrules promptly and correctly is essential for maintaining the safety and efficiency of hydraulic systems. By identifying damaged ferrules through visual inspections and functional indicators, and by using the right tools and following the correct procedures, you can ensure a successful replacement. The process, from disconnecting the hose and removing the damaged ferrule to crimping the new one and testing for leaks, requires careful attention at every step. Always prioritize safety, conduct regular maintenance checks, and seek professional help if necessary to avoid compromising system performance.
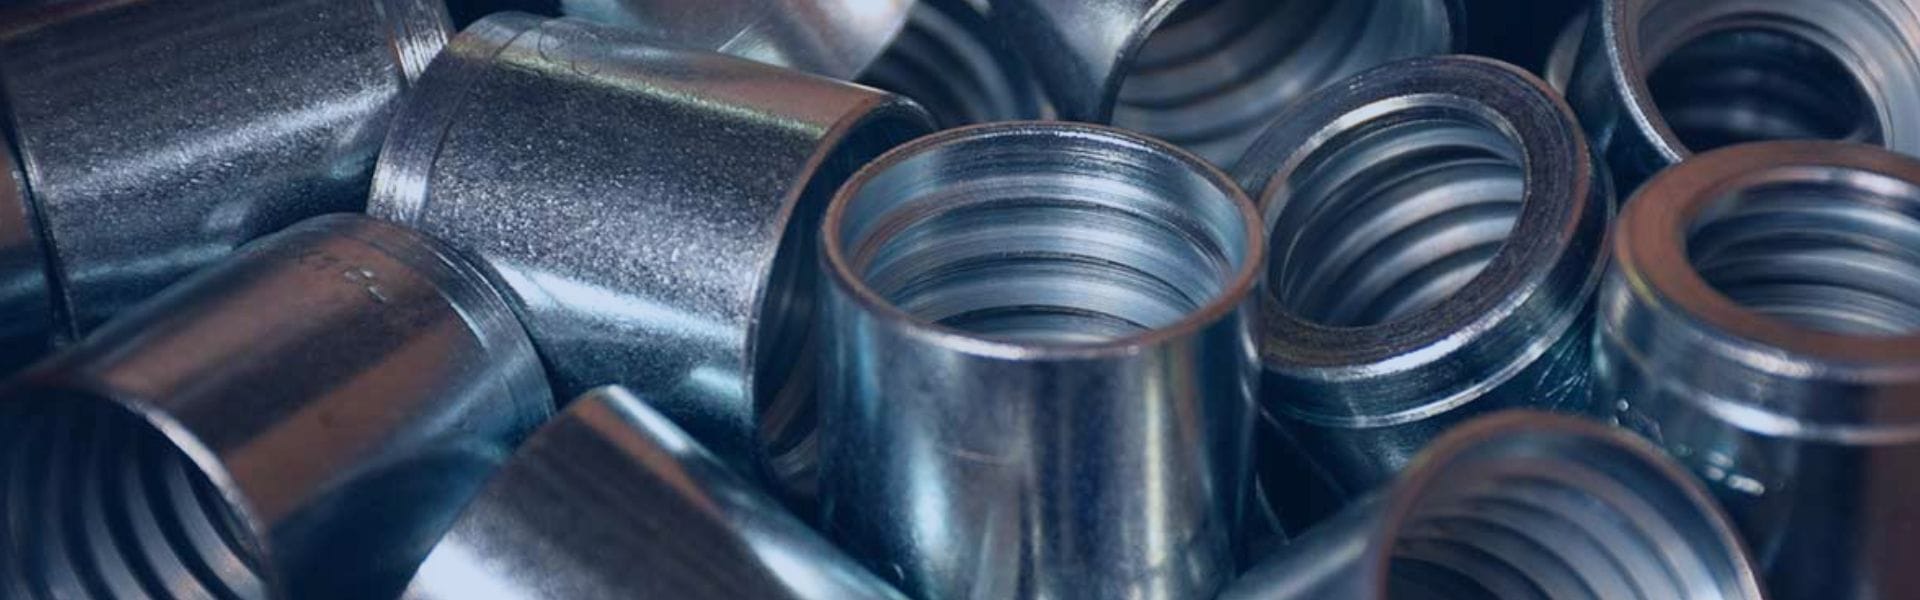
A hose ferrule is a metal sleeve crimped onto the end of a hose to securely connect it to a fitting, preventing leaks in hydraulic systems.
Hose ferrules can fail due to wear and tear, improper installation, exposure to harsh environments, or material fatigue.
Visual signs such as cracking, corrosion, and deformation, along with hydraulic fluid leaks or reduced system performance, indicate the need for replacement.
Yes, with the right tools and knowledge, you can replace a hose ferrule yourself, but ensure safety procedures are followed carefully.
You’ll need a hose crimping machine, cutting tools, ferrule removal tools, and possibly a pressure tester to ensure a successful replacement.
Regular maintenance checks, proper installation techniques, and using the correct ferrules for your hose type can help prevent future failures.

Automated page speed optimizations for fast site performance

