
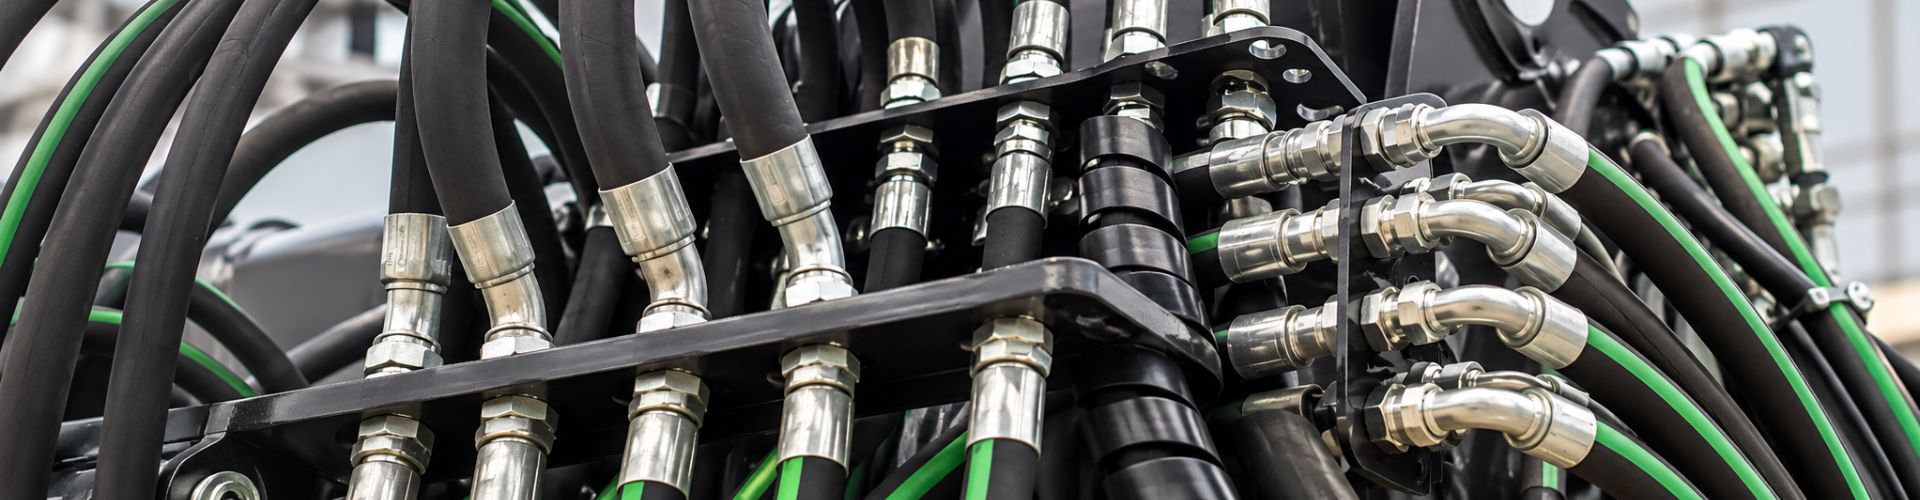
To identify hydraulic parts from photos, build a structured evidence set rather than sending one close-up and asking for a model number. Show the component in its equipment context, then capture both connection ends, sealing features, markings, orientation, and dimensions with clear labels. Photos can screen product families and reveal visible damage, but they cannot reliably establish hidden threads, internal geometry, material, pressure rating, seal compound, hose compatibility, or an approved replacement. A complete photo package makes uncertainty visible, reduces repeated questions, and gives a technical reviewer enough context to request the right measurements instead of guessing.
Know What Photos Can and Cannot Establish
Photographs are strongest as communication tools. They preserve arrangement, visible geometry, markings, relative scale, damage, and the relationship between components. They are weakest when perspective, hidden features, lighting, dirt, or image compression affects the characteristic being judged.
Useful screening evidence
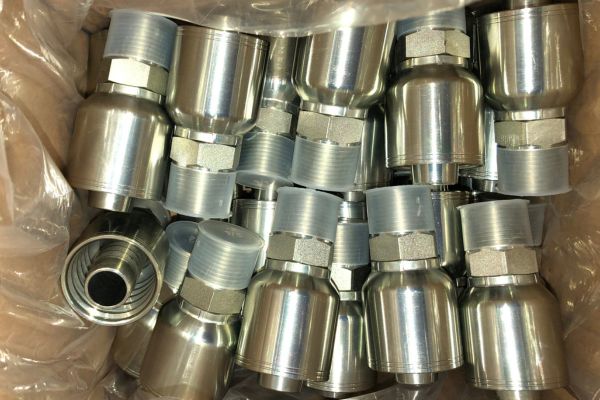
A clear image can show whether a part is straight, angled, tee-shaped, flanged, hose-ended, tube-ended, or threaded. It may reveal a swivel nut, O-ring groove, flare seat, bonded washer, protective cap, ferrule, hose marking, port location, or rod-end arrangement. These observations can narrow the questions and candidate families.
The image cannot prove a thread standard, seat angle, taper, elastomer compound, material grade, wall thickness, internal bore, crimp specification, or pressure suitability. Similar-looking parts may use different sealing methods, and a reference object placed beside the part does not replace calibrated measurement. Label every photo-based conclusion as observation, candidate, or confirmed fact.
Final identification requires traceable evidence
An approved part identity should connect visible features to measurements, equipment records, controlled drawings, manufacturer documentation, or a verified part number. Replacement approval also needs the application conditions and mating-component details. A photo match from a catalog is a lead, not proof of interchangeability.
Capture Context Before Close-Ups
Context images answer where the part sits and what it connects. Without them, an excellent thread photograph may still be misleading because the reviewer cannot tell which end joins the machine, which end joins a hose or tube, or whether orientation and clearance constrain the replacement.
A three-level image set
Use a sequence that moves from broad to detailed:
- Equipment context: show the machine area, component function, surrounding routing, mounting, and safe reference points.
- Component context: show the complete part, both mating components, orientation, bends, swivel position, clamps, and installation envelope.
- Feature detail: show threads, seats, faces, grooves, O-rings, markings, crimp areas, flange holes, tube ends, or cylinder mounts as relevant.
Give every file a stable label such as A1-context, A2-complete-part, A3-end-one, and A4-end-two. Include a simple sketch or photo index stating camera direction and which end is called A or B. This avoids the common mistake of mixing measurements from opposite ends.
Show the entire component
Do not crop away the hex, bend, shoulder, stem, ferrule, hose marking, or mounting feature while photographing a thread. A complete side view helps the reviewer understand proportions and identify features that distinguish similar parts. Add an oblique view because a straight-on image can hide depth, taper, and sealing faces.
Photograph Both Ends and Every Sealing Feature
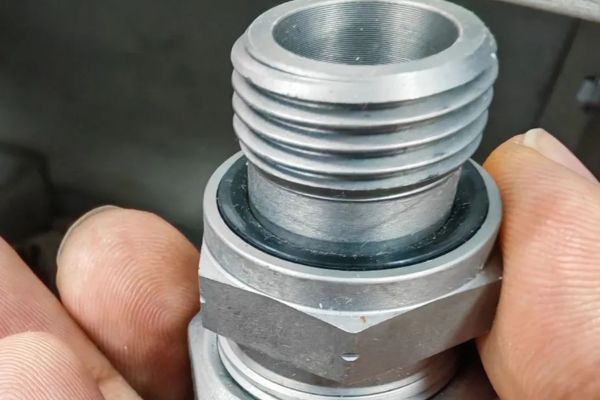
Each connection end needs its own front, side, and oblique views. The record should separate thread form from sealing method: a thread can provide retention while a flare, cone, flat face, O-ring, bonded seal, or another designed surface provides the seal. One image rarely shows both characteristics.
Connection-end checklist
For each end, capture:
- Male or female arrangement and the complete thread length
- Front view into or onto the connection, with focus on the seat or sealing face
- Side view showing straight or visibly tapered form without relying on perspective for final judgment
- O-ring, groove, bonded washer, cone, flare, flat face, pilot, or other sealing feature
- Swivel nut, locknut, backup washer, retaining feature, cap, or sleeve
- Damage, corrosion, contamination, cross-threading, missing seals, and witness marks
- A label identifying the mating component and installation orientation
Use diffuse lighting and a plain background for loose parts. Keep the camera square to the feature when possible, and take another image from an angle that shows depth. Review focus at full resolution before leaving the equipment; a blurred close-up cannot be repaired by adding annotations later.
Markings need their own views
Clean markings only with an approved method that will not remove coating or evidence. Photograph each line square-on and repeat with lighting from another direction if stamping is shallow. Transcribe the characters exactly, using question marks for uncertain characters rather than silently guessing.
Pair Every Photo With Measurements and Records
Images become useful identification evidence when they link to defined measurements. Do not place a caliper casually in the frame and expect the photograph to provide an accurate value; parallax, jaw angle, contact force, and screen resolution can mislead. Record the measurement separately with its method and location.
Measurements depend on component type
For a fitting, relevant fields may include thread outside or inside diameter, pitch or TPI, straight or tapered form, seat profile, sealing-face diameter, overall length, centerline-to-end dimensions, and hose or tube size. For a hose, add printed layline, hose ID, construction, fitting orientation, cut length definition, and crimp identity. For a cylinder, use bore, rod, stroke, retracted and extended lengths, mounting and pin dimensions, port callouts, and installation clearance where applicable.
Use calibrated tools suited to the characteristic and cite the datum. A thread gauge supports pitch identification but does not prove the connection standard; a caliper reading supports size screening but does not prove seat angle or taper. Combine independent features until only a documented candidate remains.

Attach source records
Include the equipment model and controlled part references only when authorized and relevant. Service manuals, bills of material, drawings, old labels, purchase records, and maintenance history can resolve details that photos hide. State each document’s revision and whether it is verified current.
Use an Evidence Table to Expose Uncertainty
An evidence table turns an unstructured image folder into a review packet. It separates what is visible from what has been measured and what still requires documentation. Reviewers can then close gaps without repeating the entire request.
| Identification field | Photo can support | Additional evidence required |
| Overall configuration | Straight, elbow, tee, flange, hose, tube, or cylinder form | Controlled product description and dimensions |
| Thread candidate | Gender, visible profile, approximate relative size | Diameter, pitch/TPI, taper check, standard reference |
| Sealing method | Visible flare, cone, flat face, O-ring, groove, or washer | Profile/angle measurement and mating-component documentation |
| Size | Scale screening and relationship to nearby features | Calibrated measurement from a stated datum |
| Material and finish | Color and visible surface condition | Material specification, certificate, coating record, or approved test |
| Hose compatibility | Hose marking and visible fitting style | Exact hose/fitting series and current crimp data |
| Pressure and temperature suitability | Usually not established | Product data and complete application requirements |
| Replacement approval | Candidate comparison only | Controlled drawing, part number, technical review, and application check |
Add a status column in the working copy: confirmed, probable, unknown, or conflicting. Avoid percentages that imply unsupported certainty. A short uncertainty statement is more actionable than a long description that hides missing facts.
Work Through a Hypothetical Photo Request
Consider an explicitly hypothetical request containing one close-up of a female swivel fitting attached to a damaged hose. The image shows a nut and part of the ferrule, but not the seat, opposite hose end, hose layline, or equipment port. A ruler lies behind the fitting at an angle, and no part number is readable.
Rebuild the evidence package
The reviewer can say only that the part appears to be a swivel hose-end connection and that final identification is not possible. The field team first isolates the equipment and records context, then photographs the whole assembly, both ends, the female seat, hose marking, ferrule, and orientation. It measures the thread and pitch, records the sealing face, hose ID and series, assembly length definition, and any old order reference.
The improved package may narrow the part to a documented candidate, but the team still checks the hose-and-fitting combination and crimp specification before approving replacement. No brand, thread standard, seat angle, or compatibility is inferred from the first photograph. The hypothetical result demonstrates communication completeness without inventing a customer case or product approval.
Avoid Common Communication Failures
Poor requests usually fail because they contain too little context, not too few pixels. Frequent problems include one cropped end, no label for orientation, a ruler used as the only measurement, unreadable markings, missing mating parts, and filenames that cannot be connected to notes. Another failure is asking the reviewer to choose between candidates without stating what remains uncertain.
Final photo-package checklist
Before sending the request, confirm:
- Safe context images plus the complete component and installation envelope
- Both connection ends photographed from front, side, and oblique directions
- Sealing faces, seats, grooves, O-rings, washers, caps, ferrules, and damage shown clearly
- Markings transcribed exactly and linked to focused original images
- Measurements listed with datum, location, tool, units, and method
- Mating components, hose or tube information, equipment records, and application conditions attached
- Unknown, conflicting, or inaccessible characteristics listed explicitly
- Confidential identifiers removed from the shared set and originals stored appropriately
Ask a technical reviewer to state which fields are confirmed and which evidence is still needed. Do not convert a candidate into an order description until the required measurements and controlled records agree.
Conclusion
Clear communication is the safest way to identify hydraulic parts from photos. Begin with the equipment context, then show the complete part, both ends, sealing features, markings, orientation, and visible damage through labeled views. Pair images with calibrated measurements, defined datums, mating-component information, and current drawings or service records. Photos can screen configurations and candidates, but they cannot prove hidden geometry, material, pressure suitability, hose compatibility, or an approved replacement. Protect confidential identifiers and never loosen a live connection for a better picture. Finish the package with an explicit uncertainty list and ask the reviewer to close each gap with evidence. A structured photo record reduces repeated questions while preventing visual resemblance from becoming an unsupported technical decision.
Frequently Asked Questions
How many photos are needed to identify a hydraulic part?
There is no universal number; the set must show context, the complete component, both ends, sealing features, markings, and relevant damage. Add views until every visible characteristic can be linked to a label and measurement.
Can a ruler in the photo replace caliper measurements?
No, a ruler provides only rough scale screening. Record critical dimensions separately with a suitable calibrated tool, stated datum, location, and units.
Should I clean the part before photographing it?
Only with an approved method after safe isolation and initial as-found photos. Aggressive cleaning can remove markings, residue, coating, or damage evidence needed for the investigation.
Can a catalog image confirm the replacement part?
No, a catalog image can suggest a candidate family but cannot establish hidden dimensions, sealing geometry, material, or application suitability. Confirm the exact part through controlled specifications and measurements.
What should I write when a marking is unreadable?
Transcribe the visible characters and mark uncertain positions with question marks or “unreadable.” Do not guess a complete part number, because one wrong character can point to a different size or configuration.