
Proper brake maintenance is crucial for ensuring the safety and performance of your vehicle. The brake system is one of the most vital components in any vehicle, directly impacting your ability to stop effectively and avoid accidents. Neglecting brake maintenance can lead to decreased performance, increased wear and tear on brake components, and, ultimately, dangerous driving conditions. By addressing issues like stripped brake line fittings promptly and correctly, you maintain the integrity of your brake system, ensuring it functions optimally and keeps you safe on the road.
Brake line fittings come in various types, each designed for specific applications and ensuring a secure, leak-free connection within the brake system. The three most common types are flare fittings, compression fittings, and inverted flare fittings:
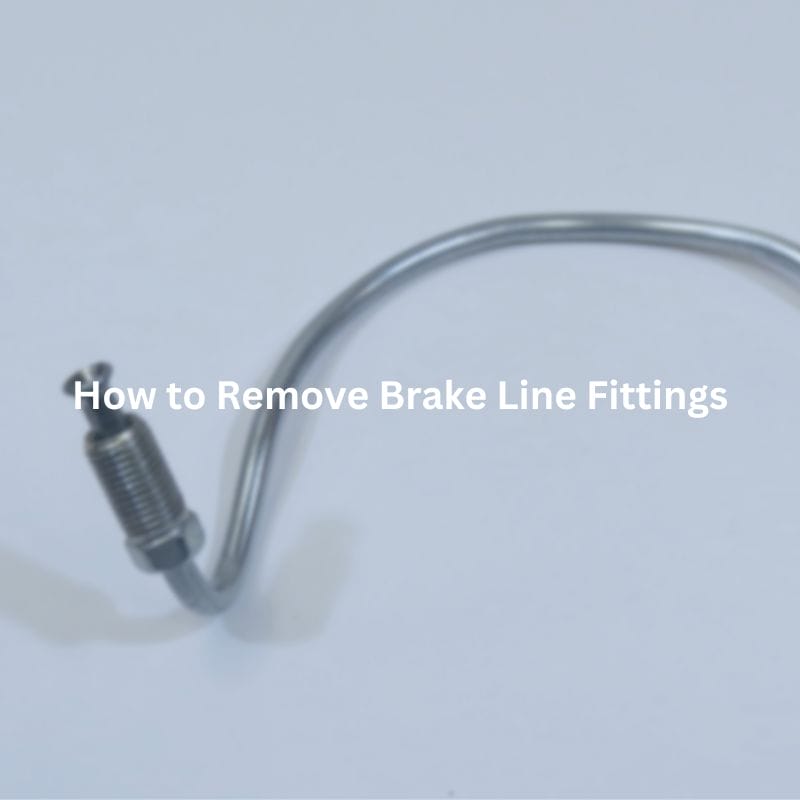
Flare Fittings: These fittings feature a conical seat that forms a tight seal when the flare nut is tightened. They are commonly used in high-pressure hydraulic systems, including brake lines, due to their ability to withstand significant pressure without leaking.
Compression Fittings: These consist of a compression nut and a compression ring (ferrule) that compresses against the brake line when tightened, creating a seal. They are typically used for lower-pressure applications but can be found in some brake systems.
Inverted Flare Fittings: Similar to flare fittings, inverted flare fittings have a concave seat and are often used in automotive brake systems for their reliability and ease of installation.

Understanding why brake line fittings become stripped can help prevent this issue in the future. The most common causes include:
Over-Tightening: Applying too much torque when tightening a brake line fitting can damage the threads, leading to stripping. It’s essential to follow the manufacturer’s torque specifications to avoid this problem.
Corrosion: Exposure to moisture and road salt can cause brake line fittings to corrode, weakening the threads and making them more susceptible to stripping when force is applied. Regular inspections and maintenance can help mitigate corrosion-related issues.
Improper Tools: Using the wrong tools, such as adjustable wrenches or pliers, instead of proper line wrenches or flare nut wrenches, can damage the fitting’s threads. Always use the correct tools designed for brake line work to ensure a secure and undamaged fitting.
Identifying a stripped brake line fitting early can prevent further damage and potential brake failure. Key signs to look for include:
Visual Inspection: Check the threads on the brake line fitting for any signs of damage, such as flattened or missing threads. A fitting that appears rounded or damaged likely indicates stripping.
Performance Symptoms: If you notice a decrease in braking performance, such as a spongy brake pedal or a loss of brake fluid, it could be due to a stripped fitting causing a leak. Any noticeable reduction in braking efficiency warrants an immediate inspection of the brake system, including the fittings.
Visual Inspection and Determining the Extent of the Damage
Before attempting to remove a stripped brake line fitting, perform a thorough visual inspection to assess the extent of the damage. Look for signs such as flattened or missing threads, rounded edges, and any visible corrosion. Evaluate whether the fitting can be saved or if it requires replacement. If the damage is minor, simpler techniques may suffice. For severe stripping, more advanced methods or complete replacement may be necessary.
Choosing the Right Method Based on the Level of Stripping
The level of damage will dictate the removal method. Minor stripping might be resolved with penetrating oil and grip enhancement, while severe cases may require cutting and re-flaring the line. Deciding on the appropriate technique ensures efficiency and minimizes further damage to the brake line.

Application Techniques for Maximum Effectiveness
Penetrating oil can be a lifesaver for loosening corroded or stuck brake line fittings. To use it effectively, generously apply the oil to the fitting and allow it to seep into the threads. Use a small brush to help the oil penetrate deeper. Repeat the application several times over at least 15-30 minutes to ensure thorough penetration.
Allowing Time for the Oil to Work
Patience is key when using penetrating oil. After applying the oil, allow sufficient time for it to work its way into the threads. For heavily corroded fittings, you might need to wait an hour or more. During this time, avoid applying any force to the fitting, as premature attempts can cause further stripping.
Using Vice Grips and Brake Line Pliers to Gain Better Grip
When dealing with stripped fittings, getting a firm grip is crucial. Use vice grips or specialized brake line pliers designed to provide a secure hold without further damaging the fitting. Adjust the vice grips to the correct size, ensuring they grip tightly around the fitting.
Applying Steady, Controlled Force to Avoid Further Stripping
Once you have a good grip, apply steady and controlled force to turn the fitting. Avoid sudden or jerky movements, as these can exacerbate the stripping. If the fitting doesn’t budge initially, reapply the penetrating oil and try again after a short period.
When and How to Cut the Brake Line
In cases where the fitting is severely stripped and cannot be removed using conventional methods, cutting the brake line may be necessary. Use a pipe cutter to make a clean, straight cut on the brake line, removing the damaged section.
Tools for Flaring the Brake Line Correctly
After cutting the brake line, you’ll need to re-flare the end to attach a new fitting. Use a high-quality flaring tool to create a precise flare. Follow the tool’s instructions carefully to ensure a proper and secure flare, which is crucial for preventing leaks.
Reattaching the New Fitting
Once the brake line is flared, attach the new fitting by sliding it onto the flared end and tightening it to the appropriate torque specification. Ensure a snug fit without over-tightening, which can lead to future stripping.
Applying Heat to Expand the Metal
Heat can help loosen stubborn fittings by expanding the metal. Use a propane torch to apply heat evenly around the fitting for a few minutes. Be cautious not to overheat, as excessive heat can damage nearby components. After heating, attempt to remove the fitting with pliers or vice grips.
Using Cold Treatments to Contract the Metal
Alternatively, applying cold can contract the metal and make removal easier. Use an aerosol freeze spray or dry ice to cool the fitting rapidly. Once it contracts, try loosening the fitting with the appropriate tools.
Safety Precautions When Using Heat and Cold
When using heat or cold, always follow safety protocols. Wear protective gloves and safety glasses to prevent burns or frostbite. Ensure proper ventilation when using a torch, and keep flammable materials away from the work area.
Specialty Tools Like Extraction Sockets
For particularly stubborn or severely stripped fittings, specialty tools like extraction sockets can be effective. These sockets are designed to grip stripped or damaged fasteners tightly. Select the correct size and fit it onto the fitting, then use a ratchet to remove it.
Using a Dremel or Rotary Tool for Precise Cuts
A Dremel or rotary tool can be used to carefully cut away damaged portions of the fitting. This method requires precision and patience. Make small, controlled cuts to avoid damaging the brake line itself. Once enough material is removed, you may be able to grip and remove the fitting.
Last-Resort Methods and Professional Help
If all else fails, seeking professional help may be necessary. A skilled mechanic has access to advanced tools and techniques for removing stripped fittings. Don’t hesitate to reach out to a professional to avoid causing further damage or compromising your vehicle’s brake system.
Choosing the Correct Replacement Fitting
When replacing brake line fittings, selecting the correct replacement is crucial for maintaining the integrity and safety of your brake system. Here are key factors to consider:
Size: Ensure the replacement fitting matches the diameter of the brake line and the thread size of the original fitting. Using a fitting that is too large or too small can result in leaks and brake failure.
Type: Choose the appropriate type of fitting based on your brake system’s design. Common types include flare fittings, compression fittings, and inverted flare fittings. Refer to your vehicle’s manual or consult with an automotive expert if unsure.
Material: Select a fitting made from durable materials such as stainless steel or brass, which are resistant to corrosion and high pressure. Avoid using inferior materials that may not withstand the demands of the brake system.
Proper installation of the new fitting is essential to ensure a secure and leak-free connection. Follow these steps for optimal results:
Preparation: Clean the brake line and fit thoroughly to remove any debris or old thread sealant. Use a wire brush or brake cleaner if necessary.
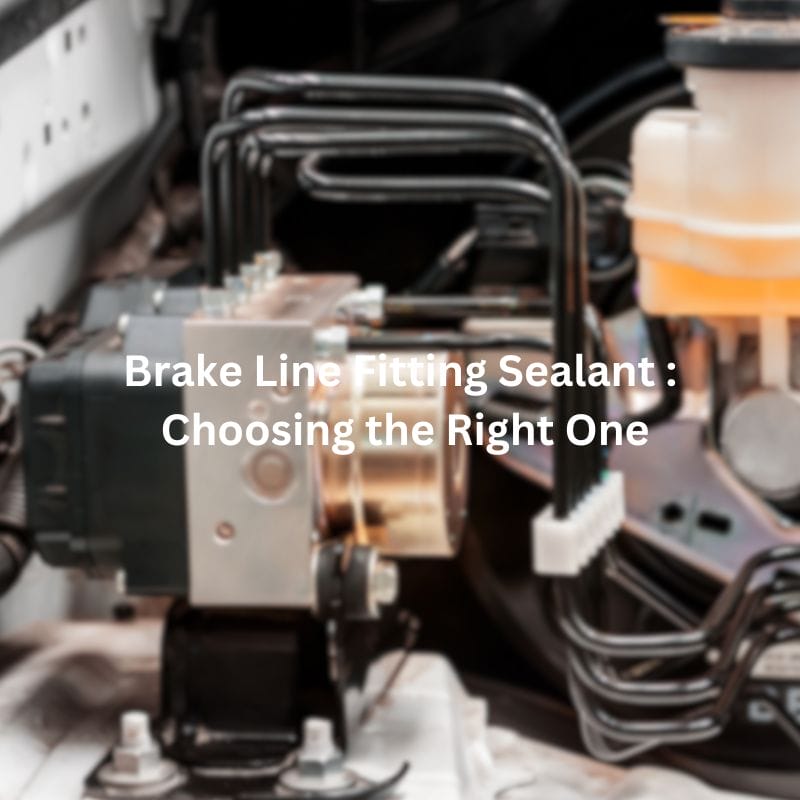
Thread Sealant: Apply a small amount of thread sealant or anti-seize compound to the threads of the new fitting. This helps create a better seal and makes future removal easier.
Attachment: Slide the new fitting onto the brake line and thread it onto the corresponding port. Use a line wrench to tighten the fitting. Be cautious not to over-tighten, as this can strip the threads and cause damage. Tighten until snug and then give it a final quarter turn.
After installing the new fitting, it’s crucial to test the brake system to ensure there are no leaks and that it functions correctly:
Visual Inspection: Check the fitting and surrounding areas for any signs of brake fluid leaks. A dry fitting indicates a successful installation.
Brake Pedal Test: Press the brake pedal several times to build pressure in the brake lines. The pedal should feel firm and responsive. If it feels spongy or sinks to the floor, there may be air in the lines or a leak.
Brake Fluid Level: Check the brake fluid reservoir and top it off if necessary. Low brake fluid can affect braking performance and indicate a leak.
Road Test: Take the vehicle for a short test drive in a safe area to ensure the brakes are functioning properly. Pay attention to the brake response and listen for any unusual noises.
After replacing the brake line fitting, it’s a good practice to inspect the entire brake system for any additional wear and tear:
Brake Lines: Check for any signs of wear, cracks, or corrosion on the brake lines. Replace any damaged sections to prevent future issues.
Brake Pads and Rotors: Inspect the brake pads and rotors for wear. Worn pads should be replaced, and rotors should be resurfaced or replaced if they show signs of excessive wear or damage.
Calipers and Wheel Cylinders: Ensure that the calipers and wheel cylinders are in good condition and functioning correctly. Look for leaks or sticking components.
Regular maintenance can help prevent future issues with brake fittings and extend the life of your brake system:
Regular Inspections: Periodically inspect the brake lines and fittings for any signs of wear or damage. Early detection can prevent more severe problems.
Proper Tools: Always use the correct tools, such as line wrenches and flare nut wrenches, to avoid damaging fittings during maintenance.
Torque Specifications: Follow the manufacturer’s torque specifications when tightening fittings to avoid over-tightening and stripping threads.
Brake fluid plays a vital role in the performance of your brake system. Regular checks and changes are essential:
Fluid Level: Check the brake fluid level regularly and top it off as needed. Low fluid levels can indicate a leak or worn brake pads.
Fluid Quality: Over time, brake fluid can become contaminated with moisture and debris, reducing its effectiveness. Replace the brake fluid according to the manufacturer’s recommended schedule, typically every 2-3 years.
Bleeding the Brakes: Bleed the brake lines to remove any air bubbles that can cause a spongy brake pedal and reduce braking efficiency. This is especially important after replacing fittings or brake lines.
Dealing with stripped brake line fittings can be challenging, but with patience and the right approach, it’s a task that can be successfully managed. Remember, taking your time and carefully following each step is crucial. Always prioritize safety by wearing protective gear and working in a stable, well-ventilated environment. If at any point you feel unsure or overwhelmed, don’t hesitate to seek professional assistance.
If penetrating oil doesn’t loosen the fitting, reapply and wait longer, ensuring thorough coverage. For heavily corroded fittings, you might need to use heat, cold, or specialized tools like extraction sockets. Patience is key, and sometimes multiple applications are necessary.
Using regular pliers is not recommended, as they can further strip the fitting and damage the brake line. Vice grips or brake line pliers provide a more secure grip, reducing the risk of additional damage.
Inspect the brake line for any signs of wear, cracks, or severe corrosion. If the brake line itself is in good condition, you may only need to replace the fitting. However, if the line shows significant damage, replacing the entire brake line is advisable for safety.
A spongy or soft brake pedal, extended stopping distances, or a pedal that sinks to the floor are common signs of air in the brake lines. Bleeding the brakes to remove air bubbles will typically resolve this issue.
Driving with a stripped brake line fitting is unsafe, as it can lead to brake fluid leaks and brake failure. Address the issue immediately by either repairing the fitting or consulting a professional mechanic to ensure your brake system is functioning correctly.
Check your brake fluid level regularly, at least once a month, and top it off as needed. Brake fluid should be replaced according to the manufacturer’s recommended schedule, typically every 2-3 years, to maintain optimal braking performance and safety.

Automated page speed optimizations for fast site performance

