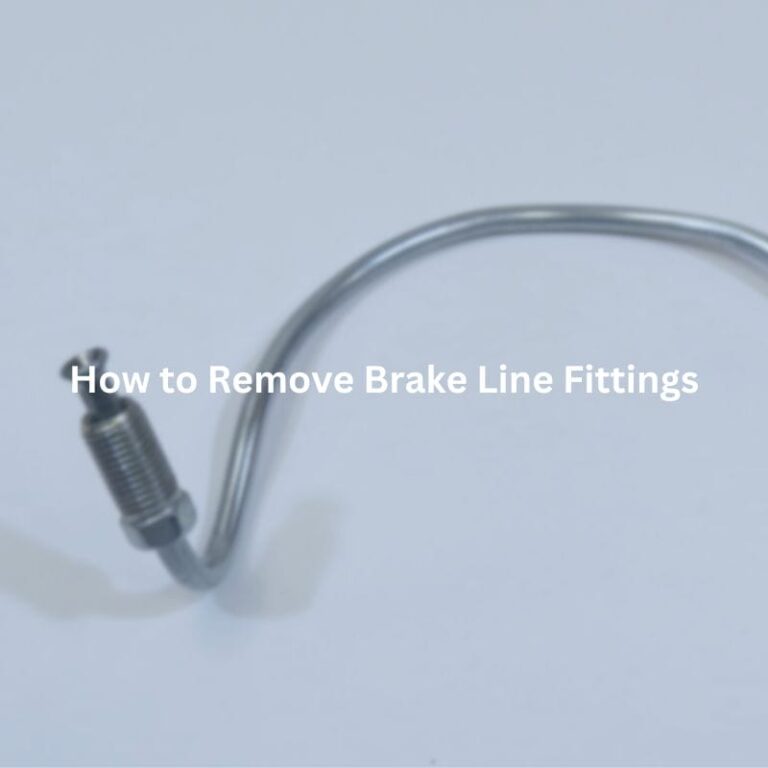
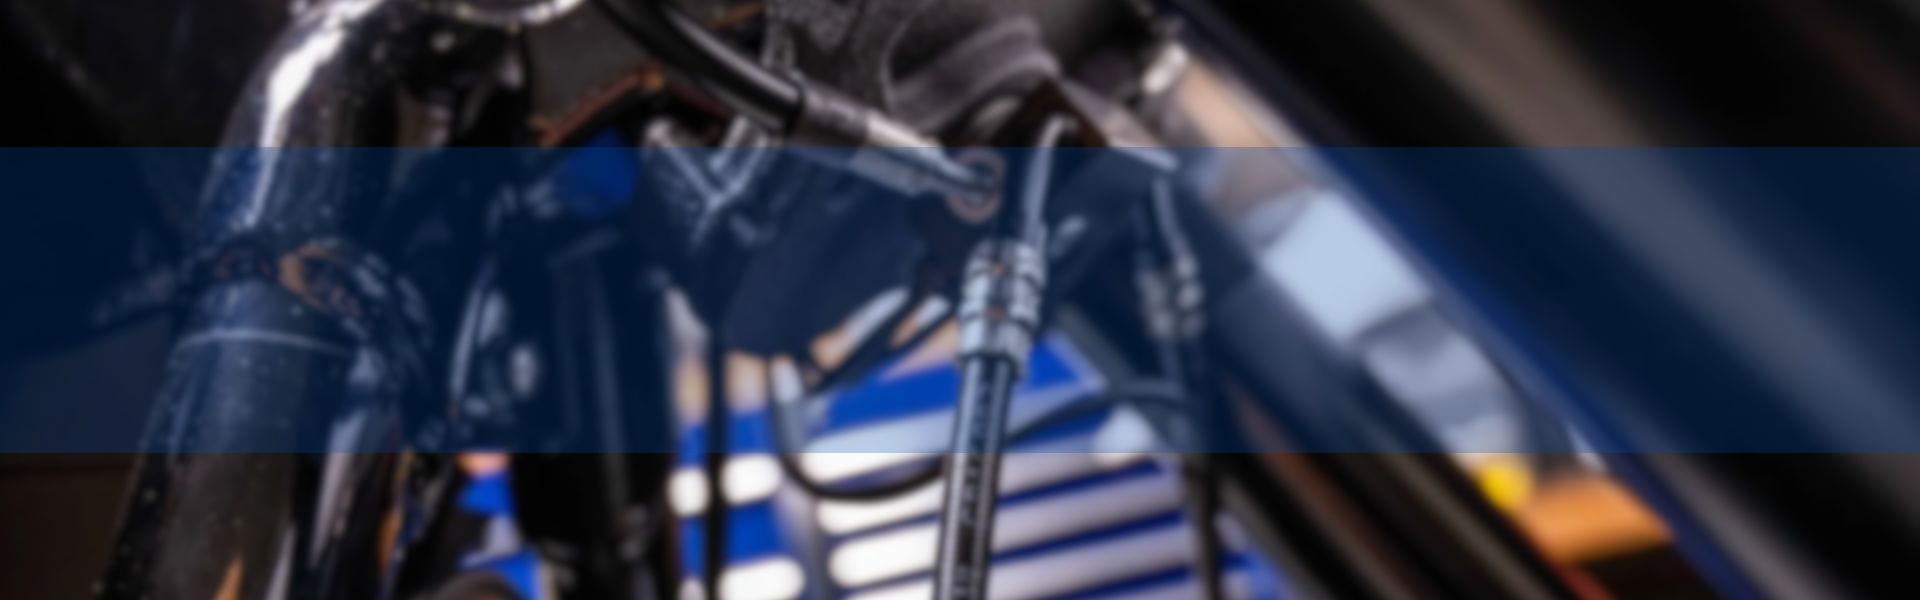
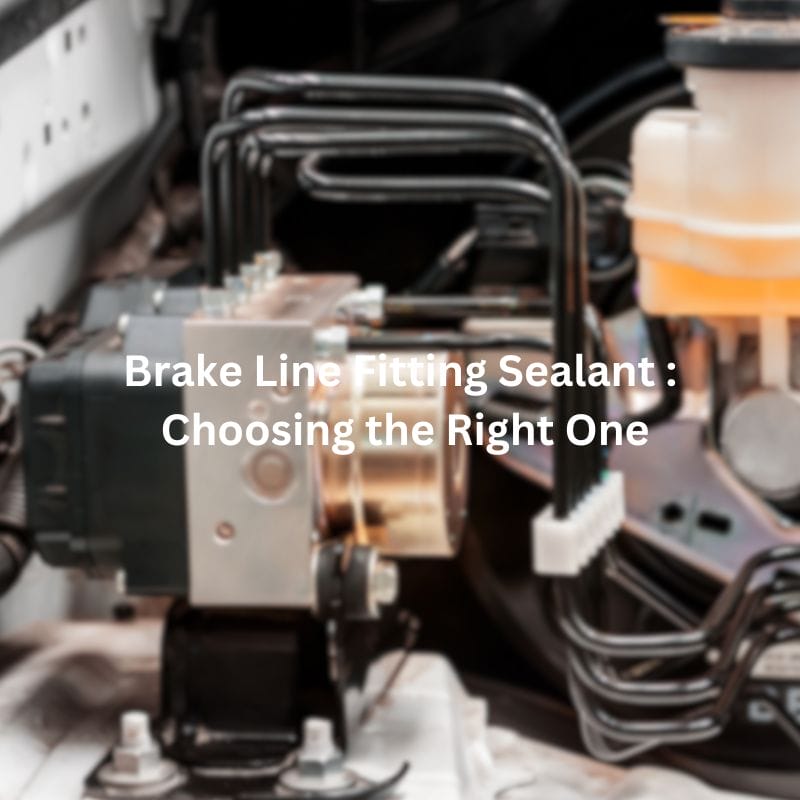
Proper removal of brake line fittings is crucial not only for maintaining the efficiency and safety of your vehicle’s braking system but also for preventing potential damage that can arise from improper handling. This guide will walk you through the process, emphasizing safety considerations and addressing common challenges you might face. We’ll cover everything from the tools you need to step-by-step instructions and troubleshooting tips.
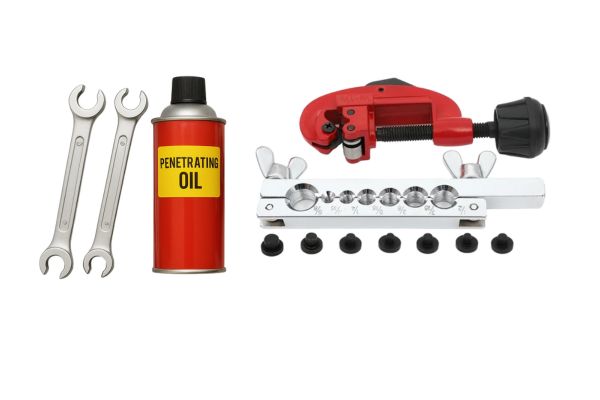
Wrenches (flare nut wrenches, line wrenches)
Flare nut wrenches and line wrenches are specifically designed to grip the hexagonal nuts of brake line fittings without stripping them, ensuring a secure and efficient removal process.
Penetrating Oil
Penetrating oil is used to loosen rusted or seized brake line fittings, making it easier to remove them without causing damage.
Brake Line Cutter
A brake line cutter is essential for cutting brake lines cleanly and accurately when replacing sections of the line.
Brake Line Flaring Tool
This tool is used to create precise flares on the ends of brake lines, ensuring a tight and leak-free connection with the fittings.
Replacement Brake Lines or Fittings
Having replacement brake lines or fittings on hand is crucial in case the original components are damaged or too corroded to reuse.
Brake Fluid
Fresh brake fluid is necessary for refilling the brake system after replacing the brake lines or fittings.
Importance of Wearing Safety Gear
Wearing safety gear, including gloves and safety glasses, is crucial to protect yourself from brake fluid, which is corrosive, and other potential hazards such as debris and sharp edges.
Ensuring the Vehicle is on a Stable and Flat Surface
Ensuring the vehicle is parked on a stable and flat surface prevents accidental movement and provides a secure working environment. Engaging the parking brake and using wheel chocks can add extra security.
Using Jack Stands for Added Safety
Using jack stands to support the vehicle after lifting it with a jack adds an extra layer of safety. Jack stands are more stable and reliable than jacks alone, preventing the vehicle from falling during the repair.
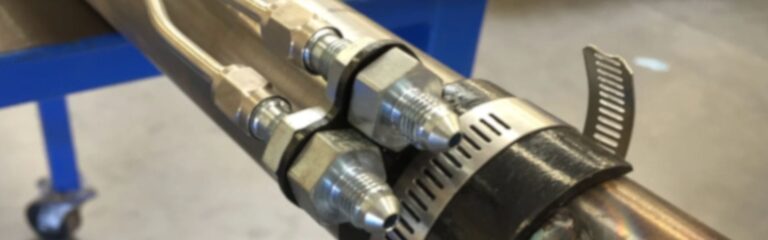
Checking the Condition of Brake Lines and Fittings
Before beginning the removal process, inspect the brake lines and fittings for any signs of wear, such as cracks, leaks, or bends. This helps you determine the extent of the repairs needed.
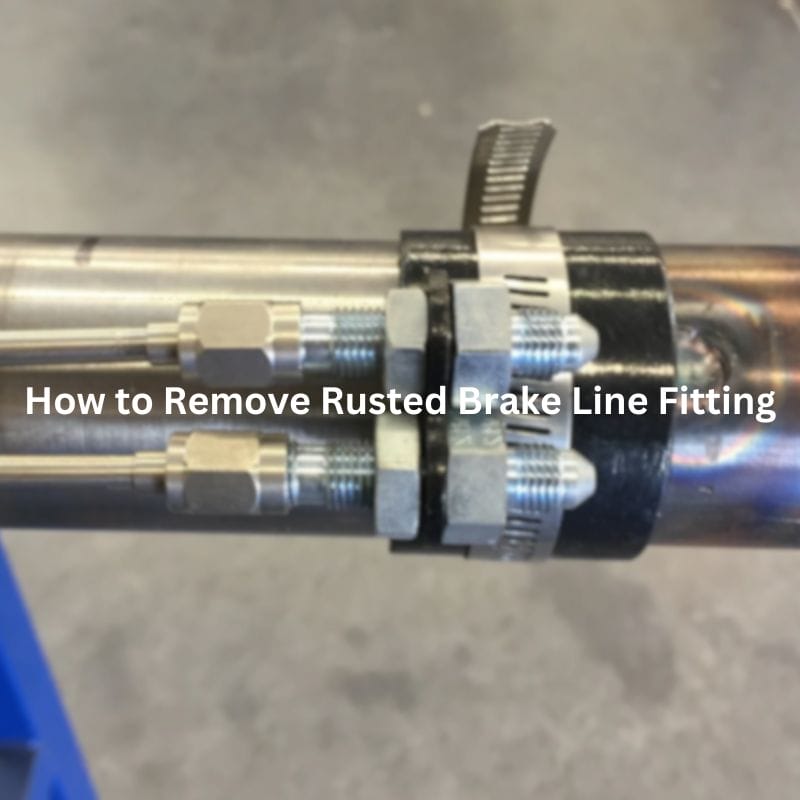
Identifying Any Visible Rust, Corrosion, or Damage
Look for any rust, corrosion, or damage on the fittings and lines. These issues can make removal more challenging and may require additional steps, such as using penetrating oil to loosen rusted parts.
Removing the Wheel for Better Access to the Brake Lines
Removing the wheel provides better access to the brake lines and fittings, making it easier to work on them. Ensure the vehicle is securely lifted and supported before removing the wheel.
Using Penetrating Oil on the Fittings to Ease Removal
Apply penetrating oil to the brake line fittings and allow it to soak for a few minutes. This helps to loosen any rust or corrosion, making the fittings easier to remove without causing damage.
Proper Technique for Using Flare Nut Wrenches
Flare nut wrenches are specifically designed to grip the nuts on brake line fittings securely, reducing the risk of rounding off the corners. Position the wrench snugly around the fitting and apply steady pressure. Avoid using adjustable wrenches as they can slip and damage the fittings.
Step-by-Step Instructions for Loosening Different Types of Fittings
Tips for Dealing with Stubborn or Seized Fittings

When and Why Cutting the Brake Line Might Be Necessary
Cutting the brake line may be necessary if the fittings are too corroded or damaged to be removed intact. It’s also an option when replacing a section of the brake line that is compromised.
How to Safely Cut the Brake Line Without Damaging Other Components
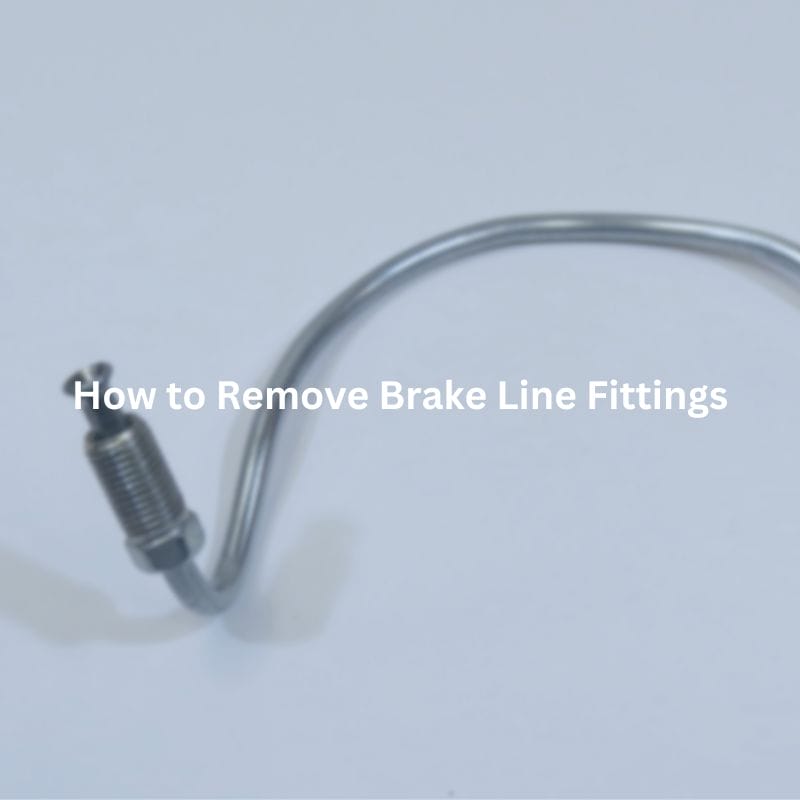
Detailed Steps for Removing Different Types of Brake Line Fittings
Handling Rust and Corrosion Effectively
Techniques for Dealing with Fittings That Won’t Budge
Use of Heat and Other Methods to Loosen Stubborn Fittings

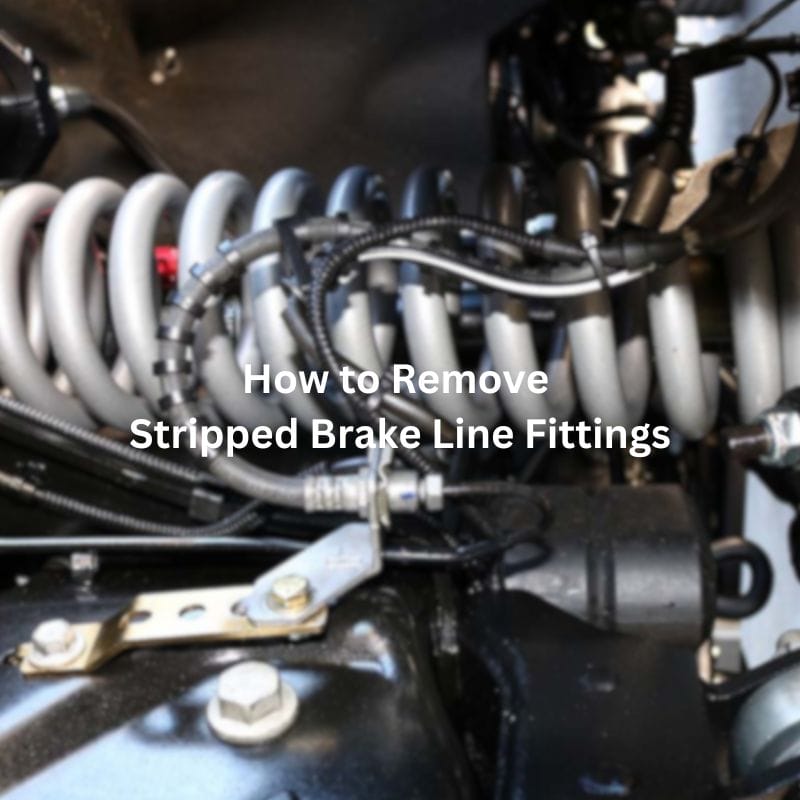
Identifying and Dealing with Stripped or Damaged Fittings
Options for Replacing Damaged Fittings
How to Manage and Clean Up Brake Fluid Leaks During the Process
Preventing Brake Fluid Contamination
Checking for Any Damage to Surrounding Components
Cleaning the Area Thoroughly Before Installing New Fittings

Choosing the Right Replacement Fittings
Proper Installation Techniques to Ensure a Secure Fit
Importance of Bleeding the Brakes After Replacing Fittings
Step-by-Step Guide to Bleeding the Brake System
In this guide, we covered the essential steps to remove brake line fittings. Performing regular maintenance on your vehicle’s brake system not only ensures your safety but also extends the lifespan of your vehicle. By knowing how to remove and replace brake line fittings, you can save on repair costs and gain a deeper understanding of your vehicle’s mechanics, empowering you to handle future repairs with confidence.
You will need flare nut wrenches, penetrating oil, a brake line cutter, a brake line flaring tool, and safety gear such as gloves and safety glasses.
Apply penetrating oil and allow it to soak in, use a flare nut wrench for better grip, apply heat cautiously to expand the metal, and use a longer wrench or breaker bar for added leverage.
Use a bolt extractor or a specialized socket for stripped fittings. If the fitting is too damaged, consider cutting the brake line and replacing the fitting entirely.
Seal any open brake lines or fittings with clean, dry caps, ensure the work area is clean, use fresh brake fluid, and store brake fluid in a sealed container to prevent moisture and dirt contamination.
If you encounter severely damaged fittings, if the brake system feels spongy after bleeding, or if you are unsure about any step in the process, it is best to seek assistance from a professional mechanic to ensure safety and proper function.
Bleeding the brakes removes any air that may have entered the system, ensuring the brake system is fully pressurized and functioning correctly, which is crucial for safe braking performance.


