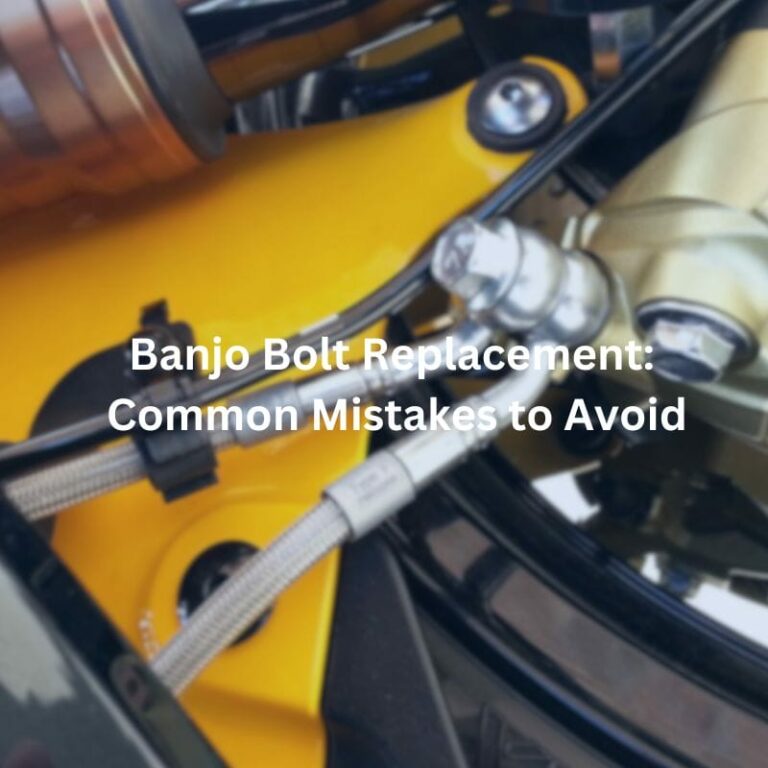
Banjo bolt fitting is a specialized fastener used to connect fluid lines to other parts of the system. Whether it’s in your car’s braking system, fuel lines, or hydraulic machinery, the banjo bolt ensures that fluid is delivered seamlessly and efficiently. However, like any other mechanical part, banjo bolts are subject to wear and tear. Over time, they may need to be replaced to maintain the integrity and safety of the system they serve. Proper maintenance and timely replacement of banjo bolts are crucial to prevent leaks, system failures, and potential accidents.
Before starting the banjo bolt replacement process, it is crucial to gather all the necessary tools and materials to ensure a smooth and efficient operation. Here is a comprehensive list of what you’ll need:
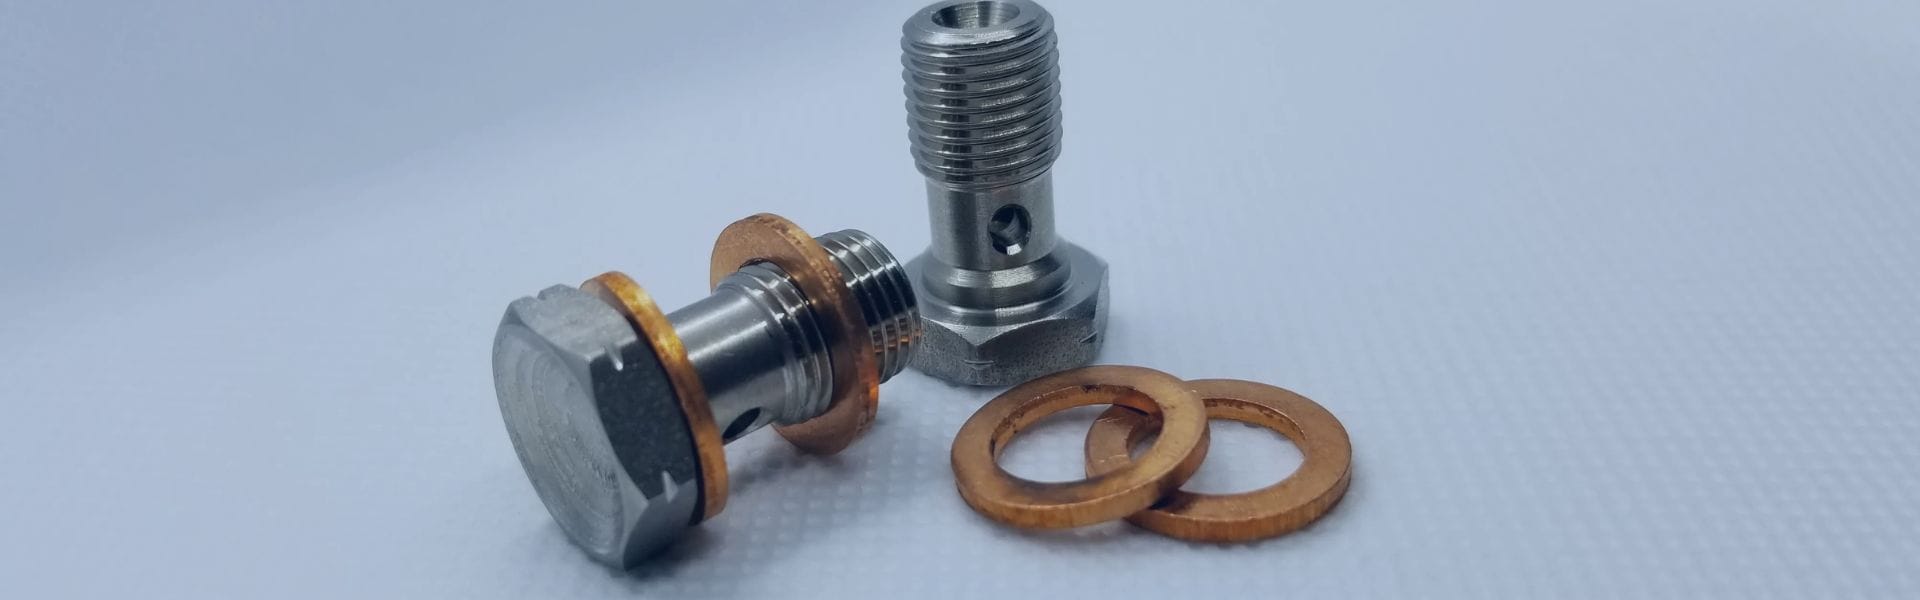
Banjo Bolts: Ensure you have the correct size and type of banjo bolts that are compatible with your specific system. Refer to the manufacturer’s specifications.
Washers: New washers are essential for creating a proper seal. It’s recommended to use copper washers as they provide excellent sealing properties.
Wrenches: A set of metric or SAE wrenches, depending on your system, is necessary for loosening and tightening the bolts. A torque wrench is particularly important for ensuring the bolts are tightened to the correct specification.
Brake Fluid or Hydraulic Fluid: Depending on the system you are working on, have the appropriate type and amount of fluid on hand to refill the system after replacement.
Cleaning Supplies: Use a clean, lint-free cloth and brake cleaner or another suitable solvent to clean the area around the banjo bolt.
Thread Sealant: Some applications may require thread sealant to ensure a leak-free connection.
Drain Pan: To catch any fluid that may spill during the replacement process.
Conducting a thorough initial inspection is vital to determine the necessity of banjo bolt replacement. Here’s how to perform an effective inspection:
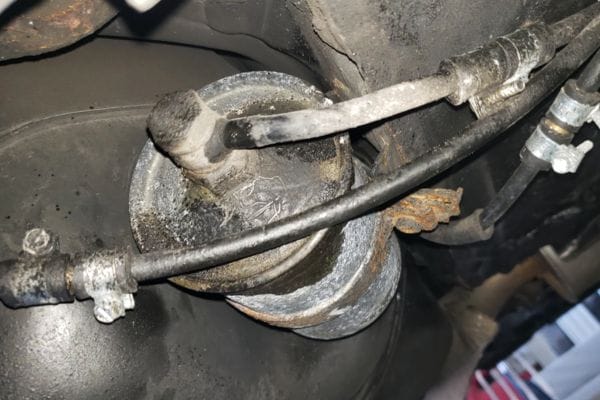
Visual Inspection: Examine the banjo bolt and the surrounding area for any signs of fluid leakage, corrosion, or damage. Look for wet spots or stains that indicate a leak.
Check for Wear and Tear: Inspect the bolt for any signs of wear, such as stripped threads, cracks, or deformation. Also, check the washers for signs of flattening or damage.
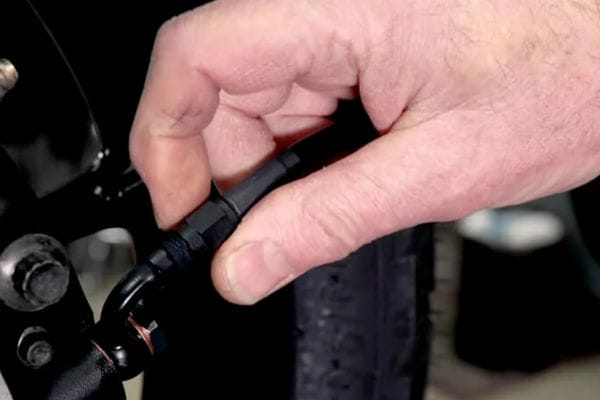
Test the Tightness: Using a wrench, gently check if the banjo bolt is loose. A loose bolt may indicate that it needs to be replaced or properly torqued.
Inspect the Fluid Lines: Ensure the fluid lines connected to the banjo bolt are in good condition, with no cracks or wear that could cause leaks.
Each type of fitting is crucial for creating a functional and efficient piping system. The selection of the appropriate fitting depends on the specific requirements of the application, such as the direction of flow, the need for branching, or the necessity to connect pipes of different sizes.
Using the wrong tools during a banjo bolt replacement can lead to stripped threads, damaged bolt heads, and improper torque application. This not only makes the replacement process more difficult but can also result in a faulty installation, leading to leaks and system failures.
Solution:
Tool Selection: Ensure you have the correct size wrenches for the banjo bolts you are working with. Metric and SAE sizes are not interchangeable, so verify the specifications in your service manual.
Torque Wrench: Invest in a high-quality torque wrench to accurately apply the manufacturer-specified torque to the banjo bolt. This ensures the bolt is neither too loose nor too tight.
Flare Nut Wrench: For brake lines and similar applications, a flare nut wrench is recommended to avoid damaging the soft metal fittings.
Hex Key Set: Some banjo bolts may require hex keys (Allen wrenches) instead of traditional wrenches. Ensure you have a complete set in the correct sizes.
Over-tightening or under-tightening the banjo bolt can cause serious problems. Over-tightening can strip the threads or crack the bolt, while under-tightening can lead to leaks and the bolt loosening over time.
Solution:
Manufacturer Specifications: Always refer to the manufacturer’s torque specifications for the banjo bolt. This information can usually be found in the service manual.
Using a Torque Wrench: Set the torque wrench to the specified value and apply it to the banjo bolt. Ensure you follow the correct sequence if tightening multiple bolts.
Double-Check Torque Settings: After the initial installation, recheck the torque settings after a short period of use to ensure the bolt remains properly tightened.
Failing to maintain a clean working environment can lead to contamination of the hydraulic or braking system. Dirt and debris can cause clogs, wear, and potential system failures.
Solution:
Clean Workspace: Always work in a clean, dust-free environment. Lay down clean rags or protective mats to keep parts off dirty surfaces.
Cleaning Components: Before installing the new banjo bolt, clean the mating surfaces and the bolt itself with a suitable solvent, such as brake cleaner. Use a lint-free cloth to wipe them dry.
Sealed Containers: Keep new bolts and washers in sealed containers until ready for use to prevent contamination.
Old washers may be flattened, cracked, or otherwise damaged, leading to poor sealing and potential leaks.
Solution:
Always Use New Washers: Each time you replace a banjo bolt, use new washers. Copper washers are recommended for their excellent sealing properties.
Select the Right Size: Ensure the new washers are the correct size for your banjo bolt and the mating surfaces. They should fit snugly without any gaps.
Check for Deformities: Inspect new washers before installation to ensure they are not damaged or deformed.
Misaligned banjo fittings can cause uneven pressure on the bolt and washers, leading to leaks and potential damage to the fittings. Misalignment often results in improper sealing, which compromises the integrity of the hydraulic or braking system. This issue can lead to fluid leaks, reduced system performance, and potential safety hazards.
Solution:
Proper Alignment: When installing the banjo bolt, ensure that the fittings and washers are properly aligned. The bolt should be perpendicular to the mating surfaces, allowing even pressure distribution across the washers. This alignment is crucial for achieving a secure and leak-free connection.
Hand-Tightening First: Begin the installation process by hand-tightening the banjo bolt. This step helps ensure that the bolt is correctly positioned and aligned before applying full torque. Hand-tightening also allows for easy adjustments if the initial alignment is slightly off.
Visual Check: Conduct a visual inspection to confirm that the washers and fittings are seated evenly around the bolt. Look for any gaps or misalignments that could indicate an improper fit. Adjust as necessary before fully tightening the bolt with a wrench.
Failing to properly bleed the hydraulic or braking system after replacing a banjo bolt can lead to air bubbles in the system, reducing performance and causing erratic behavior. Air trapped in the system can compress under pressure, leading to spongy brake pedals or inconsistent hydraulic pressure, which can be dangerous.
Solution:
Bleed the System: Follow the manufacturer’s procedure for bleeding the system after replacing the banjo bolt. This process usually involves using a bleeder valve and a bleed kit to remove air from the system. Proper bleeding ensures that the system operates smoothly and efficiently.
Check Fluid Levels: Ensure that the fluid reservoir is topped up with the appropriate fluid type before and during the bleeding process. Maintaining the correct fluid level prevents air from being drawn into the system and ensures consistent pressure.
Monitor for Air Bubbles: Continue bleeding the system until no more air bubbles are present in the fluid being expelled. Clear fluid indicates that all air has been removed, ensuring optimal system performance.
Using incompatible banjo bolts or washers can lead to improper sealing and potential system failures. Mismatched components may not fit correctly, causing leaks and compromising the system’s integrity.
Solution:
Check Specifications: Verify the specifications of the banjo bolt and washers to ensure they match the requirements of your system. This step is crucial for achieving a proper fit and reliable sealing.
Consult the Service Manual: Refer to the service manual or manufacturer’s guidelines for the correct part numbers and specifications. Using the recommended parts ensures compatibility and optimal performance.
Cross-Referencing Parts: If using aftermarket parts, cross-reference with the original equipment manufacturer (OEM) part numbers to ensure compatibility. This practice helps avoid potential issues with fit and function.
Not testing the system after replacing a banjo bolt can leave you unaware of potential leaks or other issues until they cause significant problems. Skipping a test run can result in unnoticed faults that may lead to system failure or safety hazards during operation.
Solution:
Conduct a Thorough Test Run: After replacing the banjo bolt and bleeding the system, perform a comprehensive test run. This step involves operating the system under normal conditions to check for leaks, proper function, and any unusual behavior.
Visual Inspection: Inspect the banjo bolt and surrounding area for any signs of fluid leakage after the test run. A close visual inspection can reveal issues that might not be immediately apparent during the initial installation.
Monitor Performance: Pay attention to the system’s performance over the next few uses. Any unusual behavior, such as changes in hydraulic pressure or braking efficiency, should be investigated promptly. Monitoring performance ensures that the system operates reliably and safely.
Causes:
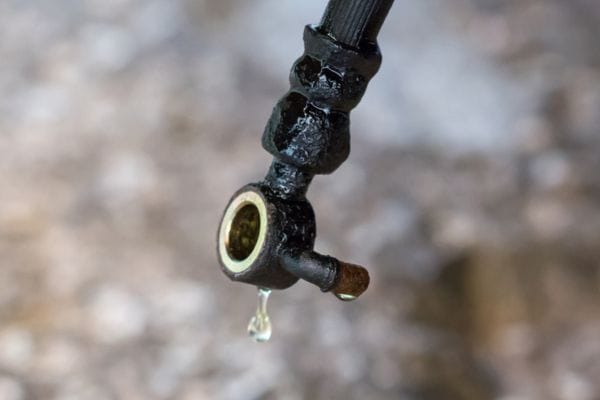
Persistent leaks after replacing a banjo bolt can be caused by several factors:
Improper Tightening: The banjo bolt may not be tightened to the correct torque specification, leading to insufficient sealing.
Damaged Washers: Reusing old washers or using damaged new washers can prevent a proper seal.
Misalignment: Misaligned fittings can cause uneven pressure on the washers, leading to leaks.
Defective Components: The banjo bolt or fittings themselves may be defective or damaged.
Solutions:
Recheck Torque: Use a torque wrench to ensure the banjo bolt is tightened to the manufacturer’s specifications. Avoid overtightening, as this can damage the threads and fittings.
Replace Washers: Always use new, undamaged washers for each replacement. Copper washers are recommended for their sealing properties.
Ensure Proper Alignment: Verify that the banjo bolt, washers, and fittings are properly aligned and seated evenly.
Inspect Components: Check the banjo bolt and fittings for any signs of damage or defects. Replace any faulty parts.
Causes:
Unusual noises after replacing a banjo bolt can indicate several potential problems:
Air in the System: Air bubbles trapped in the hydraulic or braking system can cause hissing or whistling noises.
Loose Components: If the banjo bolt or associated fittings are not properly tightened, they can rattle or vibrate during operation.
Contamination: Dirt or debris in the system can cause grinding or squeaking noises.
Solutions:
Bleed the System: Ensure that the system is properly bled to remove all air bubbles. Follow the manufacturer’s bleeding procedure carefully.
Check Tightness: Verify that all components, including the banjo bolt, are securely tightened to the correct torque specifications.
Clean Components: Inspect the system for any contamination. Clean all parts thoroughly and replace any that are excessively dirty or damaged.
Causes:
Reduced performance in a hydraulic or braking system after replacing a banjo bolt can result from:
Air in the System: Air bubbles can reduce hydraulic pressure, leading to spongy brakes or weak hydraulic power.
Leaks: Even small leaks can cause a significant drop in system performance.
Incompatible Parts: Using incompatible banjo bolts or washers can affect the system’s efficiency and reliability.
Improper Fluid Levels: Low fluid levels can lead to inadequate pressure and performance issues.
Solutions:
Bleed the System: Make sure all air is removed from the system through proper bleeding. This will restore consistent hydraulic pressure.
Check for Leaks: Inspect the entire system for any signs of fluid leakage. Tighten any loose connections and replace faulty components as needed.
Verify Compatibility: Ensure that all parts used in the replacement process are compatible with the system’s specifications. Refer to the service manual for guidance.
Maintain Fluid Levels: Check and maintain the correct fluid levels in the system. Refill as necessary with the appropriate type of fluid recommended by the manufacturer.
In summary, this guide has highlighted the critical aspects of banjo bolt replacement, including the necessary tools and materials, safety precautions, common mistakes to avoid, and troubleshooting common issues. By following these guidelines, you can ensure a successful and efficient banjo bolt replacement process. Remember, attention to detail and regular maintenance are key to maintaining the longevity and reliability of your hydraulic or braking system. Proper care and meticulous replacement practices will help you avoid common pitfalls and keep your system functioning at its best.
A banjo bolt is a type of fastener used to connect fluid lines in hydraulic and braking systems, ensuring a secure and leak-free connection.
Signs that a banjo bolt needs replacement include visible leaks, corrosion, stripped threads, or cracks. Regular inspections can help identify these issues early.
Recheck the torque, ensure proper alignment, inspect for damaged washers or components, and verify that all parts are compatible. If the problem persists, consult a professional.
Essential tools include a set of wrenches (metric or SAE), a torque wrench, new banjo bolts, washers, cleaning supplies, and personal protective equipment (PPE).
Proper torque application ensures the bolt is neither too loose nor too tight, preventing leaks and potential damage to the system.
No, it is recommended to use new washers each time you replace a banjo bolt to ensure a proper seal and prevent leaks.

