Banjo fittings are a type of hydraulic connector commonly used in various industries, including automotive, aerospace, and manufacturing. These fittings are characterized by their unique design, which allows for a 360-degree rotation of the hose or tubing, providing flexibility and ease of use in tight spaces. Banjo fittings consist of a hollow bolt and spherical union, making them ideal for applications requiring precise alignment and secure connections. Incorrect installation can lead to leaks, pressure drops, and system failures, potentially causing significant downtime and costly repairs. The purpose of this comprehensive guide is to provide detailed, step-by-step instructions on how to install banjo fittings correctly.
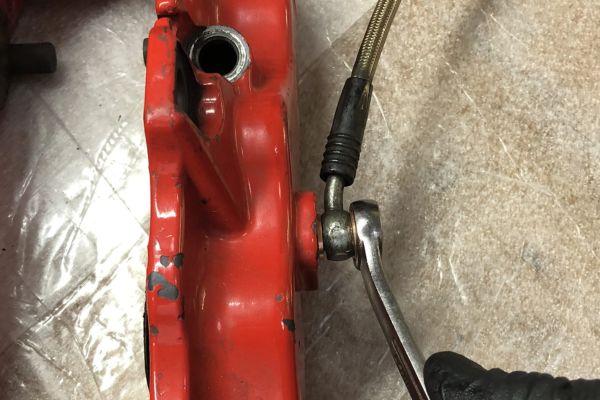
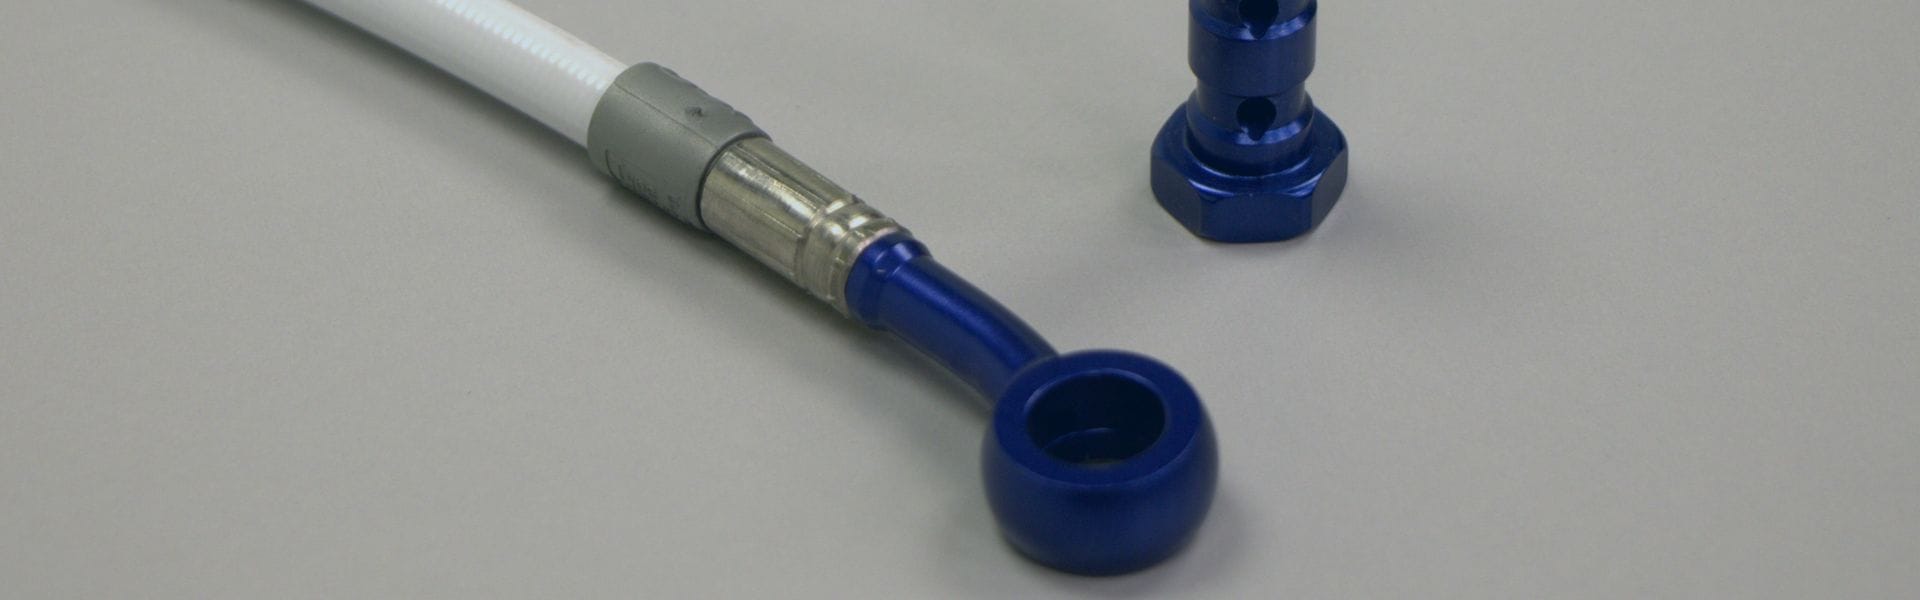
Banjo fittings are specialized connectors used primarily in hydraulic and fuel systems. They consist of a hollow bolt and a spherical union, which allows the fitting to rotate 360 degrees. This unique design provides flexibility and makes them ideal for applications where space is limited. The primary components of a banjo fitting include the banjo bolt, which has a hole drilled through its shaft to allow fluid passage, and the banjo, a donut-shaped connector that fits over the bolt. Additionally, washers or sealing rings are used on either side of the banjo to ensure a tight, leak-free connection.

Banjo fittings are widely used across various industries due to their versatility and reliability. In the automotive industry, they are commonly found in brake systems, fuel lines, and turbochargers, where their compact design and ability to handle high pressures are highly valued. In the aerospace sector, banjo fittings are used in hydraulic and fuel systems, where their durability and precision are critical. Manufacturing and industrial applications also benefit from banjo fittings, particularly in hydraulic machinery and equipment where efficient fluid transfer is essential. The agriculture industry uses these fittings in irrigation systems and machinery, while the marine industry employs them in various onboard systems for both commercial and recreational vessels.
The use of banjo fittings offers several advantages, making them a preferred choice in many applications. Their compact and flexible design allows for easy installation in confined spaces, reducing the need for additional fittings and connectors. The 360-degree rotation capability ensures optimal alignment and reduces stress on hoses and tubing, thereby minimizing the risk of leaks and failures. Banjo fittings are also known for their high-pressure handling capabilities, making them suitable for demanding environments. Furthermore, their robust construction and use of quality materials enhance their durability and longevity, leading to lower maintenance costs and improved system reliability. The ease of maintenance and replacement further adds to their appeal, making banjo fittings a cost-effective and efficient solution for fluid transfer needs.
List of essential tools
Wrenches
Torque wrench
Lubricants
Cleaning supplies
List of materials
Banjo fittings
Bolts and washers
Sealing rings or gaskets
Aligning with Connection Points:
Start by identifying the connection points where the banjo fitting will be installed. Ensure that the fitting aligns perfectly with the ports to avoid any misalignment that could lead to leaks or system inefficiencies. Gently place the banjo fitting in position, making sure that the bolt hole aligns with the corresponding holes in the components you are connecting.
Ensuring Proper Orientation:
Proper orientation is crucial for the functionality and durability of the installation. The banjo fitting should be oriented in a way that allows for the natural flow of fluids without putting stress on the hoses or tubing. Check the fitting’s alignment from different angles to confirm that it is positioned correctly. The 360-degree rotation feature of banjo fittings can be used to achieve the optimal orientation.

Choosing the Correct Bolt Length:
Selecting the appropriate bolt length is essential for a secure and leak-free connection. The bolt must be long enough to pass through the banjo fitting and the components being connected but not so long that it protrudes excessively. Measure the thickness of the components and the fitting to determine the required bolt length. If in doubt, consult the manufacturer’s specifications or a professional for guidance.
Placing Washers Appropriately:
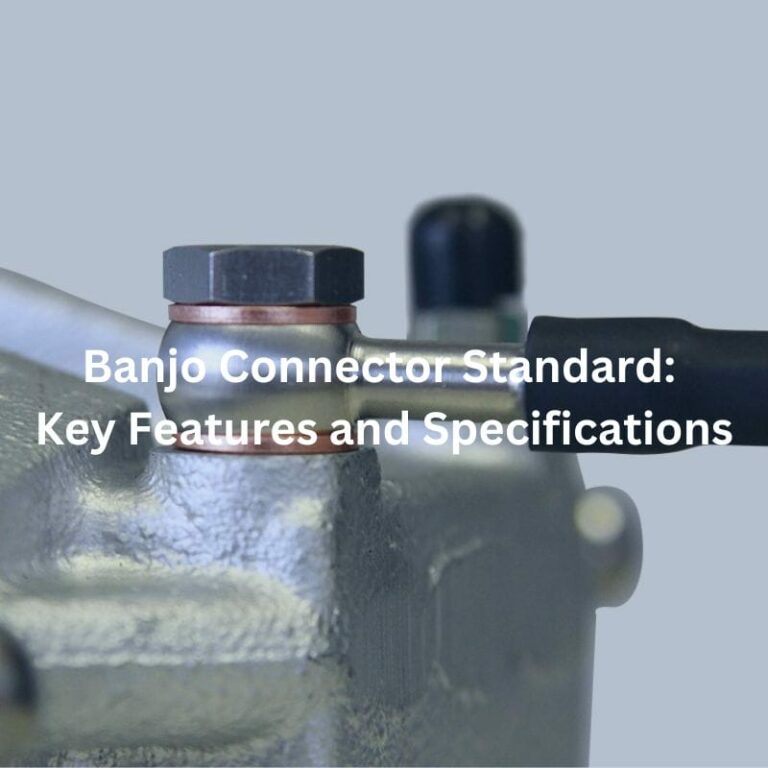
Washers play a critical role in ensuring a tight seal and even distribution of pressure. Place a washer on either side of the banjo fitting before inserting the bolt. The washers should be of the correct size and material as specified for the application. This helps in preventing leaks and protects the components from damage due to uneven pressure distribution.
Selecting the Right Type:
Sealing rings or gaskets are essential for creating a leak-proof connection. Depending on the application, choose the appropriate type of sealing ring or gasket. Common materials include rubber, copper, or composite materials, each suited for different operating conditions and fluid types. Ensure that the sealing rings or gaskets are compatible with the fluids being used and the operating temperatures and pressures.
Positioning for Optimal Sealing:
Proper positioning of sealing rings or gaskets is crucial for achieving an effective seal. Place the sealing rings or gaskets between the washers and the banjo fitting, ensuring they are centered and not twisted or deformed. This positioning helps in maintaining a consistent and reliable seal under various operating conditions.
Initial Hand-Tightening:
Begin by hand-tightening the bolt to secure the fitting in place. This allows you to make any necessary adjustments before final tightening. Ensure that the bolt threads smoothly and that there is no cross-threading, which can damage the threads and compromise the seal.
Using a Torque Wrench for Precise Tightening:
After hand-tightening, use a torque wrench to tighten the bolt to the manufacturer’s specified torque value. This ensures that the bolt is tightened to the correct level, providing a secure connection without over-tightening, which can damage the components and lead to leaks. Follow a cross-pattern tightening method if multiple bolts are involved to ensure even pressure distribution.
Inspecting for Gaps or Misalignment:
Once the bolt is tightened, inspect the installation for any gaps or misalignment. Check that the banjo fitting sits flush against the components and that the washers and sealing rings are in place. Any visible gaps or misalignment should be corrected before proceeding.
Verifying Torque Specifications:
Finally, verify that the bolt has been tightened to the correct torque specification using the torque wrench. This final check ensures that the connection is secure and that the risk of leaks or component damage is minimized. Document the torque values used and any observations during the installation process for future reference and maintenance purposes.
Setting Up a Pressure Test:
Before conducting a pressure test, ensure that all components are securely connected and that the system is properly sealed. Attach a pressure gauge to the system at a point close to the banjo fitting to monitor pressure levels accurately. Gradually introduce fluid into the system using a pump, increasing the pressure to the specified test level. It is essential to follow the manufacturer’s recommendations for pressure testing to avoid over-pressurizing and damaging the system. Make sure to use compatible fluids and clean the system of any debris or contaminants before starting the test.
Observing for Leaks:
Once the system reaches the test pressure, observe the banjo fitting and surrounding connections for any signs of leaks. Look for droplets, fluid seepage, or any pressure drops on the gauge. It is beneficial to use a leak detection solution, which bubbles upon contact with escaping fluid, to identify even the smallest leaks. Inspect all sides of the fitting thoroughly, paying close attention to the areas around the washers and sealing rings. If any leaks are detected, depressurize the system before making necessary adjustments or repairs. Ensure all leaks are resolved before proceeding to the next testing phase.
Running System Tests:
After completing the pressure test, it’s time to run functional tests on the entire system. Start by operating the system under normal working conditions, gradually increasing the load to its typical operating level. Observe the system as it runs, ensuring that all components, including the banjo fitting, are performing as expected. Check for any unusual noises, vibrations, or irregularities in system behavior that might indicate issues with the installation or other components.
Monitoring Performance:
Continuously monitor the performance of the system during the functional test. Keep an eye on pressure readings, fluid flow rates, and temperature levels to ensure they remain within acceptable ranges. Pay close attention to the banjo fitting area, checking for any signs of leaks or structural stress. Additionally, compare the system’s performance data with baseline readings or manufacturer specifications to identify any discrepancies. Document all findings and any adjustments made during the test. If the system operates smoothly without any issues, the installation can be considered successful. However, if any problems are detected, make the necessary adjustments or repairs and retest the system until it performs optimally.
Common Causes:
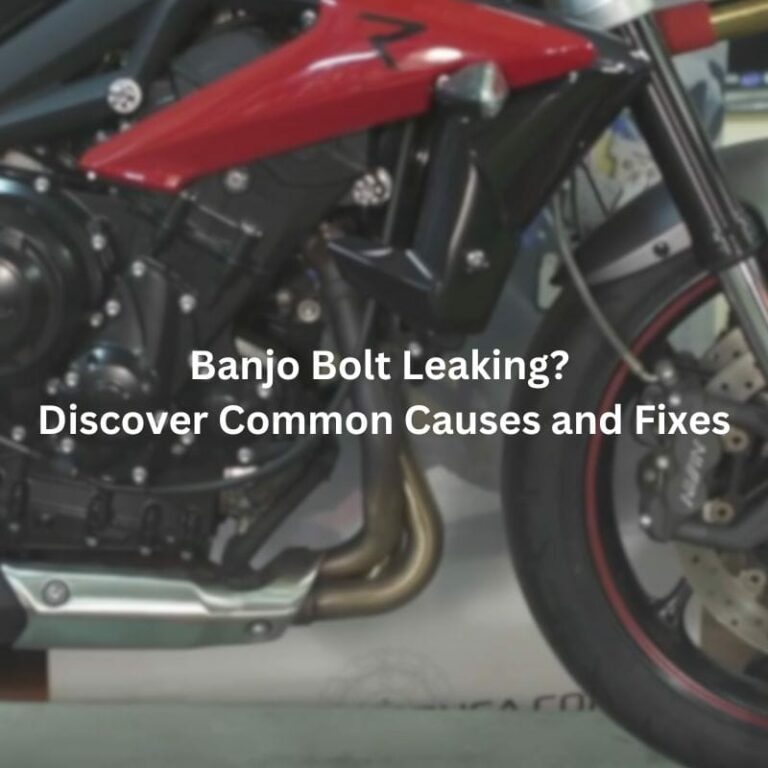
Leaks in banjo fittings can occur due to several reasons, including improper installation, worn or damaged sealing rings, incorrect torque application, and misaligned components. Over-tightening or under-tightening the bolt can also lead to leaks, as can using incompatible materials for washers or gaskets. Additionally, debris or contamination within the fitting can prevent a proper seal, leading to fluid escape.
Solutions and Fixes:
To address leaks, first, depressurize the system and inspect the banjo fitting thoroughly. If the sealing rings or gaskets are damaged or worn, replace them with new, compatible parts. Ensure that the washers are correctly positioned and that the bolt is tightened to the manufacturer’s specified torque. Clean the fitting and surrounding areas to remove any debris or contaminants. If the leak persists, recheck the alignment of the fitting and the integrity of the components involved. If necessary, disassemble the fitting, inspect each part for defects, and reassemble it carefully, ensuring proper alignment and torque.
Diagnosing the Problem:
Misalignment of banjo fittings can cause leaks and reduce the efficiency of the system. Symptoms of misalignment include uneven wear on components, difficulty in tightening the bolt, and visible gaps between the fitting and the connected parts. To diagnose misalignment, visually inspect the fitting and use measuring tools to check the alignment of the fitting with the connection points.
Corrective Actions:
To correct misalignment, first, loosen the bolt and realign the fitting with the connection points. Ensure that the banjo fitting sits flush against the components and that the bolt hole is perfectly aligned. Tighten the bolt by hand initially to maintain alignment, then use a torque wrench to apply the specified torque evenly. If the components are significantly misaligned, consider using alignment tools or seeking professional assistance to correct the issue. Regularly inspect the system to ensure the fitting remains properly aligned during operation.
Recognizing Damage:
Damaged components can compromise the integrity of the banjo fitting installation and lead to system failures. Common signs of damage include visible cracks, deformation, corrosion, and excessive wear on the fitting, bolt, washers, or sealing rings. Inspect the components regularly for any signs of damage, especially after high-pressure operations or if leaks are detected.
Replacing Parts:
If any components are found to be damaged, they should be replaced immediately to maintain the system’s integrity. When replacing parts, ensure that the new components are compatible with the existing system and meet the manufacturer’s specifications. Follow the installation steps carefully to avoid introducing new issues. Use high-quality, recommended materials to prevent premature wear and damage. After replacing the parts, reassemble the fitting and perform pressure and functional tests to ensure the system operates correctly and efficiently.
By understanding and addressing common issues such as leaks, misalignment, and damaged components, you can ensure the long-term reliability and performance of your banjo fitting installations. Regular maintenance and inspections are key to preventing these problems and ensuring a leak-free, efficient hydraulic or fuel system.
In summary, the proper installation of banjo fittings involves meticulous attention to detail, from positioning and securing the fitting to pressure testing and troubleshooting common issues like leaks and misalignment. Following the guidelines provided in this comprehensive manual ensures a secure, leak-free connection that enhances the performance and reliability of your hydraulic or fuel system. Adhering to these best practices not only prevents costly repairs and downtime but also extends the lifespan of your components. Regular practice and proficiency in these techniques will lead to more efficient and successful installations, ensuring your systems operate at their best.
Banjo fittings are commonly used in hydraulic and fuel systems for their ability to provide a secure and flexible connection in tight spaces, allowing for 360-degree rotation.
Ensure the fitting aligns perfectly with the connection points, sits flush against the components, and the bolt hole is centered. Proper alignment prevents leaks and ensures efficient fluid flow.
First, depressurize the system. Check for worn or damaged sealing rings, improper torque, or misalignment. Replace any damaged parts, clean the area, and retighten the bolt to the specified torque.
Use a torque wrench to tighten the banjo bolt to the manufacturer’s specified torque value. Over-tightening or under-tightening can cause leaks or damage to the components.
No, it’s essential to use sealing rings or gaskets that are compatible with the fluids, operating temperatures, and pressures specific to your application. Always refer to the manufacturer’s recommendations.
Regularly inspect your banjo fittings as part of routine maintenance, especially after high-pressure operations or if you suspect a leak. Checking for signs of wear, damage, or misalignment helps prevent future issues.


