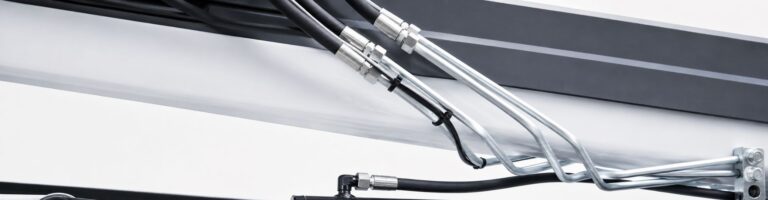
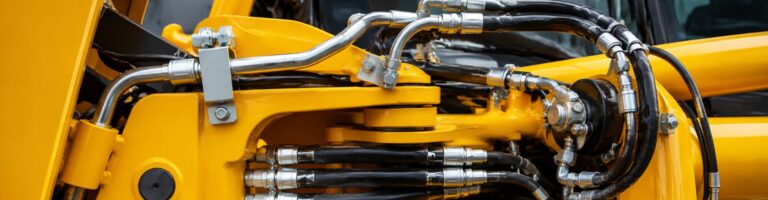
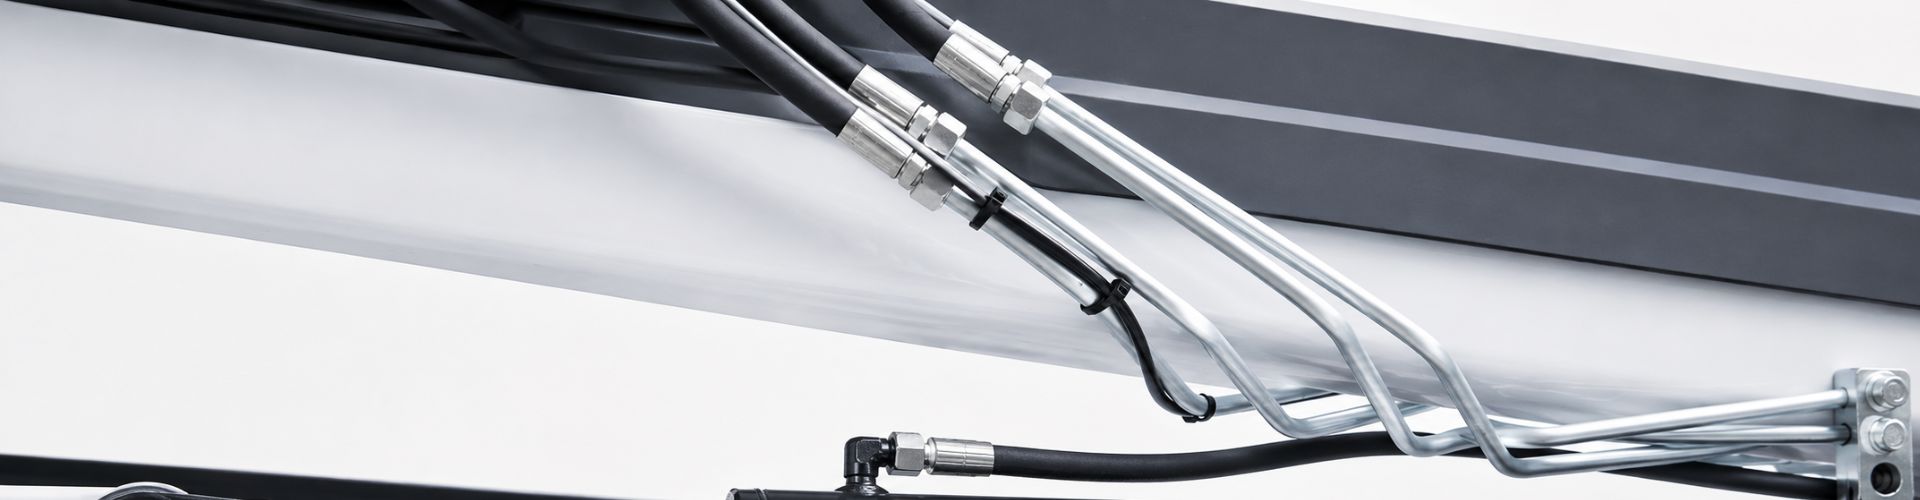
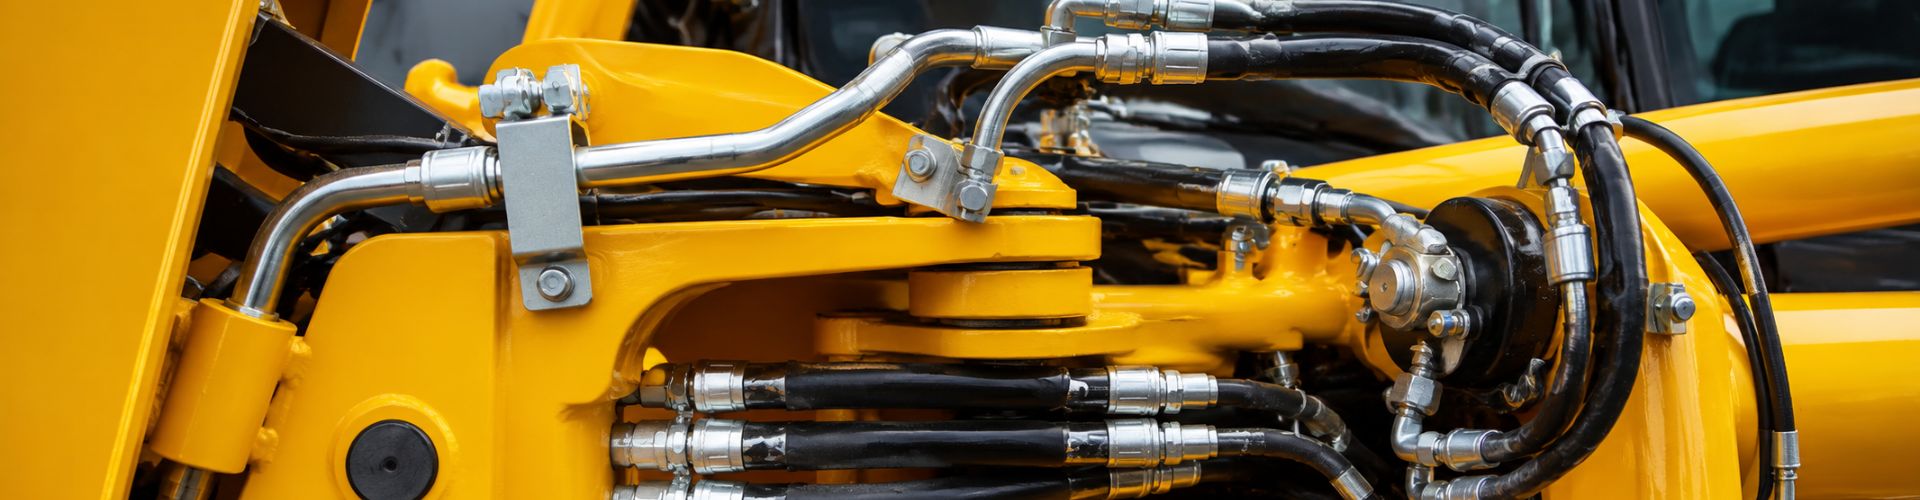
Grease fittings are small components designed to allow lubrication of mechanical systems. These fittings provide a secure point for grease guns to inject lubricant into bearings, gears, and other moving parts, ensuring smooth operation and reducing friction. Proper installation of grease fittings is crucial for effective machinery maintenance. Incorrect installation can lead to lubrication failure, causing increased wear and tear, overheating, and eventual mechanical breakdowns. Ensuring that grease fittings are correctly installed and regularly maintained helps maintain the efficiency and longevity of machinery, ultimately reducing downtime and repair costs.
Grease Gun:
A grease gun is essential for applying lubricant to the grease fittings. There are various types, including manual, pneumatic, and battery-operated grease guns. Each type has its own advantages, but all are designed to deliver grease precisely to the fittings.
Drill and Drill Bits:
A drill with an appropriate set of drill bits is necessary to create a hole for the grease fitting if one does not already exist. Selecting the correct drill bit size is crucial to ensure the hole matches the fitting dimensions perfectly.
Tap and Die Set:
A tap and die set is used to cut the threads in the hole drilled for the grease fitting. Tapping creates the internal threads in the hole, while the die is used for creating or repairing external threads if necessary.
Wrenches and Pliers:
These tools are needed for tightening and securing the grease fitting during installation. Wrenches can help apply the necessary torque to secure the fitting, while pliers may assist in gripping or positioning small components.
Grease Fitting Installation Tool:
This specialized tool aids in installing the grease fitting into its designated hole, ensuring it is properly seated and aligned. Using this tool can simplify the process and reduce the risk of damage to the fitting or the equipment.
Personal Protective Equipment (PPE):
Safety is paramount during any installation process. Essential PPE includes safety glasses to protect your eyes from debris, gloves to safeguard your hands from sharp objects and grease, and hearing protection if operating loud power tools. Ensuring you are well-protected minimizes the risk of injury.

Inspecting the Equipment for Existing Fittings:
Before installing new grease fittings, inspect the equipment to identify any existing fittings. This step ensures that you do not unnecessarily install additional fittings and helps you assess the current lubrication points and their condition.
Cleaning the Area Around the Installation Site:
Thoroughly clean the area around the installation site to remove dirt, debris, and old grease. A clean surface ensures a better seal for the grease fitting and prevents contaminants from entering the lubrication system.
Assessing the Condition of the Lubrication System:
Evaluate the overall condition of the lubrication system, including existing fittings, grease lines, and lubrication points. Identifying any wear, damage, or blockages in the system allows you to address these issues before installing new grease fittings. This assessment helps maintain the efficiency and reliability of the lubrication process.
Choosing the Right Drill Bit Size:
Selecting the correct drill bit size is crucial for creating a hole that matches the grease fitting’s diameter. Consult the grease fitting specifications to determine the appropriate drill bit size. Using a bit that is too small or too large can result in an improper fit, leading to leaks or fitting failure.
Proper Drilling Technique:
When drilling the hole, ensure that the drill is perpendicular to the surface to create a straight and accurate hole. Apply steady pressure and maintain a consistent speed to avoid damaging the surrounding material. It’s important to drill slowly and carefully, especially when working with metal, to prevent overheating the bit and the workpiece.
Cleaning the Drilled Hole:
After drilling, clean the hole thoroughly to remove any metal shavings, debris, and dust. Use compressed air or a brush to ensure the hole is free of contaminants. A clean hole is essential for the next step of tapping and for ensuring a secure fit for the grease fitting.
Selecting the Correct Tap Size:
Choose a tap size that matches the threads of the grease fitting. The tap size is typically specified by the fitting manufacturer. Using the correct tap ensures that the threads are cut to the proper dimensions, allowing for a secure and leak-free installation.
Using a Tap Wrench for Threading:
Attach the tap to a tap wrench and align it with the drilled hole. Apply steady pressure and turn the tap slowly to begin cutting the threads. Turn the tap in a clockwise direction while applying light pressure, and periodically reverse the direction to clear away metal chips. This technique helps create clean and accurate threads without damaging the tap or the workpiece.
Ensuring Accurate and Clean Threads:
Continue threading until the tap has fully cut through the hole. Remove the tap and clean the newly cut threads using compressed air or a brush. Ensure that the threads are clean and free from any debris or metal shavings. Accurate and clean threads are vital for securing the grease fitting and preventing leaks.

Applying Thread Sealant or Lubricant:
Before installing the grease fitting, apply a small amount of thread sealant or lubricant to the threads. This helps create a better seal and makes it easier to install the fitting. Choose a sealant or lubricant that is compatible with the grease and the materials being used.
Screwing the Fitting into Place:
Carefully screw the grease fitting into the tapped hole by hand to ensure it is properly aligned. Once it is hand-tight, use a wrench to finish tightening the fitting. Be cautious not to cross-thread the fitting, as this can damage the threads and compromise the seal.
Tightening to the Correct Torque Specification:
Refer to the manufacturer’s specifications for the correct torque value and use a torque wrench to tighten the fitting accordingly. Proper torque ensures that the fitting is secure and leak-free without over-tightening, which can damage the threads or the fitting itself.
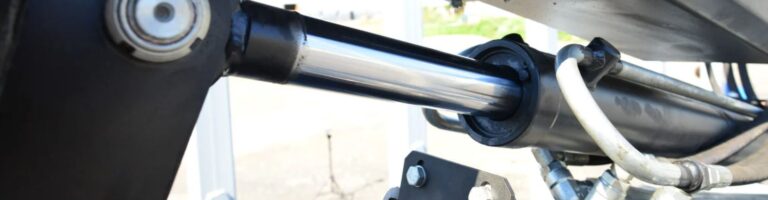
Connecting the Grease Gun to the Fitting:
Attach the grease gun to the newly installed grease fitting. Ensure that the connection is secure and that the grease gun is properly loaded with the appropriate type of grease for your equipment.
Pumping Grease into the Fitting:
Slowly pump grease into the fitting, watching for resistance. This indicates that the grease is filling the lubrication point correctly. Continue pumping until you see grease escaping from the seals or other designated points, indicating that the area is fully lubricated.
Checking for Leaks and Ensuring Proper Grease Flow:
After greasing, inspect the fitting and surrounding area for any signs of leaks. Ensure that the grease flows smoothly and that there is no blockage. If any issues are detected, re-tighten the fitting or re-evaluate the installation process to correct any errors. Proper grease flow and leak-free fittings are essential for effective lubrication and equipment maintenance.
Periodic Greasing Schedules:
Establishing a regular greasing schedule is essential for maintaining the performance and longevity of your machinery. The frequency of greasing depends on the specific requirements of the equipment and the operating conditions. Regularly scheduled greasing ensures that all moving parts remain well-lubricated, reducing wear and preventing potential failures.
Inspecting Fittings for Wear or Damage:
Routine inspections of grease fittings are necessary to identify any signs of wear, damage, or corrosion. Look for cracks, leaks, or loose fittings that could compromise the lubrication process. Regular inspections help detect issues early, allowing for timely maintenance and preventing more significant problems.
Replacing Worn-Out or Damaged Fittings:
If any fittings are found to be worn out or damaged during inspections, they should be replaced immediately. Using a damaged fitting can lead to ineffective lubrication and potential equipment failure. Always use the correct replacement fittings to ensure compatibility and optimal performance.
Identifying and Resolving Grease Fitting Blockages:
Blockages in grease fittings can occur due to hardened grease, debris, or dirt. To resolve blockages, remove the fitting and clean it thoroughly. If necessary, replace the fitting with a new one. Using a grease fitting cleaner tool can help clear obstructions and restore proper grease flow.
Fixing Leaks Around the Fitting:
Leaks around the grease fitting can result from improper installation, damaged threads, or worn seals. To fix leaks, ensure the fitting is tightened to the correct torque specification. If leaks persist, inspect the threads and seals for damage. Replace any damaged components and reapply thread sealant if necessary.
Ensuring Consistent Grease Flow:
Consistent grease flow is vital for effective lubrication. If the grease flow is inconsistent, check for blockages, air pockets in the grease gun, or low-quality grease. Ensure that the grease gun is functioning correctly and that the grease is appropriate for the application. Regular maintenance and using high-quality grease help maintain consistent flow and effective lubrication.
Selecting Quality Grease
Choosing the right type of grease for your specific application is crucial for effective lubrication. Grease types vary based on their base oil, thickener, and additives. Common types include:
Lithium Grease: Versatile and suitable for most applications, including automotive and industrial equipment.
Calcium Grease: Ideal for applications requiring water resistance, such as marine and agricultural equipment.
Polyurea Grease: Suitable for high-temperature applications, commonly used in electric motors.
Molybdenum Disulfide Grease: Provides excellent load-carrying capacity, ideal for heavy-duty applications and high-pressure points.
Factors Influencing Grease Selection:
Operating Temperature: Ensure the grease can perform within the temperature range of your application.
Load and Pressure: Choose a grease with adequate load-carrying capacity and EP (extreme pressure) additives if necessary.
Speed of Operation: High-speed applications may require a low-viscosity grease to prevent overheating.
Environmental Conditions: Consider factors like moisture, dust, and chemical exposure that could affect grease performance.
Compatibility: Ensure the selected grease is compatible with existing lubricants and materials used in your equipment.
Avoiding Over-Greasing and Under-Greasing:
Applying the correct amount of grease is vital to avoid issues:
Over-Greasing: This can cause seals to burst, increase friction, and generate excess heat, leading to premature failure of components.
Under-Greasing: Insufficient lubrication can cause increased wear and tear, resulting in higher maintenance costs and equipment downtime.
Ensuring Even Distribution of Grease:
For effective lubrication, it is crucial to ensure that grease is evenly distributed throughout the component:
Method: Use a grease gun to apply grease gradually, ensuring it reaches all necessary areas.
Monitoring: Pay attention to grease escaping from seals or relief valves, indicating that the component is adequately lubricated.
Using the Right Amount of Grease for Different Components:
Different components may require varying amounts of grease:
Bearings: Typically need a moderate amount of grease. Over-greasing bearings can cause excess heat and friction.
Gears: Require sufficient grease to cover all contact surfaces. Ensure the grease is suitable for the load and speed of the gears.
Pins and Bushings: May need less grease compared to other components, but ensure it is applied consistently to avoid dry spots.
By selecting quality grease and adhering to proper greasing techniques, you can significantly enhance the performance and longevity of your machinery. Implementing these best practices ensures that all components are adequately lubricated, reducing the risk of mechanical failures and maintenance costs.
Proper installation of grease fittings is essential for maintaining the efficiency and longevity of your machinery. Ensuring that fittings are correctly installed not only enhances equipment performance but also prevents costly breakdowns and repairs. Regular maintenance, including periodic greasing and inspections, is crucial for keeping machinery in optimal condition. Correct greasing techniques, such as avoiding over-greasing and ensuring even distribution, play a vital role in preventing wear and tear on moving parts. We encourage you to take proactive steps in inspecting and installing grease fittings in your machinery. Regularly check your equipment for proper lubrication and address any issues promptly to maintain peak performance.
A grease fitting, also known as a Zerk fitting, is a small component that provides a point for a grease gun to inject lubricant into mechanical parts, ensuring proper lubrication and reducing friction.
The frequency of lubrication depends on the specific application and operating conditions. Consult your equipment’s manual for recommended greasing intervals, but regular checks and maintenance are essential to ensure optimal performance.
The type of grease depends on the operating conditions and requirements of your equipment. Common types include lithium, calcium, polyurea, and molybdenum disulfide greases. Always choose a grease compatible with your application and environment.
If grease does not flow into the fitting when using a grease gun, the fitting may be clogged. You can remove the fitting and clean it with a grease fitting cleaner tool or replace it if necessary.
Yes, over-greasing can cause seals to burst, increase friction, and generate excess heat, leading to premature component failure. It is important to apply the correct amount of grease as recommended by the equipment manufacturer.
Grease leaks can indicate improper installation, damaged threads, or worn seals. Tighten the fitting to the correct torque specification, inspect for damage, and replace any faulty components to ensure a proper seal and effective lubrication.
Have a question or suggestion? Fill out the form below to get in touch with one of our experts.

