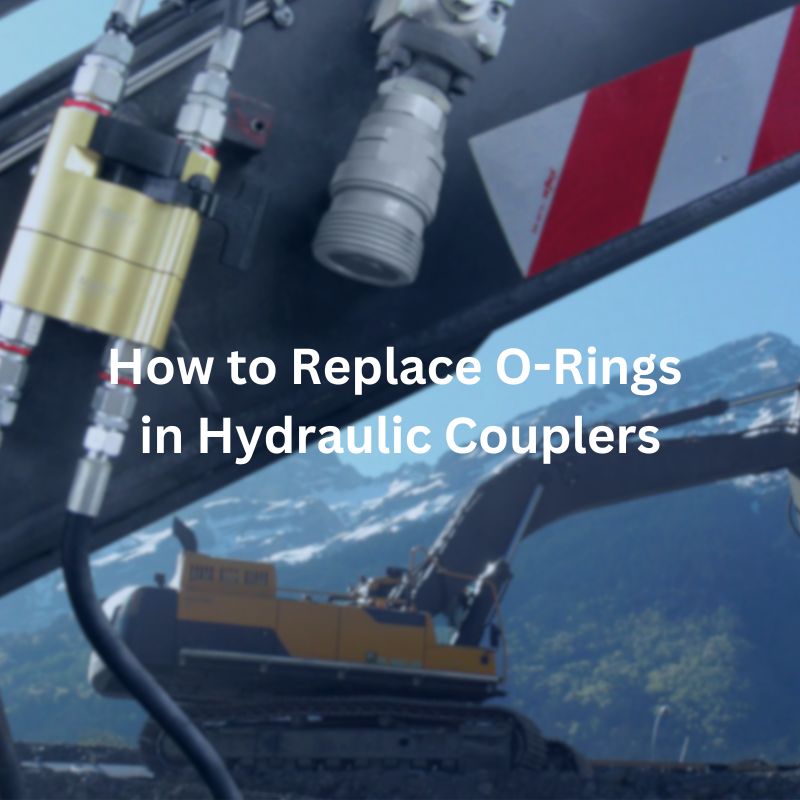
How to Replace O-Rings in Hydraulic Couplers
Table of Contents
Introduction
O-rings play a vital role in hydraulic systems. However, worn o-rings can lead to several problems, primarily leakage, which not only reduces the efficiency of the hydraulic system but also leads to more serious mechanical failures and safety hazards. Therefore, replacing o-rings in hydraulic couplers is an important maintenance task. It is important to understand the conditions that lead to o-ring wear, select the correct replacement material, and ensure the continued efficient operation of the hydraulic system during the replacement process.
Practical Applications and Challenges in Hydraulic Couplers
Diverse Industrial Utilization
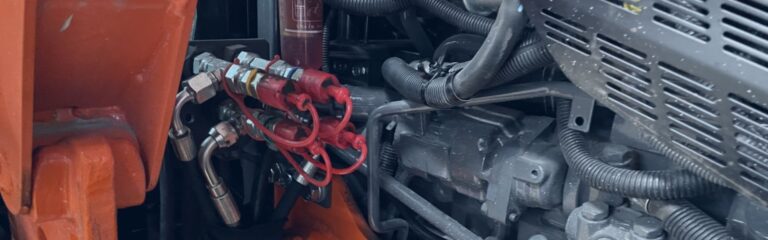
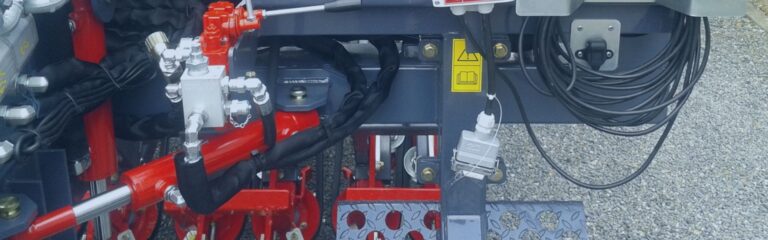
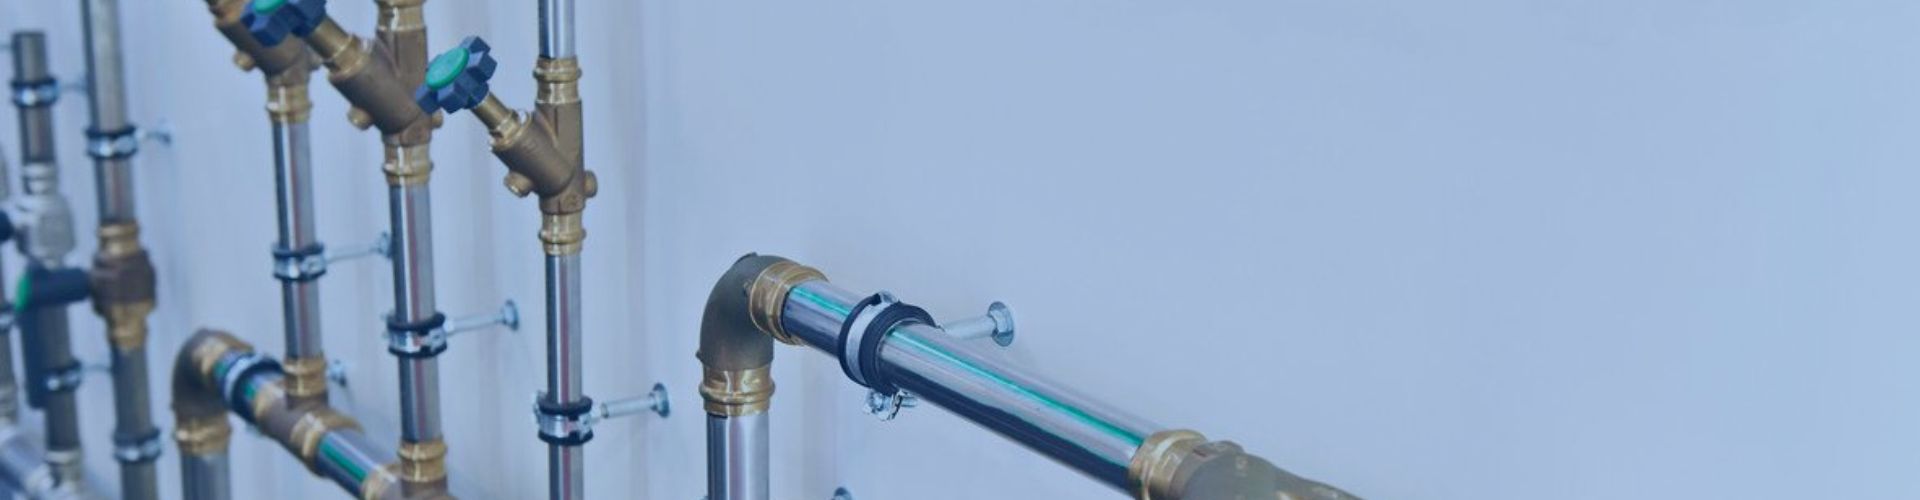
Hydraulic couplers are integral to various industries, each presenting unique demands and environments. In construction, they are crucial for heavy machinery like bulldozers and cranes, where they manage fluid flow for smooth operations. Similarly, in agriculture, they are found in tractors and irrigation systems, playing a vital role in mechanized farming. The automotive industry relies on them for vehicle assembly lines, and in aerospace, they are essential in maintaining aircraft hydraulic systems.
Persistent Challenges in Usage and Maintenance
Despite their widespread use, hydraulic couplers face significant challenges. The most prominent is wear and tear due to constant high-pressure operation and exposure to various fluids. This wear can lead to leaks, reducing the efficiency of the entire system. Compatibility is another challenge; using the wrong type of coupler can lead to operational failures. Environmental factors like extreme temperatures and corrosive elements also impact their durability and functionality.
Innovation and Solutions
To combat these challenges, innovative solutions have been developed. Advanced materials like high-grade polymers and stainless steel are being used to enhance durability and resistance to harsh conditions. Design improvements focus on ensuring compatibility and ease of installation, reducing the risk of operational errors. Technological advancements have introduced smart couplers equipped with sensors for real-time monitoring, foreseeing maintenance needs and preventing system failures. These advancements not only extend the lifespan of hydraulic couplers but also contribute to the safety and efficiency of the systems they support.
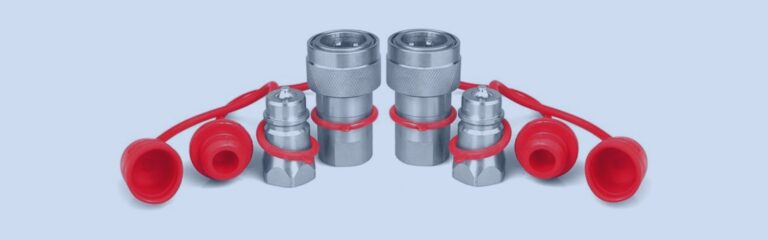
The Role of O-Rings in Hydraulic Couplers
Understanding the role of O-rings in hydraulic couplers is essential for maintaining the efficiency and reliability of hydraulic systems.

Crucial Function of O-Rings
O-rings serve as dynamic seals in hydraulic couplers, ensuring the containment of hydraulic fluids under varying pressures and temperatures.
Their primary role is to prevent fluid leaks, which are detrimental to the performance and safety of hydraulic systems.
The effectiveness of O-rings in sealing joints is central to maintaining the pressure required for the hydraulic system’s operation.
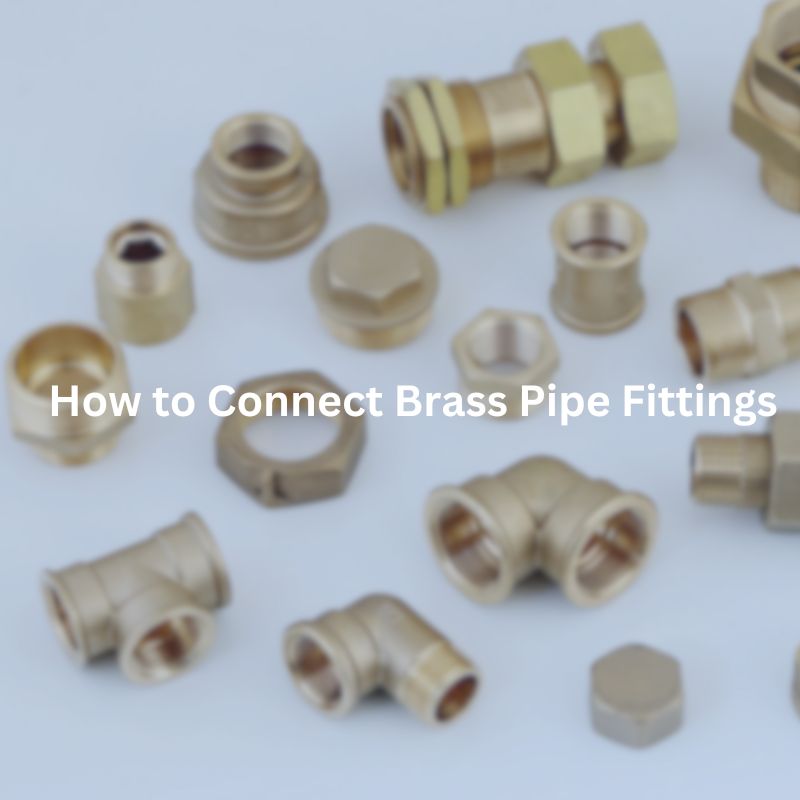
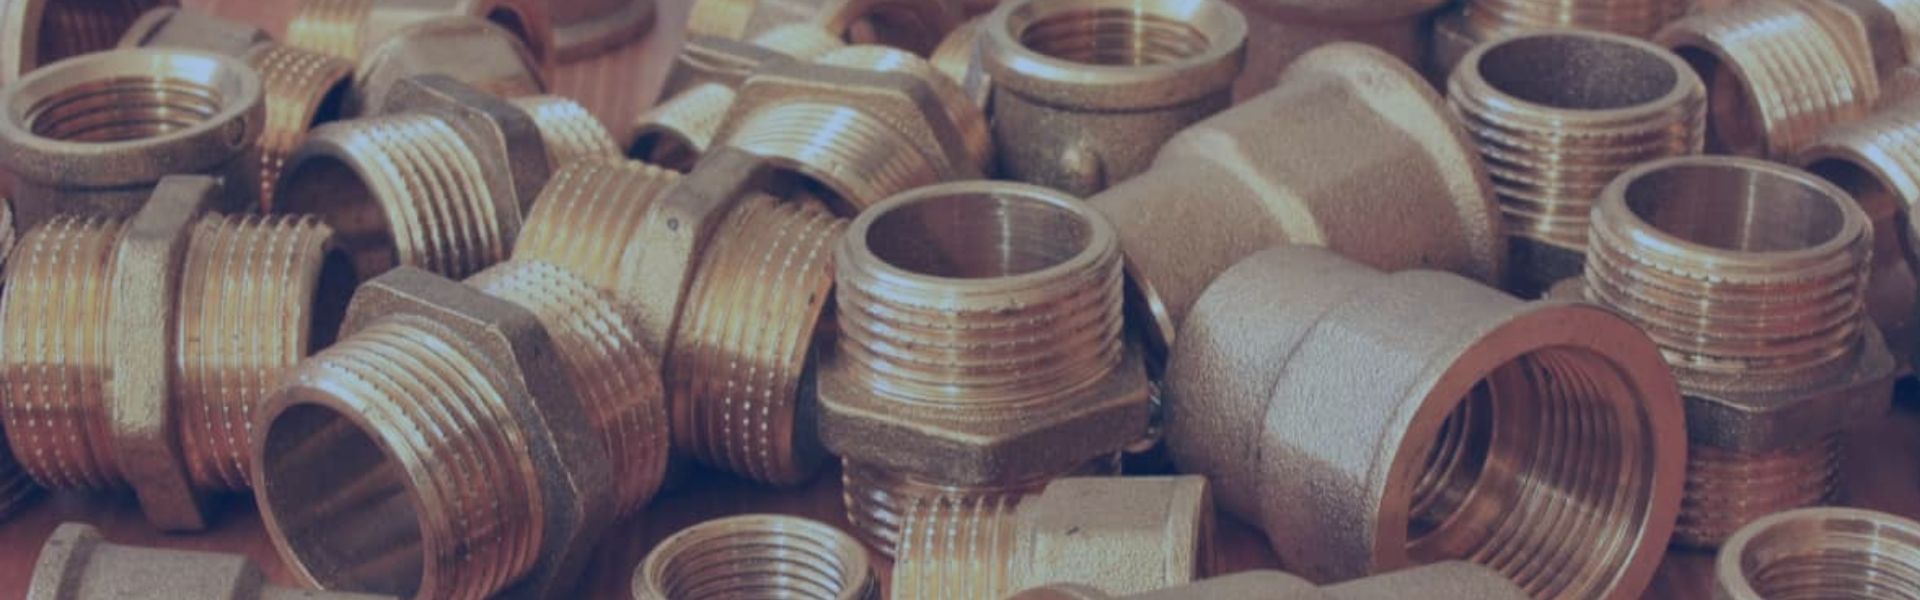
Material Selection and Properties
The selection of O-ring materials is critical and varies based on operational requirements. Common materials include Nitrile, which is valued for its resistance to oils and fuels; Viton, known for its high-temperature tolerance; and Silicone, preferred in low-temperature environments.
Each material offers different properties, like chemical resistance, temperature range, and durability, impacting the O-ring’s performance in specific environments.
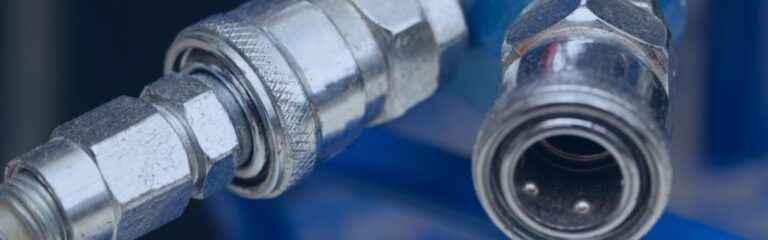
Sizing and Compatibility
Precise sizing of O-rings is essential for effective sealing. An improperly sized O-ring can result in leaks, affecting the system’s integrity.
Compatibility with the coupler material and the hydraulic fluid is also crucial to prevent degradation of the O-ring, which can lead to system failure.
Maintenance and Longevity
O-rings require regular inspection and maintenance to ensure their integrity. This includes checking for wear, tear, and environmental damage.
Understanding the lifespan of different O-ring materials helps in planning maintenance schedules and preemptive replacements, thus avoiding unexpected system downtimes.
In summary, the role of O-rings in hydraulic couplers is multifaceted, encompassing material selection, sizing for compatibility, and regular maintenance. This comprehensive understanding is vital for ensuring the longevity and efficiency of hydraulic systems.
Signs of O-Ring Wear and Failure
Understanding the indicators of wear and failure in O-rings is essential for the proactive maintenance of hydraulic systems.
Early Warning Signs of O-Ring Degradation
Visual Cues: Regular inspections may reveal physical changes like surface cracks, hardening, swelling, or erosion in the O-ring material.
Leakage and Seepage: The occurrence of any fluid leakage or seepage around the coupler is a clear sign of seal compromise.
Performance Fluctuations: Any inconsistency in hydraulic system performance, like pressure drops or erratic operation, could indicate a failing O-ring.
Advanced Symptoms Necessitating Immediate Action
Increased Operational Noise: Unusual noises during operation, such as hissing or popping sounds, can be a result of air ingress or fluid bypass caused by defective O-rings.
System Contamination: Contamination of the hydraulic fluid, visible as debris or discoloration, often occurs due to O-ring disintegration.
Impact of Overlooking O-Ring Wear
System Breakdown: Continuous usage of worn O-rings can escalate to a total system breakdown, necessitating expensive repairs or replacements.
Safety Risks: Hydraulic system malfunctions due to failed O-rings can create hazardous working conditions, especially in heavy machinery and high-pressure systems.
Operational Cost Surge: Neglecting O-ring maintenance leads to inefficiencies in system operation, increasing energy use and operational costs.
Prompt identification and replacement of worn O-rings are key to maintaining the safety, efficiency, and longevity of hydraulic systems.

Tools and Materials Needed for O-Ring Replacement
The process of replacing O-rings in hydraulic couplers requires precise tools and specific materials to ensure a successful operation.
Comprehensive Toolset for O-Ring Replacement
Specialized O-Ring Tools:** Tools like picks and hooks are indispensable for removing old O-rings. They need to be precise and durable to avoid any damage to the coupler surfaces.
Lubricants and Sealants: Selecting the right lubricant is crucial. It should be compatible with the O-ring material and the hydraulic fluid to prevent any chemical reaction.
Cleaning Equipment: Before installing new O-rings, the area must be thoroughly cleaned. This requires high-quality cleaners and lint-free cloths to avoid leaving residues.
Detailed Guide to O-Ring Selection
Accurate Measurement Tools: Precise measurement of the O-ring groove is necessary, for which tools like vernier calipers or specialized gauges are used.
Understanding Material Properties: The choice of material for the O-ring is determined by the hydraulic fluid type and the operational environment. For instance, Nitrile rubber is commonly used for its resistance to petroleum-based oils and fuels, while Viton is chosen for its ability to withstand high temperatures.
Size and Compatibility: Ensuring the O-ring size perfectly matches the groove dimensions is vital for achieving the necessary seal. The O-ring’s cross-sectional diameter and internal diameter should align with the coupler’s specifications.
By preparing with the right tools and knowledge about O-ring materials and sizes, technicians can efficiently and effectively carry out the replacement process, thereby maintaining the integrity and performance of the hydraulic system.
Step-by-Step Guide to Replacing O-Rings
Replacing O-rings in hydraulic couplers is a detailed process that requires precision and care to ensure the effective operation of the hydraulic system.
Removing Old O-Rings
Safety First: Begin by ensuring the hydraulic system is deactivated and pressure is fully released to prevent accidents.
Disassembling the Coupler: Carefully dismantle the coupler parts to access the O-ring. This may involve loosening screws or bolts and should be done gently to avoid damage to the components.
Extracting the O-Ring: Use a specialized O-ring removal tool to carefully pry the old O-ring from its seat. It’s important to avoid using sharp or metal tools that might scratch the coupler surfaces, as even minor scratches can lead to leaks.
Installing New O-Rings
Choosing the Correct O-Ring: It’s crucial to select an O-ring that exactly matches the original in terms of size, shape, and material. This ensures the O-ring can withstand the specific pressures and fluids of your system.
Preparing the New O-Ring: Before installation, the O-ring should be lightly lubricated with a fluid that’s compatible with your system. This helps in easing the O-ring into place and prevents damage during installation.
Placing the O-Ring: Gently position the new O-ring in its designated groove, making sure it sits evenly. Be careful not to stretch or twist the O-ring during installation, as this can compromise the seal.
Ensuring a Leak-Free Seal

Reassembling the Coupler: Put the coupler back together, ensuring all parts align correctly and are securely fastened. Avoid over-tightening, which can cause deformation and compromise the seal.
Inspection and Testing: Once reassembled, do a thorough inspection to ensure everything is in place. Then, carefully reactivate the hydraulic system and monitor for any leaks or performance issues. It’s essential to observe the system under normal operating conditions to confirm the effectiveness of the O-ring replacement.
By following these detailed steps, you can effectively replace O-rings in hydraulic couplers, thereby ensuring the efficiency and safety of your hydraulic system.
Testing and Troubleshooting
Effective testing and troubleshooting after replacing O-rings in hydraulic couplers is a multi-step process that ensures the system operates optimally.
Comprehensive Testing for System Integrity
Pressure Testing: Gradually increase hydraulic pressure, observing for any leaks. If leaks are present, this could indicate an issue with the O-ring’s fit or installation.
Operational Testing: Run the hydraulic system through various operations. Monitor for consistent pressure and fluid flow. Inconsistencies might suggest issues with the O-ring’s performance.
Visual Inspection: Check for any signs of oil leakage around the coupler. Even minor seepage can indicate a problem with the O-ring seal.
Auditory Checks: Listen for unusual sounds like hissing, which can indicate a pressure leak in the system.
Troubleshooting Post-Replacement Issues
Diagnosing Leakage: If leakage occurs, reassess the O-ring’s fit. Ensure it’s not too tight or loose and seated correctly in its groove.
Handling Pressure Variations: Erratic pressure can be a sign of air trapped in the system or a compromised seal. Carefully bleed the system and check the O-ring’s placement.
Material Compatibility: Ensure the O-ring material is suitable for the type of hydraulic fluid used. Incompatible materials can degrade quickly, leading to failure.
Revisiting Installation Steps: If problems persist, retrace the installation steps. An improperly installed O-ring can lead to multiple issues in the hydraulic system.
By methodically performing these tests and addressing any issues that arise, the hydraulic system’s reliability and efficiency can be significantly enhanced following O-ring replacement.
Maintenance Tips to Prolong O-Ring Life
Proper maintenance of O-rings in hydraulic couplers is essential for ensuring their durability and the optimal performance of hydraulic systems.
In-Depth Routine Maintenance Practices
Scheduled Inspections: Establish a frequent inspection routine for O-rings. Look for signs of aging such as brittleness, discoloration, and loss of elasticity.
Contamination Avoidance: Actively prevent the exposure of hydraulic systems to harmful contaminants. Regularly clean and check for any signs of corrosion or chemical degradation.
Appropriate Lubrication: Choose lubricants that are specifically designed for use with the types of O-rings in your system. Apply lubrication in a manner that covers the entire surface of the O-ring without leaving excess.
Strategic Approaches to Extend O-Ring Life
Optimal Storage Conditions: Store O-rings in a controlled environment where they are protected from UV light, ozone, and extreme temperatures, as these factors can accelerate material degradation.
Careful Handling: When installing or replacing O-rings, handle them with care to avoid nicks, twists, or stretching that can compromise their integrity.
Material Compatibility: Understanding the compatibility between O-ring materials and hydraulic fluids is critical. Materials like Polyurethane or EPDM have specific resistance properties that make them suitable for certain environments.
Regular Replacement Schedule: Even with the best maintenance, O-rings have a finite lifespan. Establishing a replacement schedule based on the manufacturer’s recommendations and your system’s usage patterns can prevent unexpected failures.
Adhering to these detailed maintenance tips will not only prolong the life of O-rings in hydraulic couplers but also contribute to the overall health and efficiency of the hydraulic systems they are part of.
Reassembling the Coupler: Put the coupler back together, ensuring all parts align correctly and are securely fastened. Avoid over-tightening, which can cause deformation and compromise the seal.
Inspection and Testing: Once reassembled, do a thorough inspection to ensure everything is in place. Then, carefully reactivate the hydraulic system and monitor for any leaks or performance issues. It’s essential to observe the system under normal operating conditions to confirm the effectiveness of the O-ring replacement.
By following these detailed steps, you can effectively replace O-rings in hydraulic couplers, thereby ensuring the efficiency and safety of your hydraulic system.
Effective testing and troubleshooting after replacing O-rings in hydraulic couplers is a multi-step process that ensures the system operates optimally.
Conclusion
In summary, the importance of proper O-ring replacement in hydraulic couplers cannot be overstated. It is a fundamental aspect that ensures the efficiency and reliability of hydraulic systems. Regular maintenance, including routine inspections and timely replacements, is key to preventing leaks and system failures. Safety checks are equally important, as they ensure the operational integrity of the system and safeguard against potential hazards. Adhering to these practices not only prolongs the life of the hydraulic system but also ensures consistent performance, ultimately contributing to the smooth operation of the machinery and equipment they are part of.


