Salt spray testing is a standardized, accelerated laboratory method used to evaluate the corrosion resistance of materials and surface coatings by exposing them to a simulated saline environment. In high-pressure hydraulic systems, metal components are constantly under threat from environmental oxidation and moisture. Without verification, a single salt spray testing verified hydraulic fitting can fail prematurely, leading to catastrophic system leaks and expensive equipment damage.
Imagine an offshore oil rig or a construction site where a critical component corrodes in weeks rather than years, leading to immense safety risks. Rigorous testing offers a controlled way to predict the lifespan of these components before they reach the field.
What Is The Primary Purpose Of Salt Spray Testing?
The primary purpose of salt spray testing is to provide an accelerated simulation of corrosive environments to evaluate how well a protective coating or material can withstand oxidation over time. This process allows you to determine the durability of surface treatments like zinc plating or powder coating in a matter of days rather than years.
Why Is Corrosion Resistance Critical For Modern Systems?
Think about it: a small amount of rust on a high-pressure fitting can compromise the structural integrity of an entire hydraulic system. Salt spray testing helps prevent fluid contamination and ensures that your hardware remains functional in harsh outdoor conditions.
- Maintains structural integrity under high pressure.
- Prevents expensive fluid leaks and contamination.
- Ensures longevity of specialized surface treatments.
How Does It Validate Quality Assurance?
Here is the best part: this testing allows manufacturers to benchmark different coating thicknesses and validate their performance claims against international safety standards. By exposing samples to a concentrated saline mist, you gain data-driven insights into the material’s failure points.
Continuous exposure in a controlled environment provides a reliable baseline for comparing the protective capabilities of various metallic finishes.
| Testing Goal | Description |
| Verification | Validates that coatings meet minimum thickness and durability requirements. |
| Benchmarking | Compares different finishing methods like galvanizing versus painting. |
| Risk Mitigation | Identifies potential failure points before components are deployed. |
This systematic approach ensures that every component is prepared for the specific oxidative challenges of its intended working environment.
How Does The Mechanism Of Salt Spray Testing Work?
The mechanism of salt spray testing relies on the atomization of a saline solution into a fine mist that creates a highly conductive electrolyte on the specimen’s surface. This mist triggers an electrochemical reaction between the metal and oxygen, significantly accelerating the natural corrosion process.
What Is The Role Of The Saline Mist?
Look: the 5% sodium chloride solution simulates the harsh conditions found in coastal regions or on salt-treated winter roads. The salt spray testing environment maintains a specific temperature and pH level to ensure the electrochemical reaction remains consistent across all samples.
- Atomizes salt solution into a precise droplet size.
- Ensures uniform distribution of the electrolyte film.
- Maintains a constant 35°C temperature for steady reaction rates.
The Electrochemical Process Of Oxidation
You might wonder how a few days in a chamber can replicate years of use. The continuous supply of moisture and salt ions facilitates the rapid transfer of electrons, leading to the formation of red or white rust.
Testing reveals the effectiveness of a coating’s barrier properties and its ability to protect the underlying substrate from aggressive ions.
| Mechanism Component | Function |
| Atomizer | Converts liquid solution into a fine, hovering fog. |
| NaCl Solution | Acts as the corrosive agent that triggers oxidation. |
| Specimen Orientation | Ensures the mist settles naturally on the test surface. |
Controlled electrochemical acceleration provides the necessary data to predict long-term material behavior in real-world coastal or industrial settings.
What Are The Standard Procedures For Salt Spray Testing?
Standard procedures for salt spray testing involve meticulous sample preparation, solution calibration, and specific chamber settings to ensure reproducible and accurate results. Following these steps strictly is essential to maintain the validity of the data collected during the exposure cycle.
How Do You Prepare Samples Correctly?
The first step involves cleaning the specimens to remove any oils, fingerprints, or debris that could interfere with the corrosive reaction. You must also protect edges or non-tested areas with specialized wax or tape to focus the salt spray testing on the primary surfaces.
- Thorough cleaning with distilled or deionized water.
- Removing all surface contaminants and industrial oils.
- Orienting samples at a 15 to 30-degree angle.
Setting Up The Chamber Parameters
Here is the key: the pH of the salt solution must be maintained within a tight range of 6.5 to 7.2 to ensure a neutral environment. Constant monitoring of the air pressure and collection rates is required to keep the mist density uniform throughout the duration of the test.
Accurate calibration of the temperature and solution concentration is the only way to guarantee that results are comparable across different laboratories.
| Step | Requirement |
| Cleaning | Surface must be free of all grease and contaminants. |
| pH Level | Must stay between 6.5 and 7.2 for neutral testing. |
| Collection Rate | 1.0 to 2.0 mL per hour per 80 cm² of surface area. |
Meticulous adherence to standardized setup procedures ensures that the resulting data is a true reflection of the material’s corrosion resistance.
Which Global Standards Govern Salt Spray Testing?
Global standards like ASTM B117 and ISO 9227 govern salt spray testing by defining the exact environmental conditions and durations required for various industrial applications. These frameworks provide a common language for manufacturers and clients to verify that parts like a hydraulic hose fitting meet safety requirements.
Understanding ASTM B117 And ISO 9227
The ASTM B117 protocol is the most widely adopted standard, focusing on continuous fogging with a neutral salt solution. Many European projects prefer ISO 9227, which offers similar parameters but includes specific instructions for acidic or copper-accelerated tests.
- ASTM B117: The baseline for neutral salt spray (NSS).
- ISO 9227: Covers NSS, AASS, and CASS testing variants.
- MIL-STD-810G: Dedicated to military-grade hardware and harsh environments.
Why Do Military Standards Differ?
The best part? Military standards often require cyclic testing that includes drying periods to better mimic the fluctuating conditions found in the field. This specialized salt spray testing approach provides a more rigorous challenge for components used in defense and aerospace sectors.
International standards ensure that components are tested under identical conditions, regardless of where in the world they are manufactured.
| Standard | Main Application | Key Environment |
| ASTM B117 | Metals and Coatings | 5% NaCl, Continuous Fog. |
| ISO 9227 | Global Industry | Covers Neutral and Acidic tests. |
| SAE J2334 | Automotive | Cyclic humidity and salt exposure. |
Adopting these recognized standards allows you to compare material performance across different suppliers and ensures compliance with global engineering benchmarks.
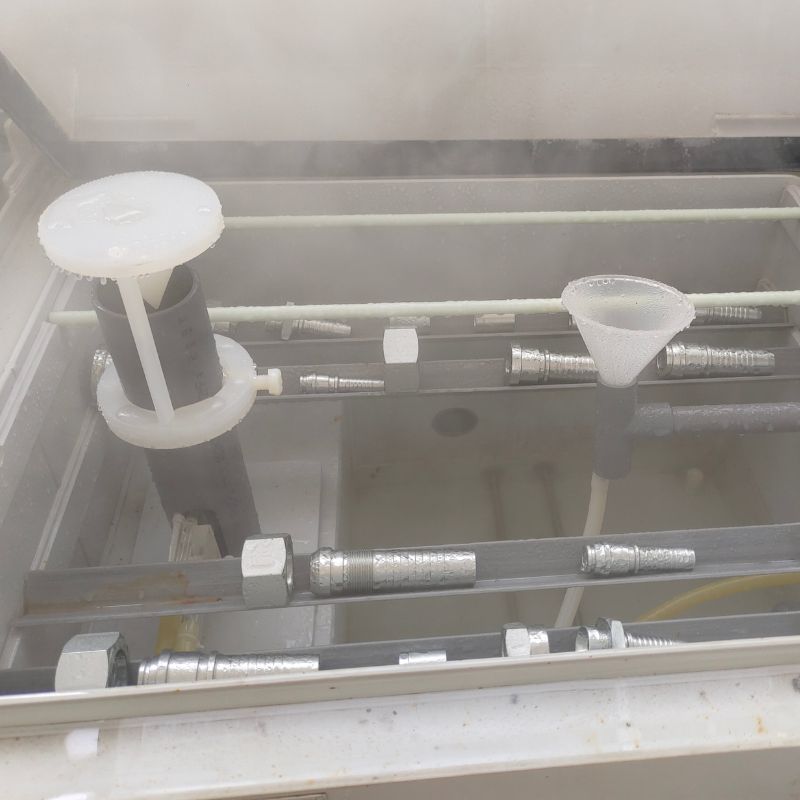
What Equipment Is Required For Salt Spray Testing?
Essential equipment for salt spray testing includes a corrosion-resistant chamber, precise atomizing nozzles, and advanced temperature control systems to maintain a stable testing environment. High-quality machinery is necessary to ensure the salt spray remains uniform and does not settle as large droplets on the specimens.
What Makes A Quality Testing Chamber?
A professional chamber is usually constructed from reinforced plastic or glass-lined materials to prevent the equipment itself from corroding. It must feature a dedicated reservoir to store enough 5% NaCl solution for a continuous run that may last over 1,000 hours.
- Atomizing Nozzles: Create a fog with specific droplet sizes.
- Heating Elements: Maintain a steady 35°C internal temperature.
- Collection Funnels: Monitor the amount of fog settling on the parts.
The Role Of Precision Controls
Believe it or not: even a small fluctuation in air pressure can change the mist density and invalidate the entire salt spray testing session. Modern systems utilize digital controllers to monitor pH, humidity, and temperature in real-time, providing a log of the entire test history.
Investing in high-precision hardware is the only way to achieve the repeatable results required for high-stakes industrial validation.
| Equipment Component | Primary Function |
| Solution Reservoir | Stores the electrolyte for continuous fogging. |
| Digital Controller | Regulates temperature, pH, and air pressure. |
| Specimen Racks | Holds parts at the correct angle for exposure. |
Robust and precisely calibrated equipment forms the foundation of a reliable testing program that you can trust for critical component certification.
How Should You Interpret Salt Spray Testing Results?
To interpret results, you must perform a visual inspection to identify the presence of red or white rust and calculate any weight loss that occurred during the test. Understanding these indicators allows you to determine if a protective layer has successfully shielded the base metal from failure.
What Is The Difference Between Red And White Rust?
White rust typically indicates the oxidation of a sacrificial zinc coating, which is common on galvanized hydraulic adapter components. Red rust is far more serious, as it signals that the corrosive agent has reached the iron or steel substrate, indicating a total coating failure.
- White Rust: Corrosion of the protective zinc layer.
- Red Rust: Oxidation of the base steel or iron.
- Blistering: Lifting of the coating from the substrate.
How Do You Calculate Corrosion Rates?
The secret is in the numbers: weighing a component before and after exposure allows you to determine a precise corrosion rate in grams per square meter. This quantitative data, combined with a visual assessment for pitting or peeling, provides a complete picture of the material’s health.
A successful test is defined by the component’s ability to remain free of red rust for a specified number of hours.
| Observation | Meaning |
| No Rust | The coating is intact and providing full protection. |
| Localized Pitting | Small areas of failure that could lead to leaks. |
| Widespread Red Rust | Complete failure of the surface treatment system. |
Accurate interpretation of these visual and quantitative signs is vital for deciding whether a part is safe for high-pressure or marine use.
What Are The Main Types Of Salt Spray Testing Solutions?
The main types of salt spray testing solutions include Neutral Salt Spray (NSS), Acetic Acid Salt Spray (AASS), and Copper-Accelerated Acetic Acid Salt Spray (CASS). While NSS is the industry standard for most metals, the other variations provide a more aggressive environment for specific decorative or specialized coatings.
When Is NSS The Best Choice?
Neutral Salt Spray is used for testing general metal coatings and anodic oxide layers. It provides a baseline assessment of how a metric hydraulic fittings product will perform in standard outdoor or industrial environments.
- NSS: Standard 5% NaCl solution at a neutral pH.
- AASS: Includes glacial acetic acid for testing aluminum.
- CASS: Adds copper chloride for highly accelerated testing.
Why Use Acidic Or Accelerated Solutions?
Think about it: some environments, like industrial areas with high pollution or acid rain, require a more aggressive test than standard salt fog. The CASS solution is specifically designed to challenge decorative chrome and high-performance coatings in a fraction of the time needed for NSS.
Each solution serves a distinct purpose, ensuring that the test matches the specific environmental challenges your components will face.
| Solution Type | Additives | Common Use Case |
| Neutral (NSS) | 5% Sodium Chloride | Steel fittings and general coatings. |
| Acetic (AASS) | Glacial Acetic Acid | Anodized aluminum and plastics. |
| Copper (CASS) | CuCl2 + Acetic Acid | Decorative chrome and marine alloys. |
Choosing the correct solution is critical to obtaining relevant data that accurately reflects the real-world conditions of your specific industry.
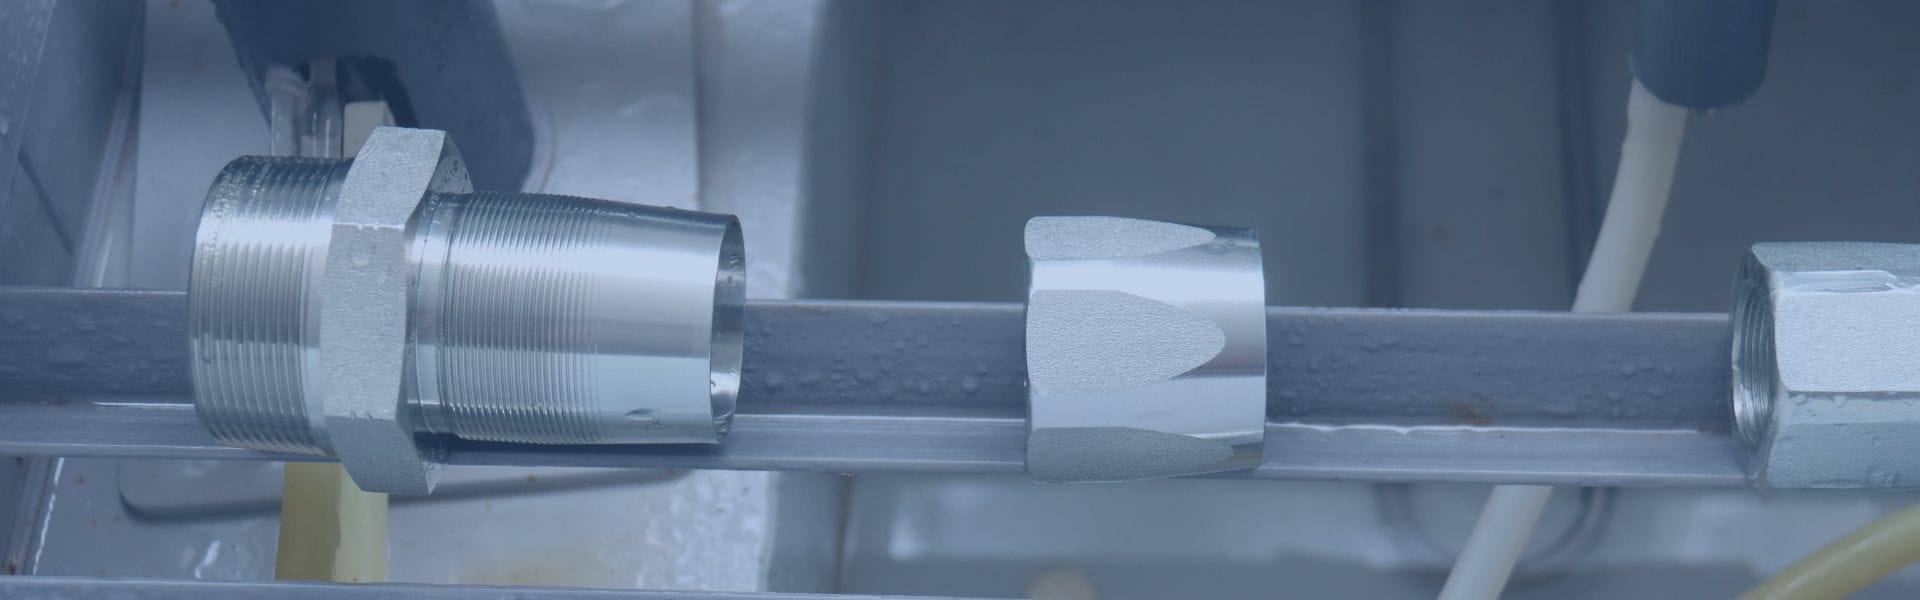
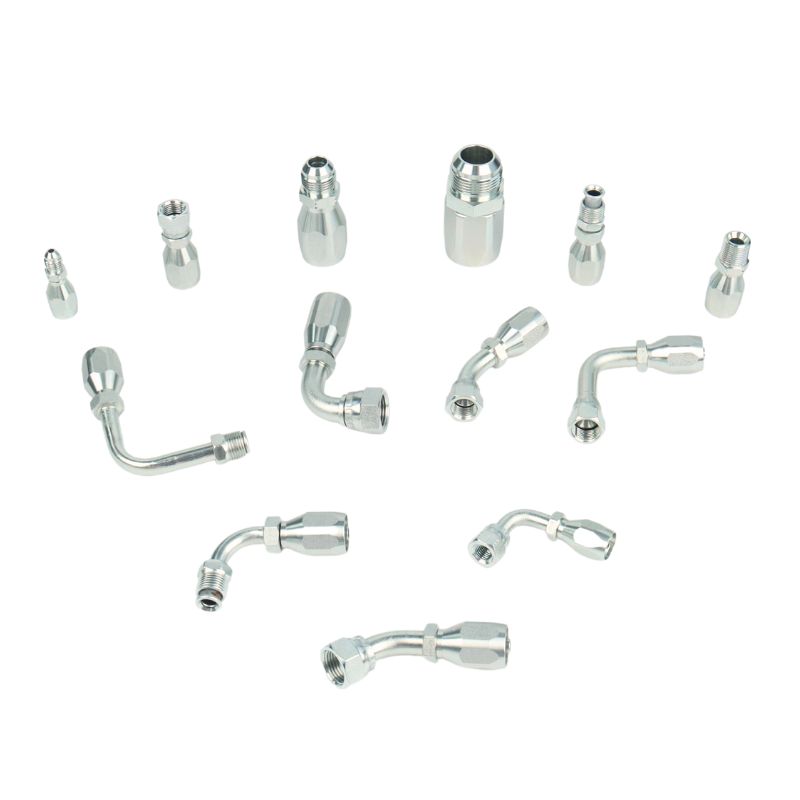
Why Are Hydraulic Fittings Subjected To Salt Spray Testing?
Hydraulic fittings are subjected to this testing because they operate in high-pressure environments where even minor surface corrosion can lead to structural failure or leaks. Ensuring that a SAE hydraulic fitting can resist oxidation is essential for the safety of machinery in construction, agriculture, and mining.

Protecting Critical Threaded Connections
You might wonder why threads are so important. Salt spray testing ensures that different thread standards can maintain a perfect seal even after prolonged exposure to moisture and corrosive agents.
- Maintains the seal integrity of flared connections.
- Prevents rust from seizing threaded components together.
- Ensures safety in offshore and maritime applications.
Reliability In Heavy Machinery
The best part? By testing these components, you ensure that machines like excavators and tractors can operate during peak seasons without unexpected downtime. High-quality fittings must survive hundreds of hours of exposure to prove they can handle the rigors of field use.
Testing is the only way to guarantee that a fitting will not become a weak point in an otherwise robust hydraulic system.
| Fitting Type | Importance of Testing |
| Crimped Hose Fittings | Prevents rust at the critical hose-to-fitting bond. |
| Hydraulic Adapters | Ensures different system parts connect without leaks. |
| Flange Components | Guarantees high-pressure stability in large machinery. |
Subjecting fittings to rigorous salt fog exposure is a non-negotiable step for any manufacturer committed to long-term reliability and operator safety.
What Are The Pros And Cons Of Salt Spray Testing?
The pros and cons of salt spray testing involve its ability to provide rapid, cost-effective feedback versus its inability to simulate every real-world environmental factor. While it is an excellent tool for quality control and benchmarking, you must understand its limitations to interpret the data correctly.
The Benefits Of Accelerated Feedback
Here is the interesting part: salt spray testing provides results in days that would normally take years to observe in natural settings. This speed allows for faster product development cycles and immediate verification of new coating batches.
- Relatively low cost compared to field exposure tests.
- Highly standardized and reproducible across different labs.
- Provides a clear “pass/fail” metric for quality assurance.
Recognizing The Limitations Of The Method
Look: the main drawback is that salt fog alone does not account for UV radiation, temperature cycles, or mechanical wear. Some materials may perform well in a static salt spray testing chamber but fail in the field due to chemicals or physical abrasion.
Understanding these trade-offs helps you use the test as a component of a broader, more comprehensive material validation strategy.
| Advantage | Disadvantage |
| Speed | Does not simulate UV or mechanical stress. |
| Standardization | Salt alone isn’t the only corrosive agent. |
| Affordability | Results may not always correlate to field life. |
While not a perfect simulation of every possible condition, this method remains the industry’s most trusted baseline for comparing the durability of metal coatings.
How Do You Choose A Reliable Supplier For Salt Spray Tested Hydraulic Fittings?
Choosing the right supplier is not only about price.
For hydraulic fittings, corrosion resistance, material stability, and test documentation all matter.
A reliable supplier should be able to support salt spray testing, verify product performance, and provide material reports before shipment.
At Topa, we can arrange salt spray testing for hydraulic fittings based on your product requirements and market standards. This helps buyers confirm coating performance earlier and reduce the risk of rust, leakage, and early failure in real working environments.

Salt Spray Testing Helps Verify Real Product Performance
For many buyers, appearance alone is not enough.
A fitting may look good when packed, but if the surface treatment is unstable, corrosion can appear quickly during storage, transport, or field use.
That is why salt spray testing matters.
We can support salt spray testing for different types of hydraulic fittings to check the anti-corrosion performance of the surface coating. This is especially useful for products used in outdoor equipment, marine environments, agricultural machinery, and humid working conditions.
With salt spray testing, buyers can better judge:
- coating protection performance
- corrosion resistance level
- suitability for humid or coastal environments
- consistency between batches
Material Reports Give Buyers More Confidence
In addition to corrosion testing, material confirmation is also very important.
If the base material is unstable, even a better coating cannot fully protect long-term performance.
Topa can provide material reports for hydraulic fittings to help buyers confirm the raw material condition before mass shipment. This gives clearer support when checking product quality, project requirements, and customer approval needs.
Material reports can help you verify:
- base material type
- chemical composition
- product consistency
- compliance with order requirements
Better Testing Support, Better Order Confidence
When you source hydraulic fittings, you need more than a supplier. You need a partner who can help you reduce quality risk.
Topa supports product verification before delivery, including salt spray testing and material report support, so you can check product performance with more confidence before the goods arrive at your warehouse or customer site.
This helps you:
- reduce complaint risk caused by corrosion
- improve confidence in product quality
- support customer audits and approval processes
- make purchasing decisions faster and more safely
Work With Topa For Tested Hydraulic Fittings
If you need hydraulic fittings with verified anti-corrosion performance, Topa can support your project with salt spray testing service and material reports. Whether you need standard products or custom fittings, we can help you confirm product quality before shipment and make your sourcing process more reliable.
Selecting a qualified partner for your testing needs ensures that your product certifications are accurate and that your hydraulic systems remain safe for years to come.
FAQ
How long does a typical salt spray test last?
Durations vary from 24 hours for basic finishes to over 1,000 hours for high-performance coatings and stainless steel.
Can I use salt spray testing for non-metallic parts?
Yes, it is frequently used to test the adhesion and degradation of protective coatings applied to plastics or ceramics.
How do I know if my fitting passed the test?
A pass is typically defined as the absence of red rust on the substrate after a specified number of exposure hours.
Is ASTM B117 better than cyclic testing?
ASTM B117 is the gold standard for general benchmarking, but cyclic testing is better for simulating real-world automotive or outdoor conditions.
Can I replicate salt spray testing results at home?
No, accurate results require professional chambers with precise control over atomization, temperature, and pH levels.