10 Key Features That Make a Hydraulic Hose Stand Out
Choosing the wrong hose leads to leaks and dangerous failures.
Choosing the wrong hose leads to leaks and dangerous failures.
Imagine a hydraulic hose on your machine suddenly exploding. A

The hydraulic system is pressurized, the fittings are secure, but
A hose looks perfectly fine, but fails suddenly on a

Your machine suddenly stops with a loud bang. A hose
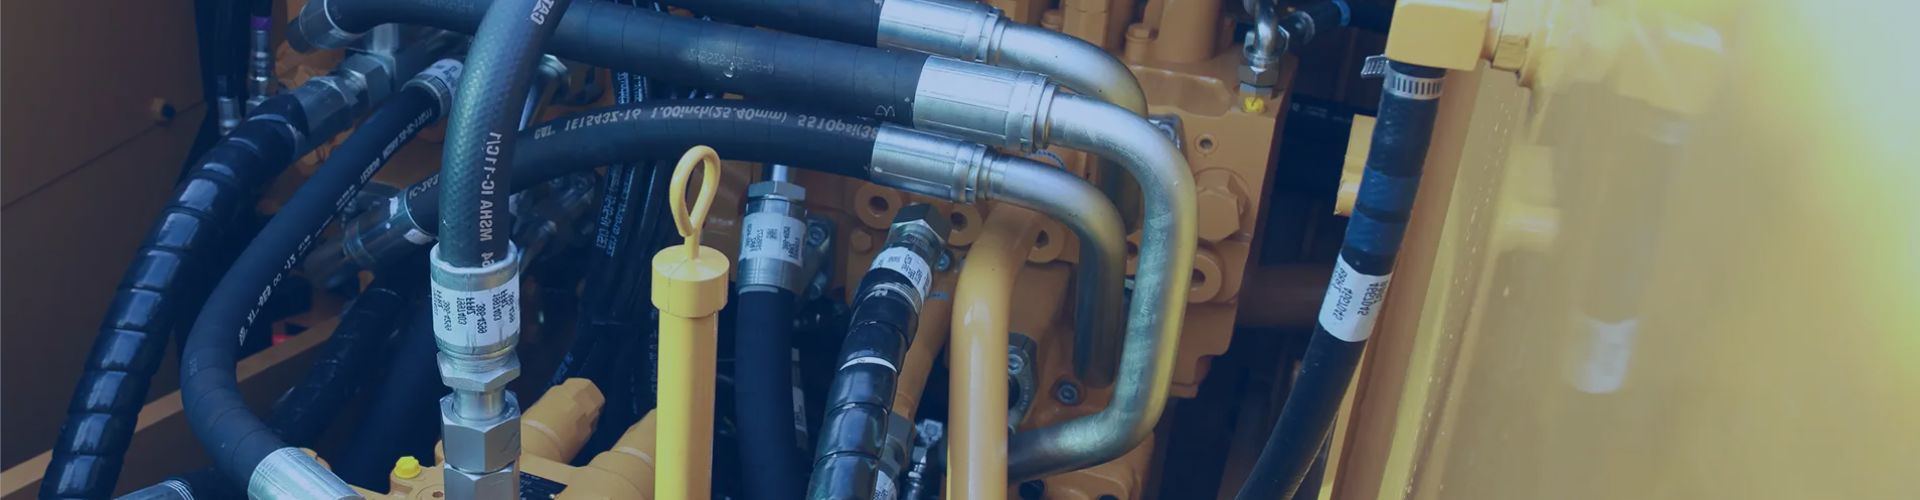
Choosing the wrong hydraulic hose can lead to catastrophic system
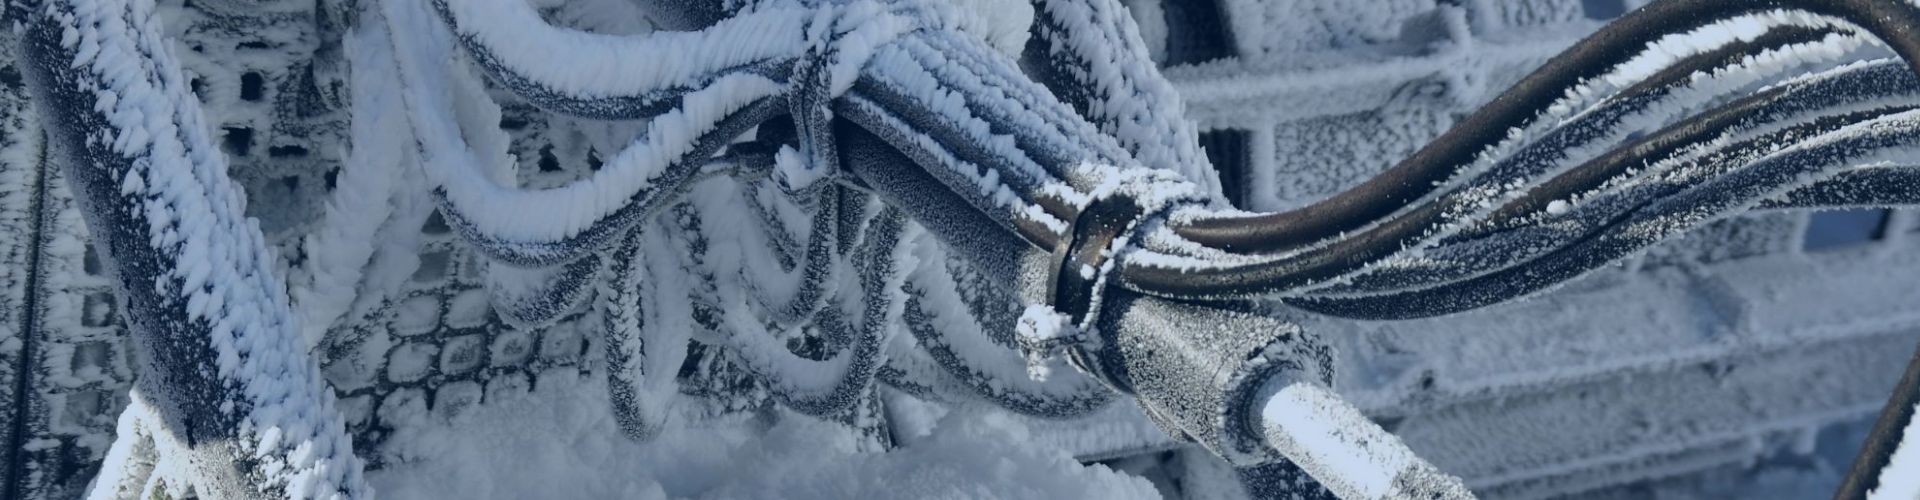
Using standard hydraulic equipment in extreme cold is a recipe
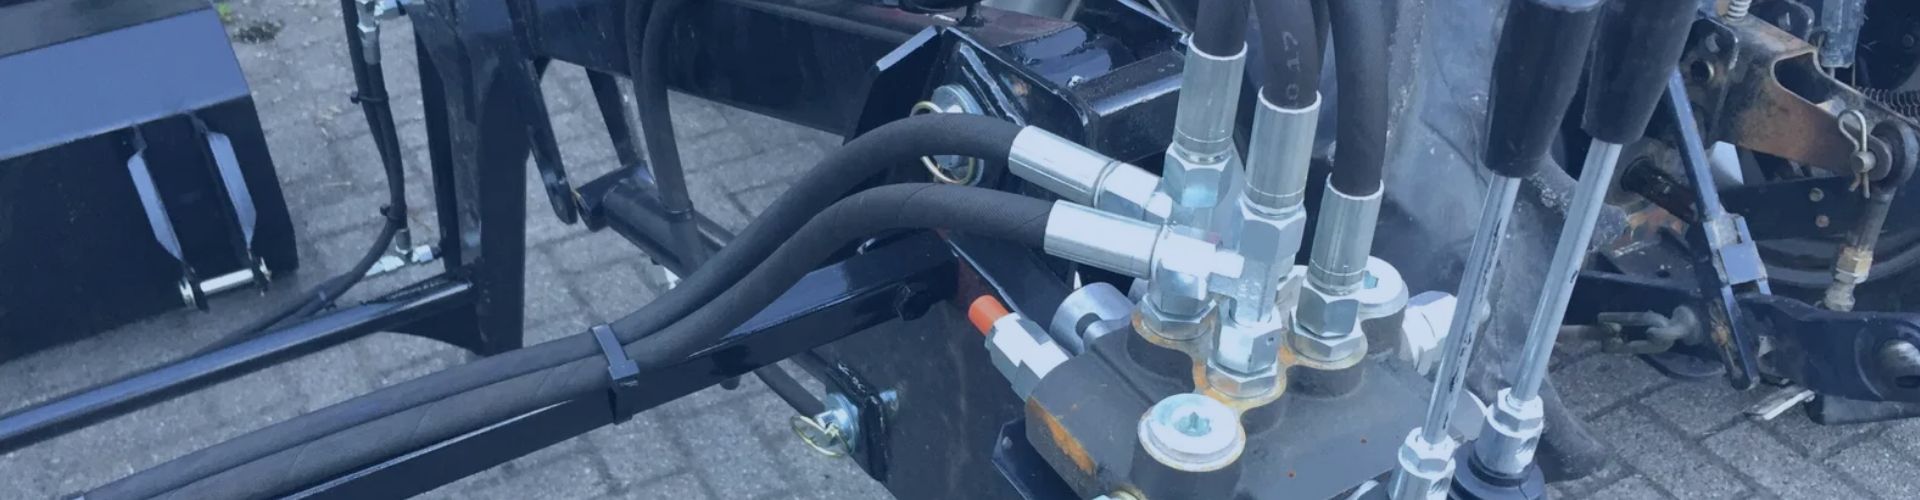
A leaking hydraulic fitting can bring your entire operation to
A failing hydraulic hose can stop your entire operation in

In industries dealing with flammable liquids, gases, or combustible dusts,