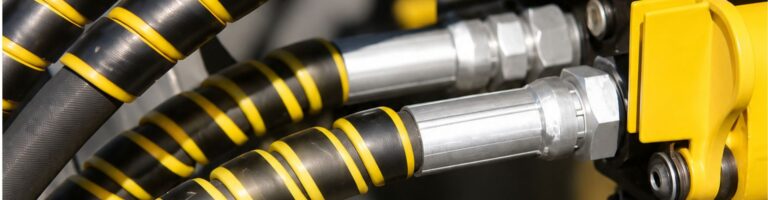
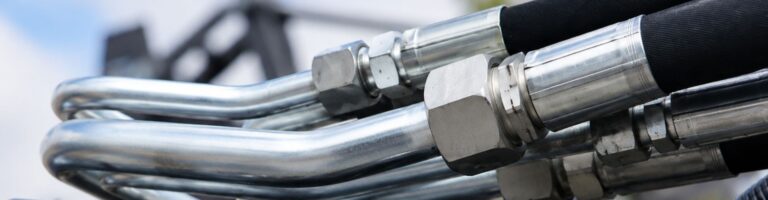
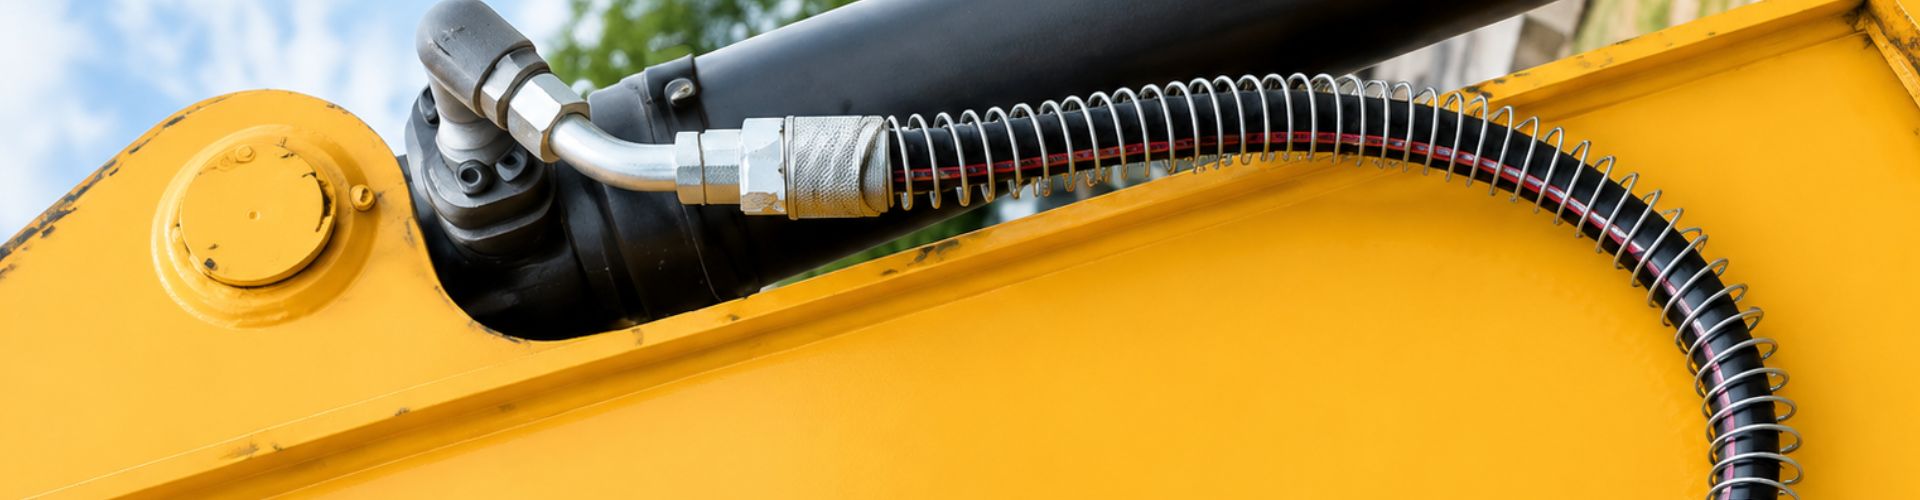
Tube fittings are essential components in fluid and gas systems, ensuring secure connections between tubes and various system elements. Proper installation is critical to prevent leaks, system failures, and potential hazards. Incorrect installation can compromise system integrity, leading to costly repairs and safety risks. This guide aims to provide a comprehensive, step-by-step approach to installing tube fittings correctly.
Description and Usage: Compression fittings are widely used in plumbing and hydraulic systems to join two tubes or pipes together. They consist of a nut, a compression ring (ferrule), and a body. The tube is inserted into the fitting and secured by tightening the nut, and compressing the ferrule onto the tube to create a tight seal.
Common Materials: Typically made from brass, stainless steel, or plastic, depending on the application’s requirements, such as corrosion resistance or strength.
Description and Application Scenarios: Flare fittings involve a tube end that is flared outward at a 45-degree angle, fitting snugly against the fitting’s conical shape. These are often used in high-pressure applications, including gas and refrigeration systems, where a strong, leak-proof seal is crucial.
Compatibility with Various Tube Materials: Suitable for metal tubes, especially copper, aluminum, and stainless steel, commonly used in high-pressure environments.
Features and Ease of Use: Push-to-connect fittings, also known as push fittings, are designed for quick and easy assembly. Simply pushing the tube into the fitting creates a secure connection, eliminating the need for tools. They are favored for their simplicity and speed of installation.
Typical Use Cases in Different Industries: Widely used in pneumatic and low-pressure fluid applications, such as in the automotive, HVAC, and industrial sectors.
Description and Benefits: Bite-type fittings use a sharp-edged ferrule that “bites” into the tube when the fitting is tightened, providing a strong, leak-proof connection. These fittings are known for their high-pressure resistance and reliability.
Applications Where High-Pressure Resistance is Needed: Ideal for high-pressure hydraulic systems and other demanding applications where robust and durable connections are required, commonly used in industrial and heavy machinery sectors.
Importance of Compatibility: Ensuring compatibility between the tube and fitting is crucial for maintaining system integrity. Incompatibility can lead to leaks, premature wear, or complete system failure.
Considerations: Key factors include the material (e.g., metal, plastic), size (diameter and wall thickness), pressure rating (matching the system’s operating pressure), and temperature rating (suitable for the operating environment).

Proper Techniques: Achieving a clean, square cut is vital for a secure fitting connection. An uneven cut can lead to leaks or poor fitting performance.
Tools and Methods: Use a tube cutter specifically designed for the material in question. For metal tubes, use a rotary pipe cutter, and for plastic tubes, use a sharp blade or specialized plastic pipe cutter. Ensure the cut is straight and free of deformities.
Importance of Removing Burrs: Burrs left on the cut edge can damage the fitting or compromise the seal. Removing burrs ensures a smooth surface for a tight seal.
Cleaning the Tube Ends: Cleaning the tube ends is necessary to avoid contamination that could affect the fitting’s performance or lead to leaks. Use a deburring tool to smooth the edges and wipe the tube clean with a lint-free cloth before installation.
Ensuring Proper Insertion:
Align the Tube Correctly: Start by making sure the tube is aligned with the fitting straight and parallel. Misalignment can cause the tube to enter the fitting at an angle, leading to an improper seal and potential leaks.
Push the Tube Firmly: Insert the tube into the fitting with a firm push until it reaches the internal stop. In compression and bite-type fittings, you should feel some resistance as the tube passes through the sealing ring or bite ring.
Check for Full Insertion: Visually confirm that the tube is fully inserted. Some fittings have a visible window or a reference point that allows you to verify that the tube has been inserted to the correct depth. This step is crucial, as partial insertion can lead to a weak connection that might fail under pressure.
Common Mistakes to Avoid:
Partial Insertion: One of the most common errors is failing to fully insert the tube into the fitting. This can result in a poor seal and cause leaks when the system is pressurized.
Improper Alignment: If the tube is not aligned correctly, it may not seat properly in the fitting, leading to gaps or uneven pressure on the sealing components.
Contaminated Tube Ends: Any debris or contamination on the tube ends can compromise the seal. Always ensure that the tube ends are clean and free of any foreign material before insertion.
Using Excessive Force: Forcing the tube into the fitting can damage both the tube and the fitting. Always apply firm, steady pressure without using excessive force.

Proper Hand-Tightening Techniques:
Initial Tightening: Once the tube is fully inserted, begin by hand-tightening the fitting. Use your fingers to turn the nut until it’s snug against the fitting body. This step ensures that the tube is held in place and the sealing components are properly seated before applying further torque.
Avoid Over-Tightening: Hand-tightening is just the first step, and over-tightening at this stage can damage the fitting or cause misalignment. Tighten until you feel resistance, indicating that the components are in the correct position.
Visual Indicators:
Flush Fitting Appearance: The fitting nut should sit flush against the body of the fitting. This alignment indicates that the tube and fitting are correctly seated.
Even Contact: Look for even contact between the fitting and the tube. Uneven gaps or an off-center appearance can indicate that the tube isn’t fully seated or that the fitting isn’t properly aligned.
Reference Points: Some fittings have reference points or markings that help you ensure the fitting is tightened correctly during hand-tightening. Use these as a guide before moving on to wrench tightening.
Guidelines for Wrench Turns:
Follow Manufacturer’s Instructions: Always follow the manufacturer’s guidelines for the number of wrench turns required to complete the installation. This varies depending on the type and size of the fitting. Typically, the instructions will specify a certain number of turns past hand-tight to achieve a secure seal.
Use the Correct Wrench Size: Ensure that you’re using the correct size wrench for the fitting. Using a wrench that is too large or too small can lead to improper tightening and potential damage to the fitting.
Steady Pressure: Apply steady, even pressure while tightening. Sudden or jerky movements can cause uneven tightening and may damage the fitting or the tube.
Torque Recommendations:
Consult Torque Charts: For critical applications, use a torque wrench to apply the recommended amount of torque. Torque charts provided by the manufacturer will specify the appropriate torque for each fitting type and size.
Avoid Over-Tightening: Over-tightening can distort the fitting, damage the sealing surface, or crush the tube, leading to system failure. Always adhere to the specified torque values to ensure a secure, leak-proof connection without compromising the integrity of the components.

Checking with a Gap Gauge:
How to Use a Gap Gauge: Insert the gap gauge between the nut and the body of the fitting after final tightening. The gauge should fit snugly without excessive force, indicating that the fitting is properly tightened.
Correct Use of the Gauge: If the gap gauge fits too loosely or doesn’t fit at all, the fitting may not be properly tightened. In such cases, recheck the fitting alignment and apply additional torque as needed, following the manufacturer’s recommendations.
Importance of the Step:
Ensures Proper Installation: Using a gap gauge is an essential step for ensuring that the fitting has been tightened correctly. It acts as a final check to confirm that the fitting is neither too loose nor over-tightened.
Prevents Leaks: By verifying the correct gap, you reduce the risk of leaks due to improper tightening. This step is particularly important in high-pressure systems where even minor errors can lead to significant issues.
Maintains System Integrity: Proper use of a gap gauge helps maintain the overall integrity of the system by ensuring that each connection is secure and correctly installed.
Pressure Testing Procedures:
Pre-Test Inspection: Before conducting a pressure test, visually inspect all connections to ensure they appear correctly installed. Look for any obvious signs of misalignment, improper tightening, or damage.
Gradual Pressurization: Start by applying pressure gradually to the system. This approach allows you to monitor the system for any immediate leaks or signs of stress on the fittings and tubes.
Monitor for Leaks: During the pressure test, carefully monitor each fitting for any signs of leakage. This can include visible drips, moisture accumulation around the fittings, or hissing sounds indicating escaping gas.
Record Pressure Levels: Keep a record of the pressure levels and ensure they remain stable over the testing period. A drop in pressure can indicate a leak, even if it’s not immediately visible.
Identifying and Addressing Leaks:
Leak Detection Methods: Use soapy water or a leak detection fluid around the fittings to identify any leaks. Bubbles forming around the connection points will indicate a leak.
Tightening Adjustments: If a leak is detected, release the pressure in the system before making any adjustments. Slightly tighten the fitting, using the wrench, and retest to see if the leak is resolved.
Component Replacement: If tightening does not resolve the leak, it may be necessary to disassemble the fitting and inspect for any damage to the tube, fitting, or seals. Replace any damaged components before reassembling and retesting.
Final Verification: Once all leaks have been addressed, perform a final pressure test to confirm the system is secure and functioning correctly.
Identifying Causes:
Improper Fitting Installation: One of the most common causes of leaks is an improperly installed fitting. This can occur if the fitting is not tightened to the correct torque or if the tube is not fully inserted into the fitting.
Incorrect Tube Preparation: If the tube is not cut squarely, deburred, or cleaned properly, it may not seat correctly in the fitting, leading to leaks. Burrs, dirt, or other contaminants can prevent a proper seal.
Damaged Components: Leaks can also occur if the fitting, tube, or sealing components are damaged. This damage could be from handling, improper storage, or using excessive force during installation.
Material Incompatibility: If the tube and fitting materials are not compatible, they may not seal properly, resulting in leaks. For example, using a fitting material that is too soft or too hard for the tube material can lead to improper sealing.
Solutions:
Re-Tighten the Fitting: If the fitting is under-tightened, carefully apply additional torque, following the manufacturer’s specifications. Be cautious not to over-tighten, as this can cause further issues.
Inspect and Re-Prepare the Tube: Remove the tube from the fitting and inspect the end. If it is not cut squarely, re-cut it using a tube cutter. Deburr the edges and clean the tube thoroughly before re-inserting it into the fitting.
Replace Damaged Components: If any part of the fitting or tube is damaged, replace it with new components. It’s important to use undamaged parts to ensure a proper seal.
Verify Material Compatibility: Ensure that the materials of the tube and fitting are compatible. If there is a mismatch, replace either the tube or the fitting with materials that are compatible with each other.
Avoiding Deformations:
Use the Correct Tools: Always use the appropriate tools designed for the specific type and material of the tube. For example, using a tube cutter designed for the tube material will provide a clean, even cut that reduces the risk of deformation.
Avoid Excessive Force: Applying too much force during installation, especially when inserting the tube into the fitting, can deform the tube. Ensure that you apply even, steady pressure.
Check Tube Size: Make sure that the tube is the correct size for the fitting. If the tube is too large or too small, it may not fit properly and could deform during installation.
Fixing Deformations:
Reshape the Tube: If the tube is slightly deformed, it may be possible to reshape it using a tube straightener or gently bend it back into shape. However, this should be done carefully to avoid weakening the tube.
Trim the Tube: If the deformation is near the end of the tube, you can cut off the deformed section and re-prepare the tube for installation. Ensure that the new cut is square and the edges are deburred.
Replace Severely Deformed Tubes: If the deformation is severe or affects the structural integrity of the tube, it’s best to replace the tube entirely. Installing a deformed tube can compromise the entire system.

Signs of Under- or Over-Tightening:
Under-Tightening: Signs include visible gaps between the fitting and the tube, movement of the tube within the fitting, and leaks at the connection point. The fitting may also feel loose to the touch.
Over-Tightening: Signs include excessive force needed to turn the wrench, distortion or damage to the fitting or tube, and stress fractures in the fitting material. Over-tightening can also cause the tube to crush or deform.
Correcting Tightness Issues:
For Under-Tightening: Re-tighten the fitting according to the manufacturer’s torque specifications. Use a torque wrench if possible to ensure that the correct amount of torque is applied. If using a standard wrench, turn the fitting a specific number of turns past hand-tight as recommended.
For Over-Tightening: If you suspect over-tightening, release the fitting and inspect it for damage. If there is no visible damage, reassemble the connection and tighten it to the correct torque. If there is damage, replace the fitting and re-install it carefully.
Consistent Checking: Use a gap gauge where applicable to confirm that the fitting is neither too loose nor too tight. This tool helps ensure that the fitting is within the correct range for a secure, leak-proof connection.
Identifying Material Compatibility Problems:
Visual Inspection: Look for signs of corrosion, discoloration, or unusual wear at the connection points. These can indicate that the materials of the tube and fitting are reacting negatively with each other.
Consulting Specifications: Cross-reference the materials of the tube and fitting with the manufacturer’s compatibility charts. Some materials may not be suitable for use together, especially under certain pressure, temperature, or chemical exposure conditions.
Performance Issues: If the system is not performing as expected, such as experiencing frequent leaks or fitting failures, material incompatibility might be the cause.
Resolving Material Compatibility Issues:
Select Compatible Materials: Ensure that both the tube and fitting are made from compatible materials. For example, stainless steel fittings should be used with stainless steel tubes to prevent galvanic corrosion.
Use Appropriate Sealing Materials: In some cases, the issue can be mitigated by using sealing materials that are compatible with both the tube and fitting materials. Ensure that the sealants or lubricants used are specified for the materials in your system.
Replace Incompatible Components: If the tube and fitting materials are inherently incompatible, the only solution may be to replace one of them with a material that is compatible with the other. Choose materials that are known to work well together under the conditions of your specific application.
Throughout this guide, we’ve covered the essential steps and best practices for installing tube fittings, from selecting the right materials and tools to ensuring a secure and leak-proof connection. And if you’re ever unsure about a specific installation or troubleshooting step, seeking professional help is always a smart choice to ensure the best results for your system.
You’ll need a tube cutter, deburring tool, wrenches, and possibly a gap gauge, depending on the fitting type.
Push the tube into the fitting until it reaches the internal stop. Some fittings have a visible window to confirm full insertion.
Check for proper tightness, ensure the tube is cut squarely and deburred, and confirm that the materials are compatible.
Follow the manufacturer’s guidelines for the number of wrench turns or torque specifications. Over-tightening can damage the fitting.
No, ensure that the tube material is compatible with the fitting material to avoid corrosion or leaks.
Tube deformation can occur if excessive force is used, or if the tube size or material isn’t appropriate for the fitting. Use the correct tools and apply steady pressure.


