
Did you know that hydraulic quick couplers getting stuck is one of the most common issues faced by professionals working with hydraulic systems? It’s not just an occasional inconvenience; according to industry surveys, nearly 70% of operators have experienced this problem at least once in their careers. This widespread issue can halt operations, cause significant downtime, and lead to costly repairs if not addressed promptly. Timely and effective troubleshooting ensures that your machinery remains operational and safe, minimizing disruptions to your workflow and extending the lifespan of your equipment.
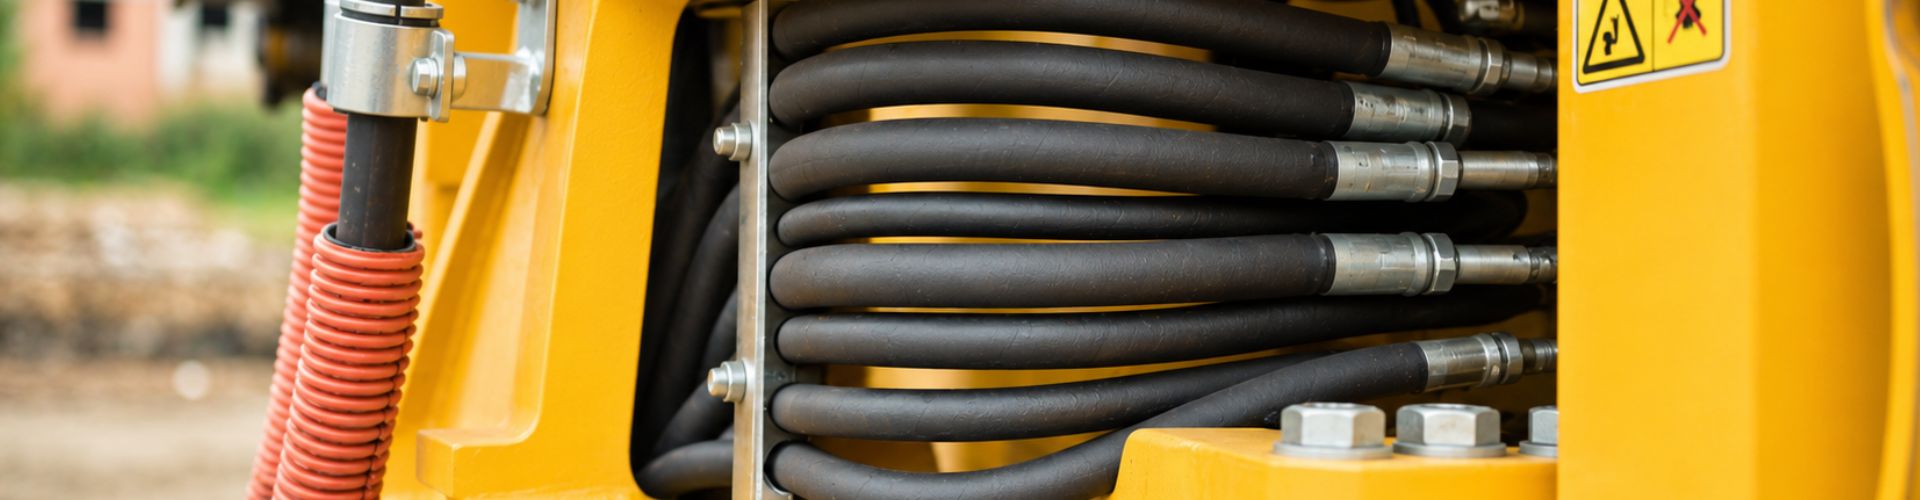
Hydraulic quick couplers are often exposed to harsh environments where dirt, dust, and debris are prevalent. These contaminants can easily infiltrate the coupler’s mechanism, causing it to stick. When particles like dirt or grit get lodged within the coupler, they can obstruct the smooth movement of the internal components. This not only hampers the coupler’s ability to connect and disconnect but can also cause significant wear over time. Regular cleaning and using protective caps when the couplers are not in use can help mitigate this issue.
Hydraulic quick couplers are subjected to constant use and pressure, which naturally leads to wear and tear. Over time, the repeated connection and disconnection cycles can erode the internal components, causing them to lose their precise fit and smooth operation. Aging seals can become brittle and crack, leading to leaks and increased friction within the coupler. Regular inspection and timely replacement of worn-out parts are essential to maintain the functionality of hydraulic quick couplers and prevent them from getting stuck.

Improper use or installation of hydraulic quick couplers is a common cause of them getting stuck. For instance, forcing the coupler into place without aligning it correctly can damage the internal components. Similarly, using the wrong type or size of coupler for a particular application can lead to compatibility issues and sticking. Ensuring that couplers are correctly aligned, properly sized, and used according to the manufacturer’s guidelines is crucial to prevent operational issues.
Hydraulic systems operate under high pressure, and any imbalance or excessive pressure can cause a quick coupler to stick. Unequal pressure between the hydraulic lines during connection or disconnection can make it difficult to engage or release the coupler. Additionally, trapped pressure within the coupler can prevent it from disengaging smoothly. Using pressure relief valves and following proper procedures for depressurizing the system before attempting to connect or disconnect couplers can help address these pressure-related issues.
By understanding these common reasons for a stuck hydraulic quick coupler, operators can take proactive measures to prevent them. Regular maintenance, proper use, and addressing contamination can significantly reduce the occurrence of stuck couplers, ensuring the smooth and efficient operation of hydraulic systems.
Before attempting to fix a stuck hydraulic quick coupler, it is essential to prioritize safety by wearing the necessary personal protective equipment (PPE). This includes:
Using the appropriate PPE not only safeguards your health but also ensures you can work more effectively without the risk of injury.
Depressurizing the hydraulic system is a critical step before attempting to fix a stuck quick coupler. Hydraulic systems operate under high pressure, and failing to release this pressure can lead to serious injuries. Follow these steps to safely depressurize the system:
Proper depressurization prevents the sudden release of hydraulic fluid, which can be hazardous.
Ensuring the work area is safe and free from hazards is another crucial safety measure. Here are some key considerations for maintaining environmental safety:
By taking these environmental safety precautions, you create a safer work environment, reducing the risk of accidents and injuries.
The first step in addressing a stuck hydraulic quick coupler is to perform a thorough initial inspection. This helps identify any obvious blockages or damage that might be causing the issue. Follow these steps:
Proper cleaning is essential to remove any contaminants that might be causing the coupler to stick. Here’s how to clean the coupler effectively:
How to Properly Clean the Coupler and Surrounding Areas:
Recommended Cleaning Solutions and Tools:
Lubrication is crucial for ensuring smooth operation and preventing future sticking. Here’s how to lubricate the coupler:
Appropriate Lubricants for Hydraulic Couplers: Use high-quality hydraulic oil or a specialized lubricant designed for hydraulic systems.
Application Methods and Tips:
Trapped pressure within the hydraulic system can cause the coupler to stick. Safely releasing this pressure is essential:
Methods for Safely Releasing Trapped Pressure:
Tools and Equipment Required:
Sometimes, manual manipulation is necessary to free a stuck coupler. Here’s how to do it safely:
Techniques for Manually Loosening the Coupler:
Leveraging Tools Like Wrenches or Pliers:
If the coupler remains stuck after manual manipulation, advanced methods might be necessary:
Using Hydraulic Fluid or Penetrating Oil:
Applying Controlled Heat to Expand Metal Parts:
Once the coupler is free, it’s important to test its functionality to ensure it’s working correctly.
Ensuring the Coupler is Functioning Correctly After Unblocking:
Reconnecting and Testing Under Pressure:
Regular maintenance is crucial in preventing hydraulic quick couplers from sticking. Scheduled cleaning and lubrication can significantly extend the lifespan of your couplers and ensure smooth operation. Here are some tips for effective maintenance:
Scheduled Cleaning and Lubrication:
Correct installation is essential to prevent operational issues and ensure the longevity of hydraulic quick couplers. Improper installation can lead to misalignment, increased wear, and sticking. Follow these guidelines for proper installation:
Protective caps are a simple yet effective measure to keep hydraulic quick couplers clean when not in use. They prevent dirt, dust, and debris from entering the coupler, reducing the risk of sticking. Here’s how to use them effectively:
Keeping Couplers Clean When Not in Use:
Storing Couplers Properly:
Routine inspections are essential for early detection of issues that could lead to a stuck hydraulic quick coupler. Regular checks help identify wear and tear, leaks, and other potential problems before they escalate. Here’s what to look for during regular inspections:
What to Look for During Regular Checks:
In conclusion, addressing a stuck hydraulic quick coupler involves understanding the common causes such as debris, wear and tear, improper use, and pressure issues. By following a step-by-step guide that includes initial inspection, cleaning, lubrication, pressure release, and advanced methods, you can effectively resolve the issue. Regular maintenance, proper installation, the use of protective caps, and routine inspections are essential preventative measures to avoid future problems. Always prioritize safety and consider seeking professional help if the problem persists.
Begin with a thorough visual inspection for any obvious blockages or damage. Clean the coupler, lubricate it properly, and try manual manipulation techniques. If these steps don’t work, consider advanced methods like using penetrating oil or applying controlled heat.
Regular maintenance should be scheduled based on usage frequency and operating conditions. For high-use or harsh environments, monthly cleaning and lubrication are recommended. Otherwise, quarterly maintenance is usually sufficient.
No, it’s important to use high-quality hydraulic oil or a lubricant specifically designed for hydraulic systems. Avoid using general-purpose oils or greases that may not be compatible with the coupler’s materials and could cause damage.
Signs include visible cracks or corrosion, persistent leaks, difficulty in connecting or disconnecting, and excessive wear on the seals and other components. If these issues persist despite maintenance, it’s time to replace the coupler.
Depressurizing the system is crucial to avoid the sudden release of high-pressure hydraulic fluid, which can cause serious injuries and damage. Always ensure the system pressure is at zero before performing any maintenance.
Use protective caps to cover the ends of the couplers immediately after disconnecting them. Store them in a clean, dry location to prevent dirt, dust, and moisture from causing contamination and corrosion.

Automated page speed optimizations for fast site performance
