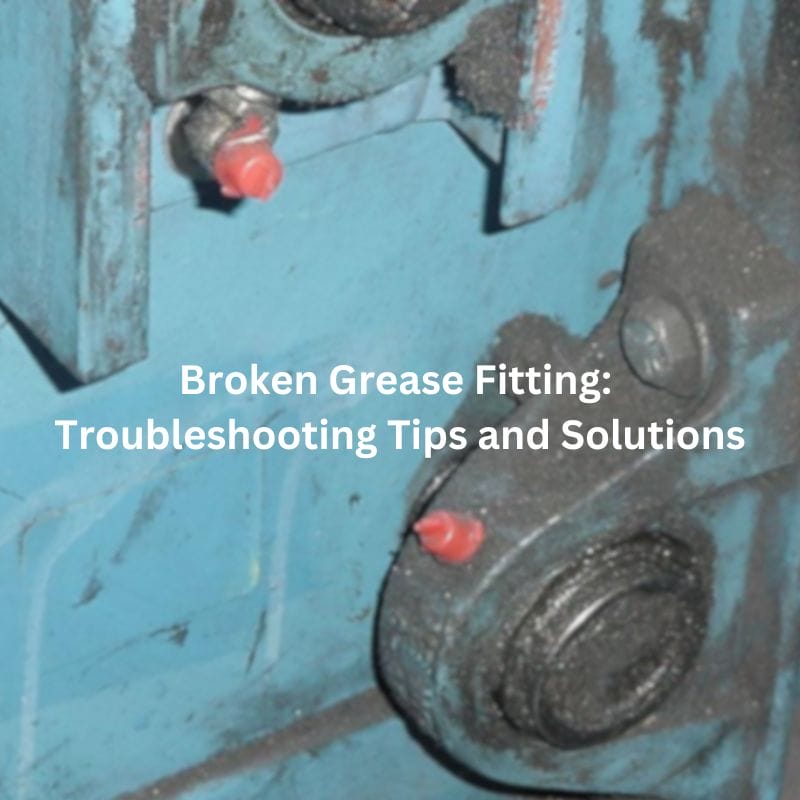
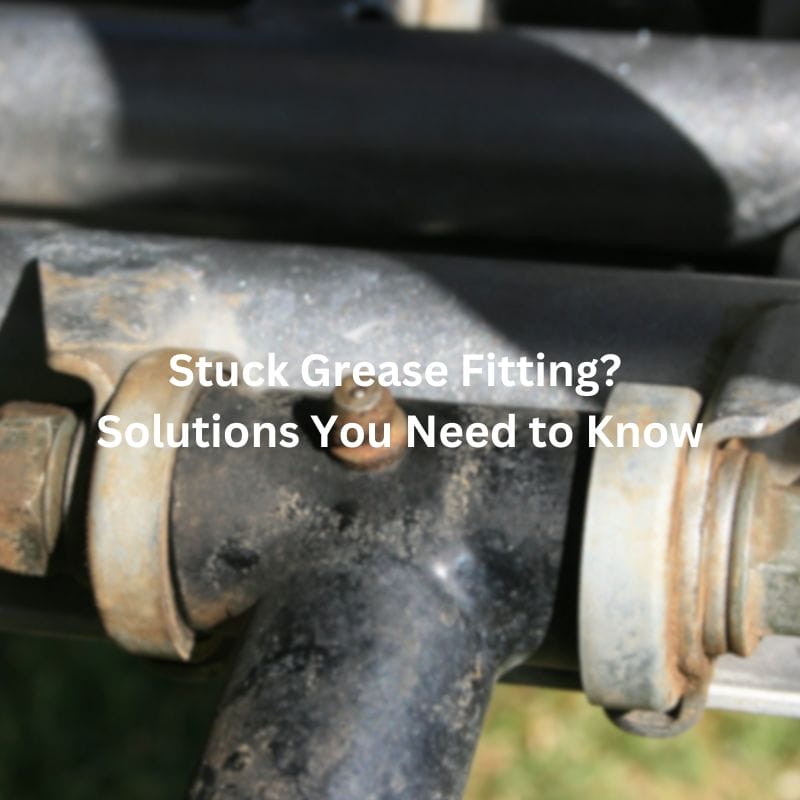
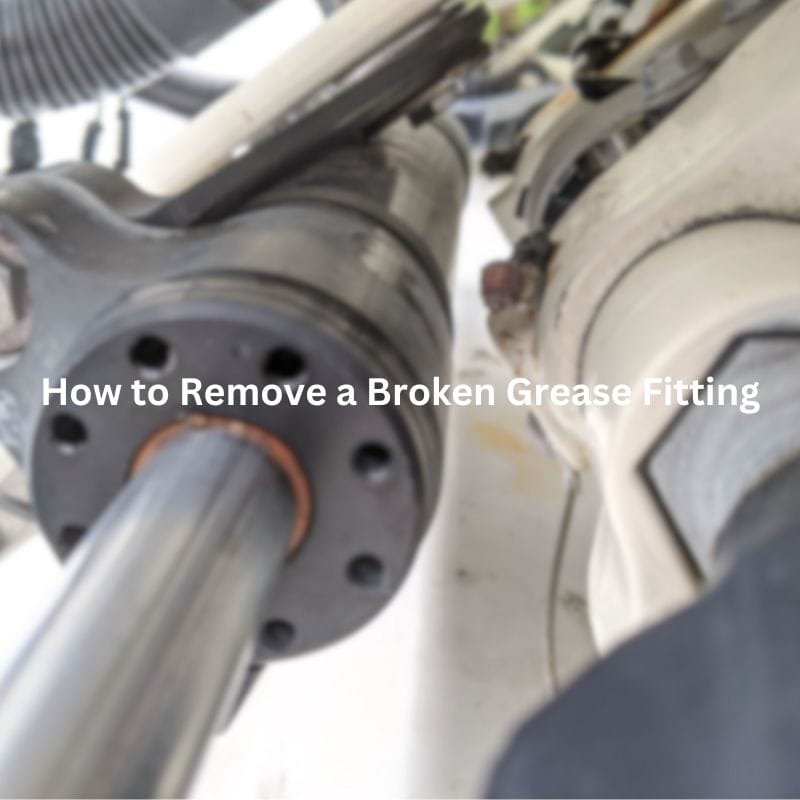
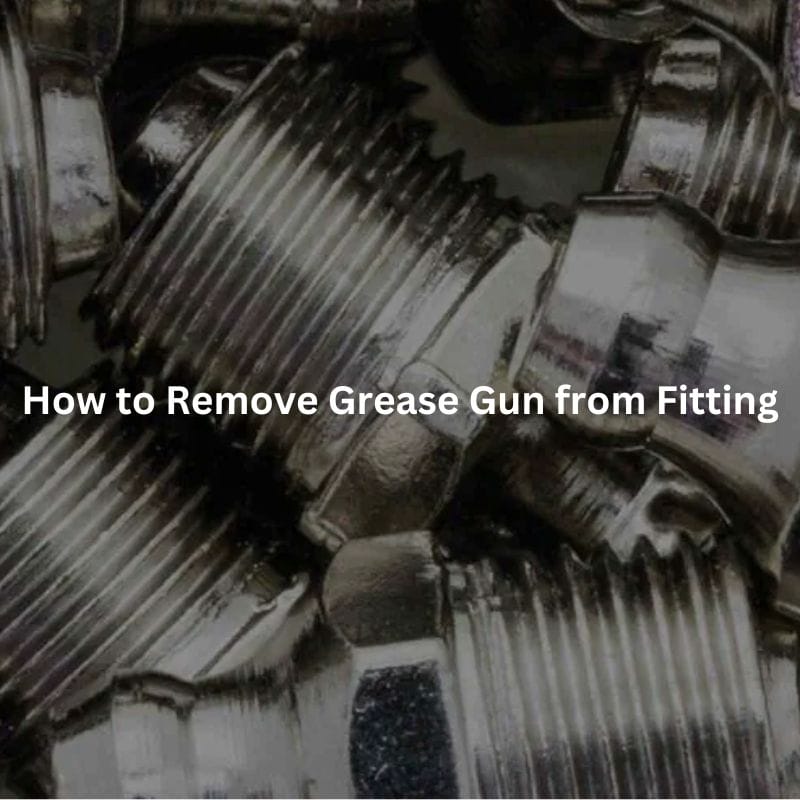
Broken Grease Fitting: Troubleshooting Tips and Solutions
Table of Contents
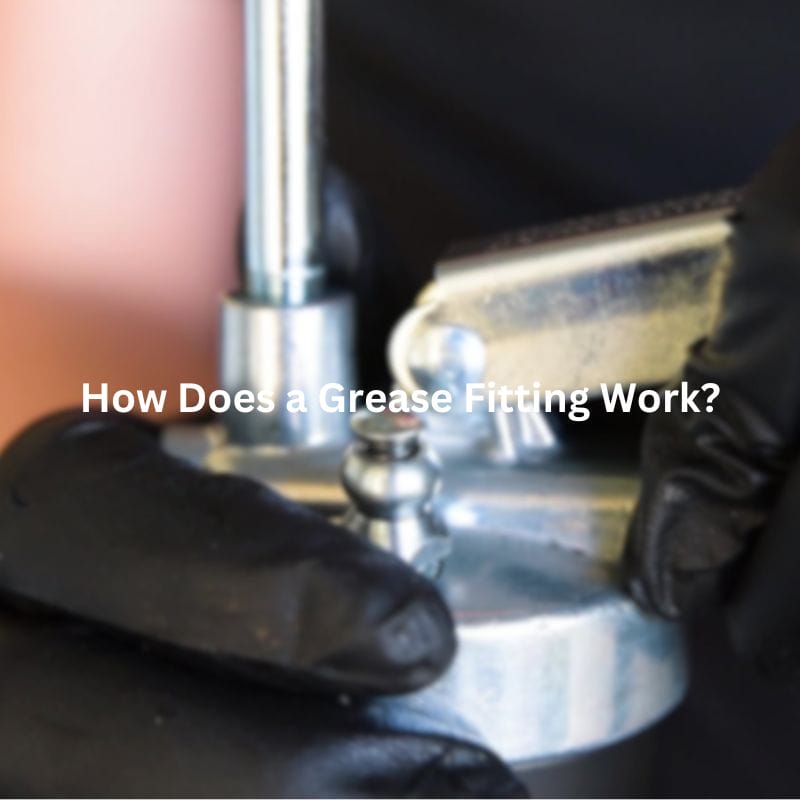
Introduction
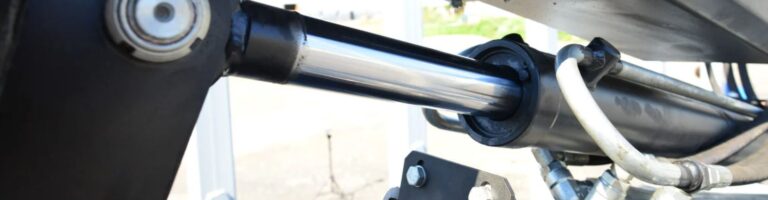
Grease fittings play a critical role in the maintenance of machinery by ensuring proper lubrication of moving parts, which is essential for their smooth operation and longevity. Despite their importance, grease fittings are prone to various issues that can compromise their functionality and lead to costly repairs or downtime. This post aims to provide comprehensive troubleshooting tips and practical solutions for dealing with broken grease fittings.
Causes of Broken Grease Fittings
Wear and Tear from Regular Use
Continuous use of machinery inevitably leads to natural wear and tear on all components, including grease fittings. Over time, the repetitive stress of operation can cause these small yet crucial parts to weaken. This gradual degradation can manifest in several ways, such as the development of tiny cracks or the bending of the fitting itself. Such wear compromises the fitting’s structural integrity, making it more prone to breaking under the mechanical pressures of normal operation. Regular inspection and timely replacement of worn fittings can help mitigate this issue, ensuring the machinery remains in optimal working condition.

Dirt and Debris Accumulation
Grease fittings often operate in environments where dirt, dust, and other debris are prevalent. These particles can accumulate around the fittings, causing abrasion and mechanical wear. Over time, this abrasion can create tiny grooves and scratches on the surface of the fittings, leading to weakened structural integrity. Furthermore, accumulated debris can obstruct the flow of grease, preventing it from reaching the necessary components and causing increased friction and wear within the machinery. Regular cleaning of fittings and surrounding areas can help mitigate these issues, ensuring that the fittings remain free from obstructive materials and maintain their functional integrity.
Moisture and Corrosion
Moisture is one of the most damaging environmental factors for grease fittings. Whether it comes from rain, washing, or ambient humidity, moisture can lead to rust and corrosion. When metal fittings corrode, they become brittle and less capable of withstanding the pressures of normal operation. Corrosion not only weakens the metal but also can lead to pitting, where small holes form on the surface of the fitting. These pits can trap additional moisture and debris, accelerating the deterioration process. Using grease fittings made from corrosion-resistant materials, such as stainless steel or brass, and applying protective coatings can significantly reduce the impact of moisture and extend the lifespan of the fittings.
Extreme Temperatures
Temperature extremes pose a significant challenge to the durability of grease fittings. High temperatures can cause the metal to expand, which may lead to deformation and weakening of the fittings. On the other hand, low temperatures can make the metal more brittle and prone to cracking. In environments where temperatures fluctuate widely, the repeated expansion and contraction cycles can further stress the fittings, leading to premature failure. To combat this, it is essential to select grease fittings that are designed to withstand the specific temperature ranges they will be exposed to. Additionally, applying thermal insulation or using temperature-resistant grease can help protect the fittings from extreme temperature effects.
Fluctuating Temperature Effects
In many industrial environments, temperatures can vary significantly throughout the day or between seasons. This constant fluctuation causes the materials of grease fittings to expand and contract repeatedly. Such thermal cycling can lead to fatigue in the metal, causing it to crack or break over time. This is particularly problematic for fittings made from materials that do not handle thermal stress well. Selecting fittings made from materials with a high tolerance for thermal cycling and ensuring that they are appropriately rated for the specific application can help mitigate the effects of temperature fluctuations. Regular inspections and timely replacements of fittings showing signs of thermal fatigue are also crucial in maintaining machinery reliability.
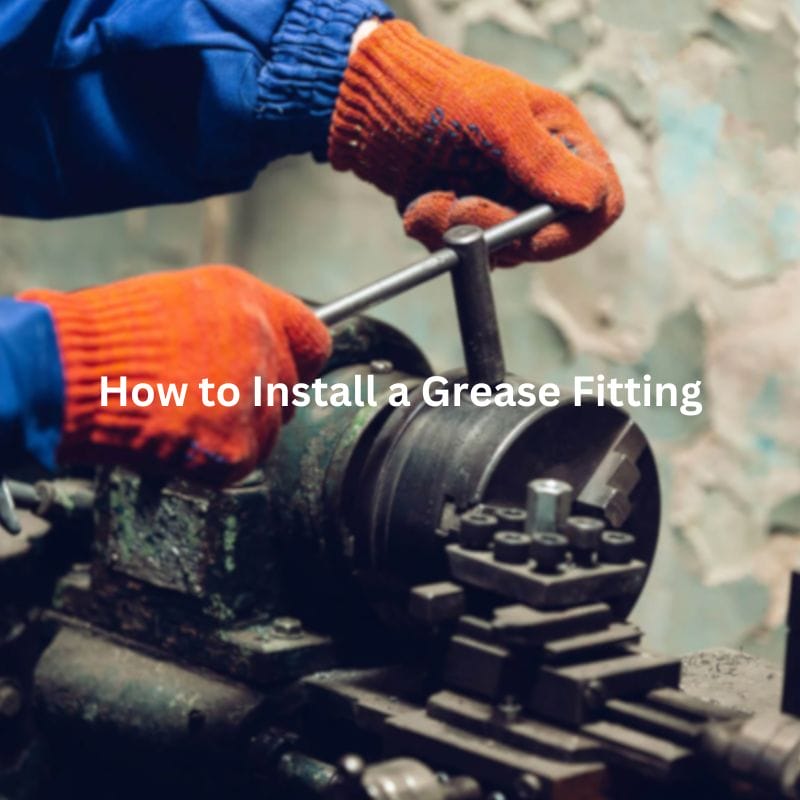
Improper Installation or Maintenance Practices
Over-Tightening
One common issue with the installation of grease fittings is over-tightening. When fittings are over-tightened, it can strip the threads, causing them to lose their grip and potentially leading to leaks. Over-tightening can also result in misalignment, which hinders the effective flow of grease. This misalignment creates stress points that are prone to breaking under the mechanical pressures of normal operation.
Under-Tightening
On the opposite end of the spectrum, under-tightening grease fittings can also cause significant issues. When fittings are not tightened enough, they can become loose over time, eventually falling out or failing to provide a proper seal. This lack of a secure seal can lead to contamination of the grease with dirt and moisture, compromising the lubrication and leading to increased wear and tear on the machinery. To avoid under-tightening, it’s essential to ensure that fittings are securely fastened according to the recommended specifications.
Misalignment
Proper alignment of grease fittings is crucial for the effective flow of grease to the intended parts of the machinery. Misaligned fittings can obstruct the flow, preventing grease from reaching critical areas and causing increased friction and wear. Misalignment can occur during installation if fittings are not positioned correctly or if the connecting parts are not properly aligned. To prevent misalignment, it’s important to carefully follow the installation guidelines provided by the manufacturer and to double-check the alignment before finalizing the installation. Using alignment tools and techniques can help ensure that fittings are properly positioned.
Neglecting Regular Maintenance
Regular maintenance of grease fittings is essential to their longevity and performance. Neglecting maintenance can allow minor issues to escalate into major problems. For instance, a partially blocked fitting may go unnoticed until it completely obstructs grease flow, leading to inadequate lubrication and excessive wear on machinery parts. Regular inspections should include checking for blockages, ensuring proper alignment, and verifying that fittings are securely tightened. Implementing a consistent maintenance schedule and keeping detailed records of maintenance activities can help prevent issues from being overlooked.

Blockages and Obstructions
Blockages in grease fittings can occur due to the accumulation of dirt, debris, or hardened grease. These obstructions can prevent the proper flow of grease, leading to insufficient lubrication of the machinery. To address blockages, it’s important to regularly clean fittings and use appropriate tools to clear any obstructions. Additionally, using high-quality, compatible grease that is less likely to harden and clog the fittings can help maintain a clear flow path.
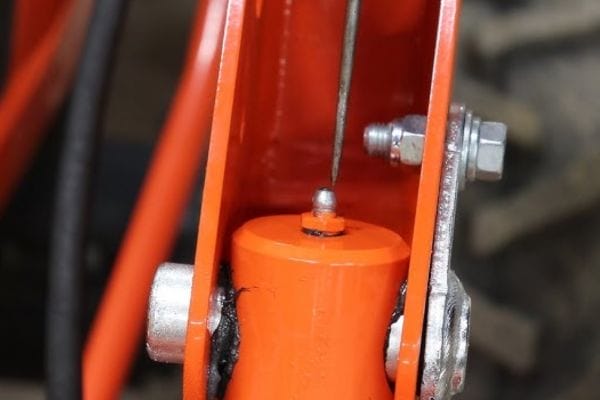
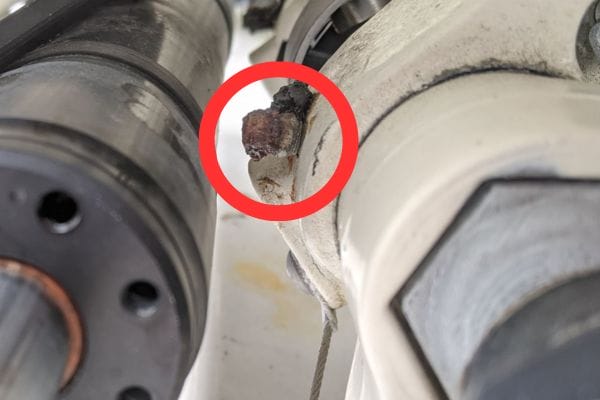
Signs and Symptoms of a Broken Grease Fitting
Visual Inspection Techniques
Regular visual inspections are a fundamental part of maintaining grease fittings and ensuring their optimal performance. During these inspections, look for visible signs of damage, such as:
Cracks: Cracks can develop due to stress, impact, or environmental factors. Even small cracks can compromise the integrity of the fitting and lead to leaks or complete failure.
Bends: Bending can occur if the fitting is subjected to mechanical stress or improper handling. A bent fitting may not allow grease to flow properly and can indicate underlying damage.
Corrosion: Corrosion is a common issue, especially in harsh environments. Rust or other forms of corrosion weaken the metal, making the fitting brittle and more likely to break. Corrosion can also indicate that moisture is penetrating the fitting, which can lead to further damage.
Perform these inspections under good lighting conditions and consider using magnification tools for a closer look at the fittings. Regular inspections can help catch these issues early before they lead to more significant problems.
Functional Indicators
Lubrication Failure
One of the most telling signs of a broken grease fitting is lubrication failure. This occurs when grease does not adequately reach the machinery parts it is meant to lubricate. Without proper lubrication, moving parts can grind against each other, leading to increased wear and potential failure. Signs of lubrication failure include:
Dry Bearings or Joints: Parts that appear dry or have minimal grease residue may not be receiving adequate lubrication.
Grease Leakage: Grease leaking around the fitting instead of being properly injected can indicate a malfunctioning or broken fitting.
Noise
Unusual sounds coming from machinery are often an indicator of lubrication issues. When grease fittings fail, parts may not receive enough lubrication, leading to increased friction. This friction can produce various noises, such as:
Grinding: A harsh, grinding sound typically indicates metal-on-metal contact due to insufficient lubrication.
Squeaking: High-pitched squeaking can occur when parts are moving without enough grease to cushion the interaction.
Clunking: Irregular clunking noises can result from parts moving erratically due to a lack of smooth lubrication.
Heat
Excessive heat is another critical functional indicator of a broken grease fitting. Increased friction from insufficient lubrication generates heat, which can be detected by:
Touch: If machinery parts feel unusually warm or hot to the touch, it could indicate poor lubrication.
Infrared Thermometers: Using an infrared thermometer can provide precise temperature readings, helping to identify overheating components.
Thermal Imaging Cameras: These devices can offer a comprehensive view of temperature distribution across machinery parts, highlighting areas of excessive heat.
Troubleshooting Broken Grease Fittings
Step-by-Step Inspection Process
Visual Examination for Damage
Begin by visually inspecting the grease fittings for any obvious signs of damage. Look closely for:
Cracks: These can appear as fine lines or larger splits in the fitting. Cracks compromise the fitting’s structural integrity and can lead to leaks.
Bends: Check if the fittings are bent or misshaped, which can occur from impact or improper handling.
Corrosion: Look for rust or other signs of corrosion that weaken the metal, making it more prone to breaking.
Checking Lubrication Flow and Consistency
Next, ensure that grease is reaching the intended parts of the machinery:
Grease Path: Inspect the path from the fitting to the bearing or joint to confirm that grease is flowing unobstructed.
Grease Consistency: Check the consistency of the grease being dispensed. It should be smooth and even; irregularities can indicate a blockage or other issue.
Testing Functionality with Grease Gun
Use a grease gun to test the functionality of the fitting:
Grease Flow: Attach the grease gun to the fitting and pump it. Observe whether grease flows through the fitting properly.
Resistance: Pay attention to any resistance while pumping. Excessive resistance can indicate a blockage or misalignment.
Identifying Specific Issues
Cracks
If you identify any cracks during the visual examination:
Immediate Replacement: Replace cracked fittings immediately to prevent grease leakage and ensure proper lubrication.
Inspection of Surrounding Areas: Check nearby fittings and components for similar issues, as cracks can sometimes be a sign of widespread stress or damage.
Blockages
If there is an obstruction in the grease flow:
Clearing Obstructions: Use appropriate tools, such as a small wire or pin, to clear any blockages. For more stubborn obstructions, a specialized fitting cleaner may be required.
Flushing: Sometimes flushing the fitting with a solvent can help remove hardened grease or debris.
Regular Cleaning: Implement a routine cleaning schedule to prevent future blockages.
Misalignment
If the fitting is not properly aligned:
Realigning Fittings: Adjust the fitting to ensure it aligns correctly with the grease path. This might involve loosening and repositioning the fitting or replacing it if it’s permanently bent.
Ensuring Proper Installation: When reinstalling, make sure to follow the manufacturer’s specifications to avoid over-tightening or under-tightening, which can cause misalignment.
Preventive Measures and Best Practices
To avoid issues with grease fittings and maintain their optimal performance, consider the following preventive measures and best practices:
Regular Inspections: Schedule regular inspections to catch any signs of damage or wear early.
Proper Installation: Always follow manufacturer guidelines during installation to ensure fittings are properly aligned and securely fastened.
Quality Materials: Use high-quality, corrosion-resistant materials for fittings, especially in harsh environmental conditions.
By following these troubleshooting steps and preventive measures, you can ensure that grease fittings remain in good working condition, providing effective lubrication and extending the life of your machinery.
Conclusion
In this comprehensive guide, we explored the critical role grease fittings play in the maintenance and efficient operation of machinery. We delved into the common causes of broken grease fittings, such as wear and tear, environmental factors, and improper installation or maintenance practices. Recognizing the signs of broken grease fittings, including visual damage, lubrication failure, unusual noises, and excessive heat, is crucial for early detection and prevention of further issues. We provided detailed troubleshooting steps to identify and address specific problems like cracks, blockages, and misalignment. By adhering to these guidelines, you can enhance the longevity and reliability of your grease fittings, ensuring optimal performance of your machinery and reducing the risk of costly repairs and downtime.
FAQ
Grease fittings, also known as Zerk fittings, are small metal components used to inject grease into bearings and other moving parts of machinery. They are crucial for ensuring proper lubrication, which reduces friction and wear, extends the lifespan of equipment, and prevents mechanical failures.
Common signs of a broken grease fitting include visible cracks, bends, or corrosion, lack of grease flow to machinery parts, unusual noises such as grinding or squeaking, and excessive heat due to increased friction.
To prevent grease fittings from breaking, ensure proper installation by following manufacturer guidelines, use high-quality materials, regularly inspect and clean fittings, avoid over-tightening or under-tightening, and conduct routine maintenance to catch and address issues early.
If you find a blockage in a grease fitting, use a small wire or pin to clear the obstruction, flush the fitting with a solvent if necessary, and regularly clean the fittings to prevent future blockages.
It is recommended to inspect grease fittings regularly as part of your routine maintenance schedule. The frequency can vary depending on the operating conditions and the specific machinery, but a general guideline is to inspect them at least once a month.
While many minor issues with grease fittings can be addressed with basic DIY techniques, such as replacing damaged fittings or clearing blockages, it is advisable to consult a professional for more complex repairs or if you are unsure about the correct procedures.


