Compression Fitting Leaking: Causes and Solutions
Compression Fitting Leaking: Causes and Solutions Contact Us Table of
Compression Fitting Leaking: Causes and Solutions Contact Us Table of

Teflon Tape on Compression Fittings: How to Use It Contact
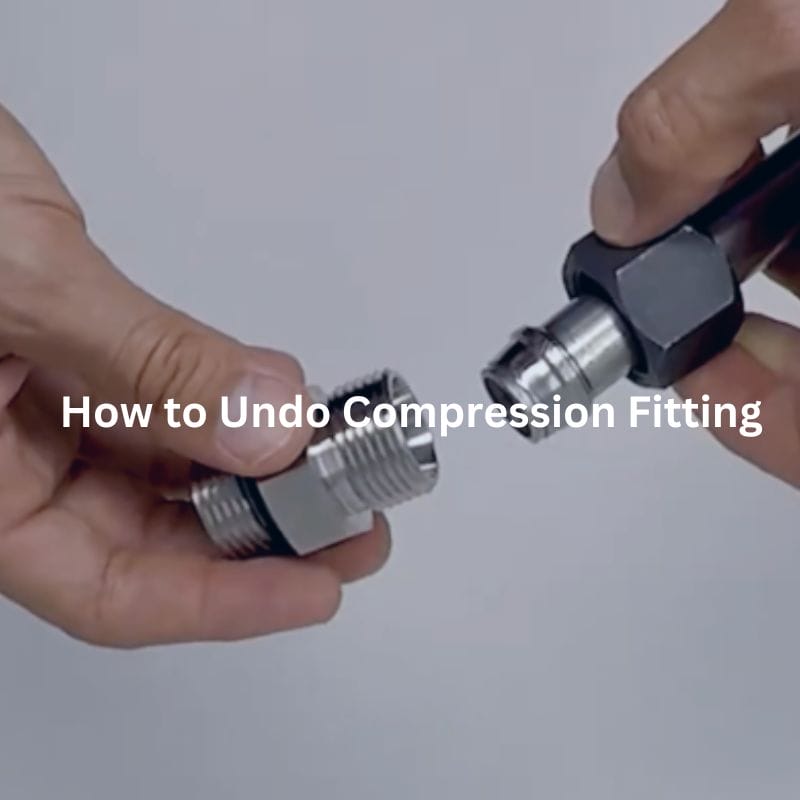
How to Undo Compression Fitting Contact Us Table of Contents
NPT Pipe Thread Fitting: Everything You Need to Know Contact
Does BSP Fit NPT Hydraulic Fittings? Introduction BSP and NPT

NPT Pipe Thread Types: Comprehensive Guide Contact Us Table of
Do NPT Threads Need Sealant? Contact Us Introduction NPT threads

Mixing Brass and Stainless Steel Fittings: Is This Possible? Contact

How to Remove Hose from Barbed Fitting Contact Us Table