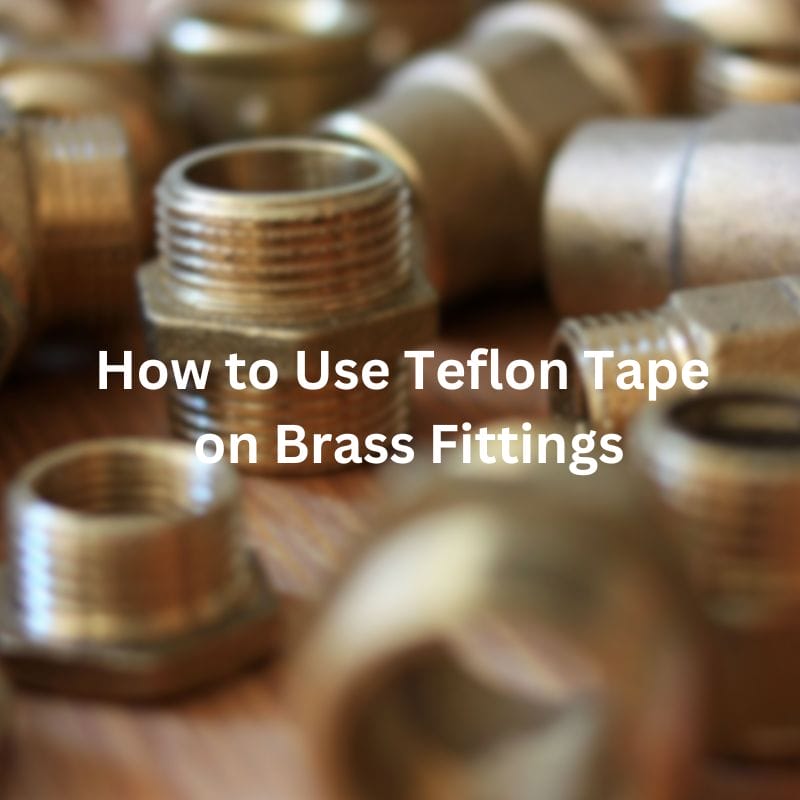
How to Use Teflon Tape on Brass Fittings
How to Use Teflon Tape on Brass Fittings Contact Us
How to Use Teflon Tape on Brass Fittings Contact Us
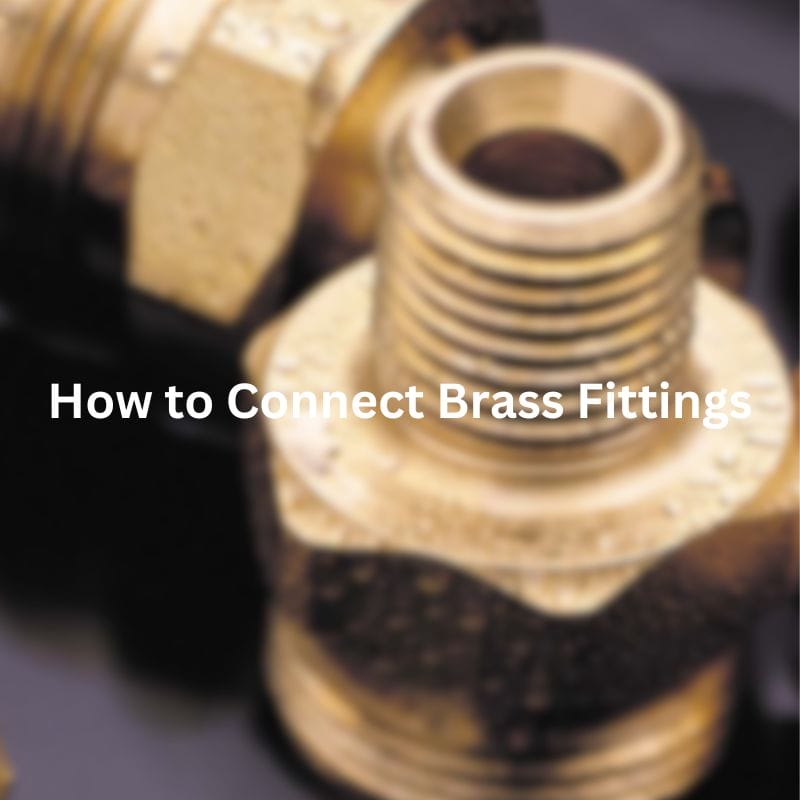
How to Connect Brass Fittings Contact Us Table of Contents
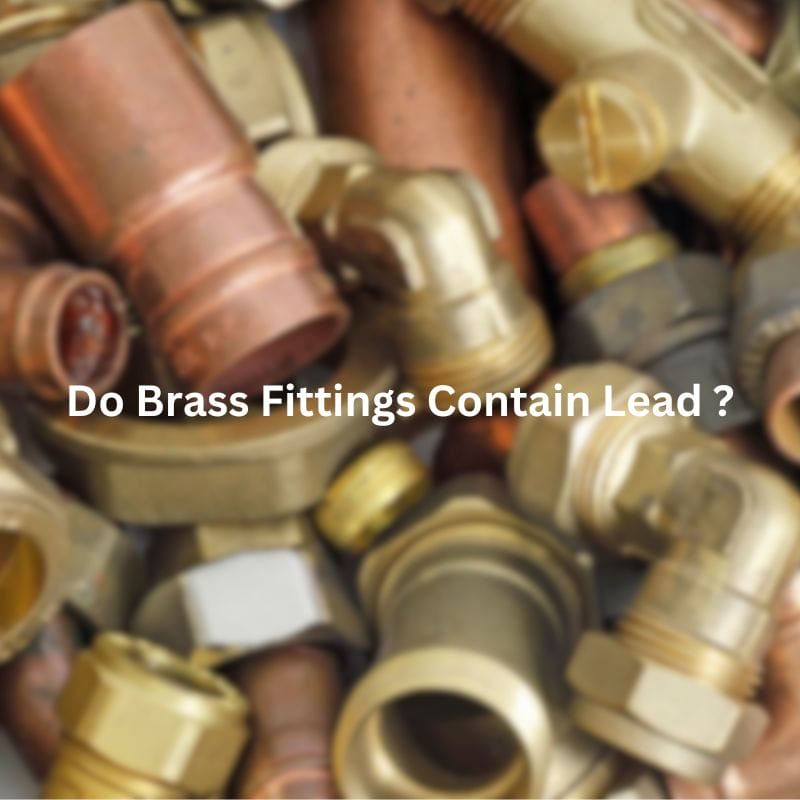
Do Brass Fittings Contain Lead? Contact Us Introduction Brass fittings

How to Replace O-Rings in Hydraulic Couplers Contact Us Table
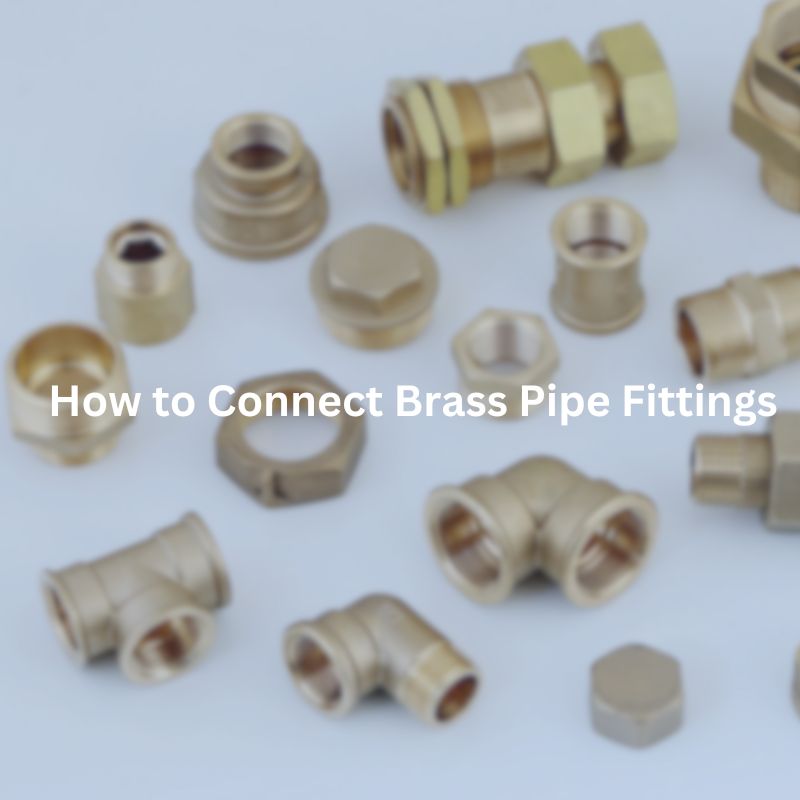
How to Connect Brass Pipe Fittings Contact Us Table of
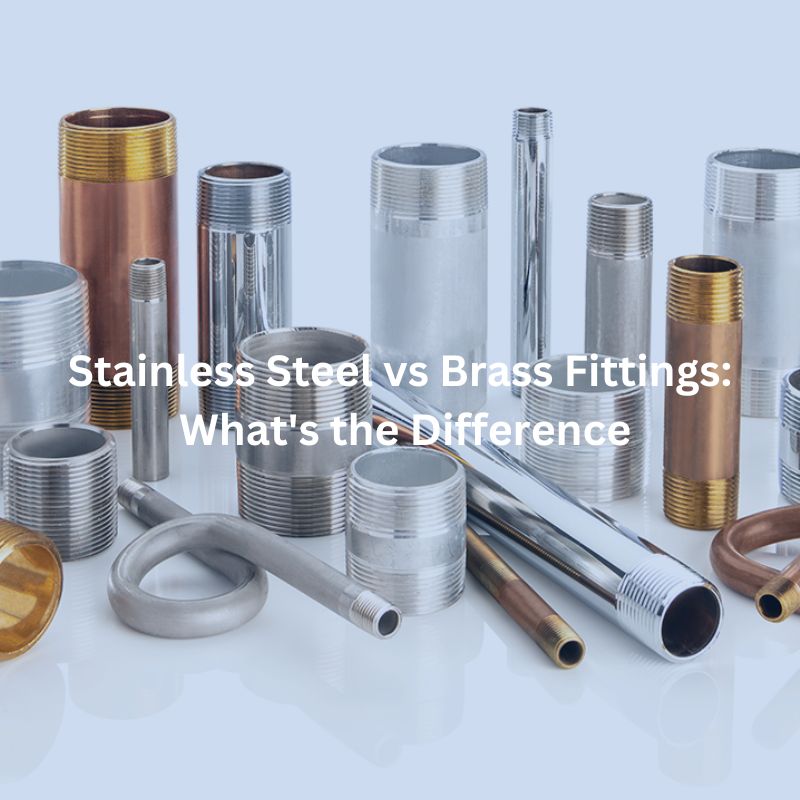
Stainless Steel vs Brass Fittings: What’s the Difference Contact Us

How to Loosen Hydraulic Hose Fittings Table of Contents Introduction
How to Measure Brass Fittings Contact Us Introduction Accurately measuring

Do You Use Teflon Tape on Brass Fittings Contact Us
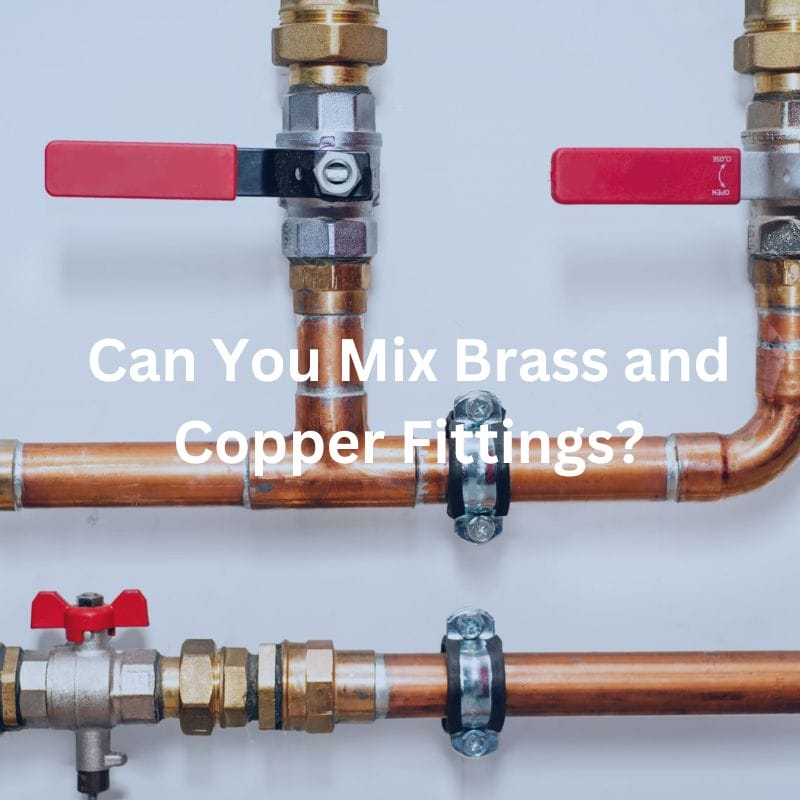
Can You Mix Brass and Copper Fittings? Contact Us Introduction