
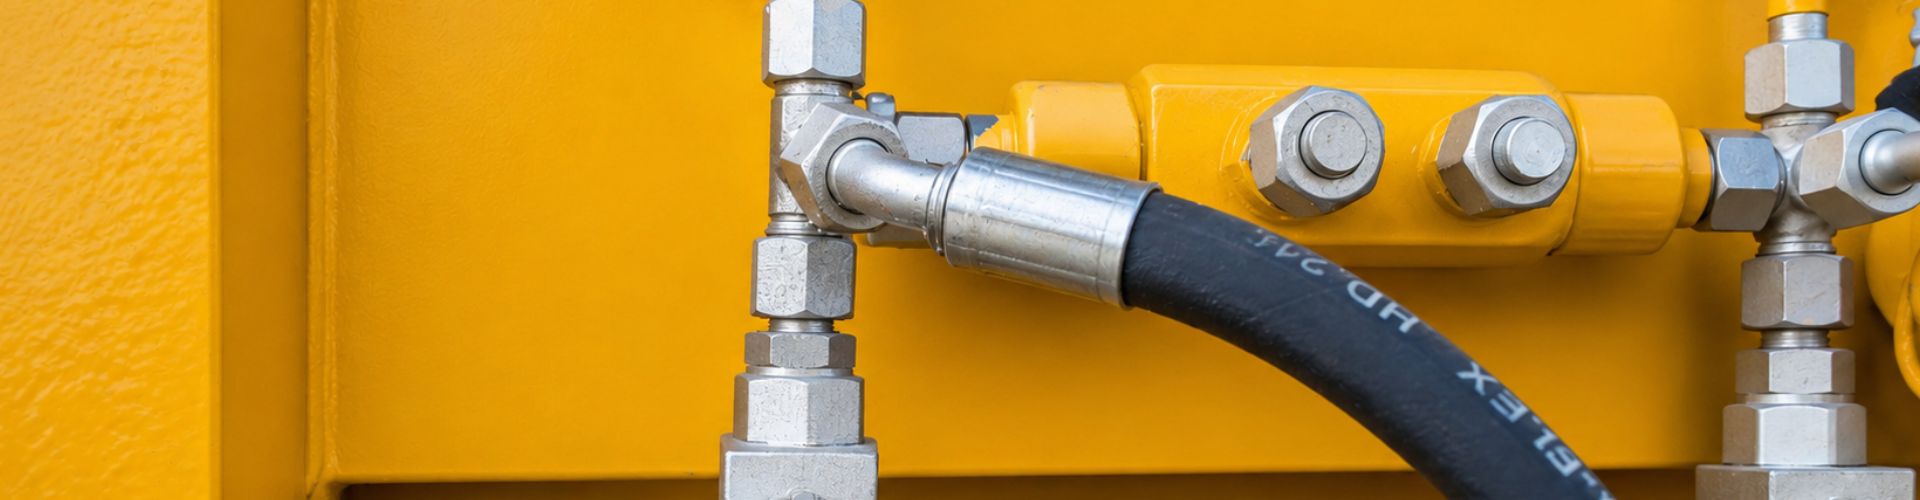
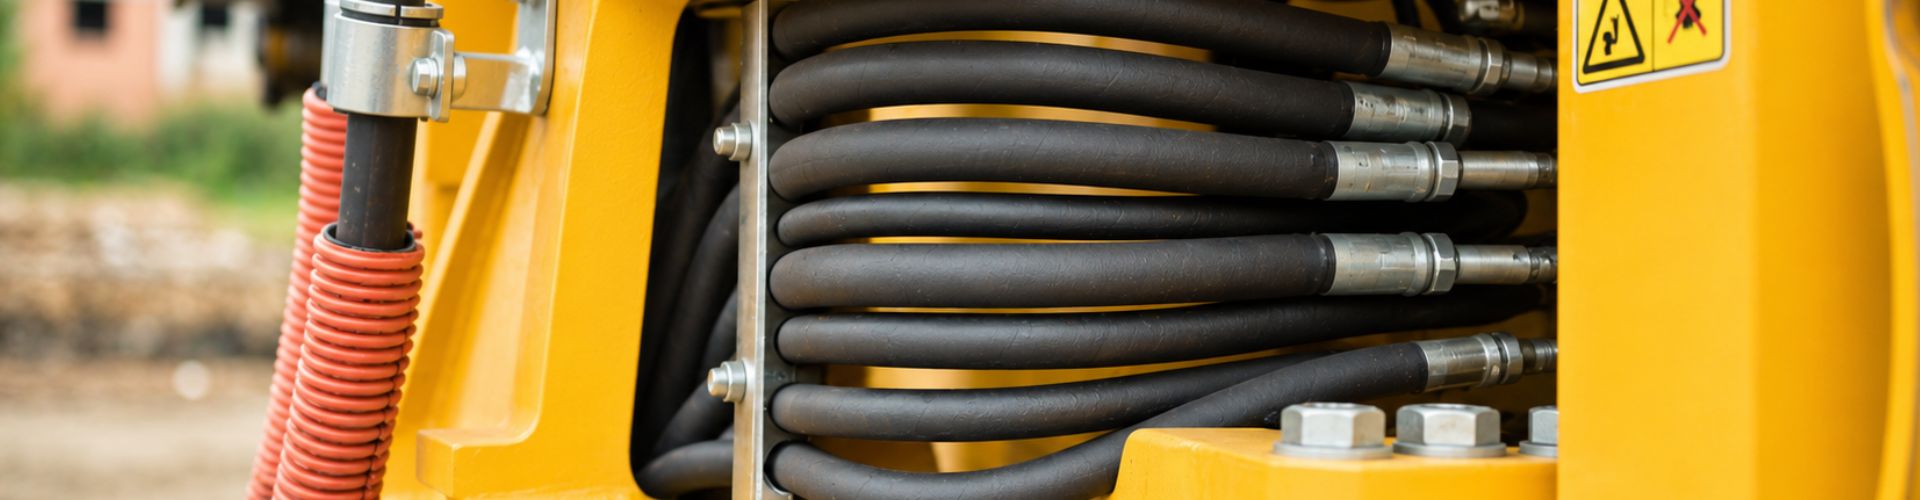
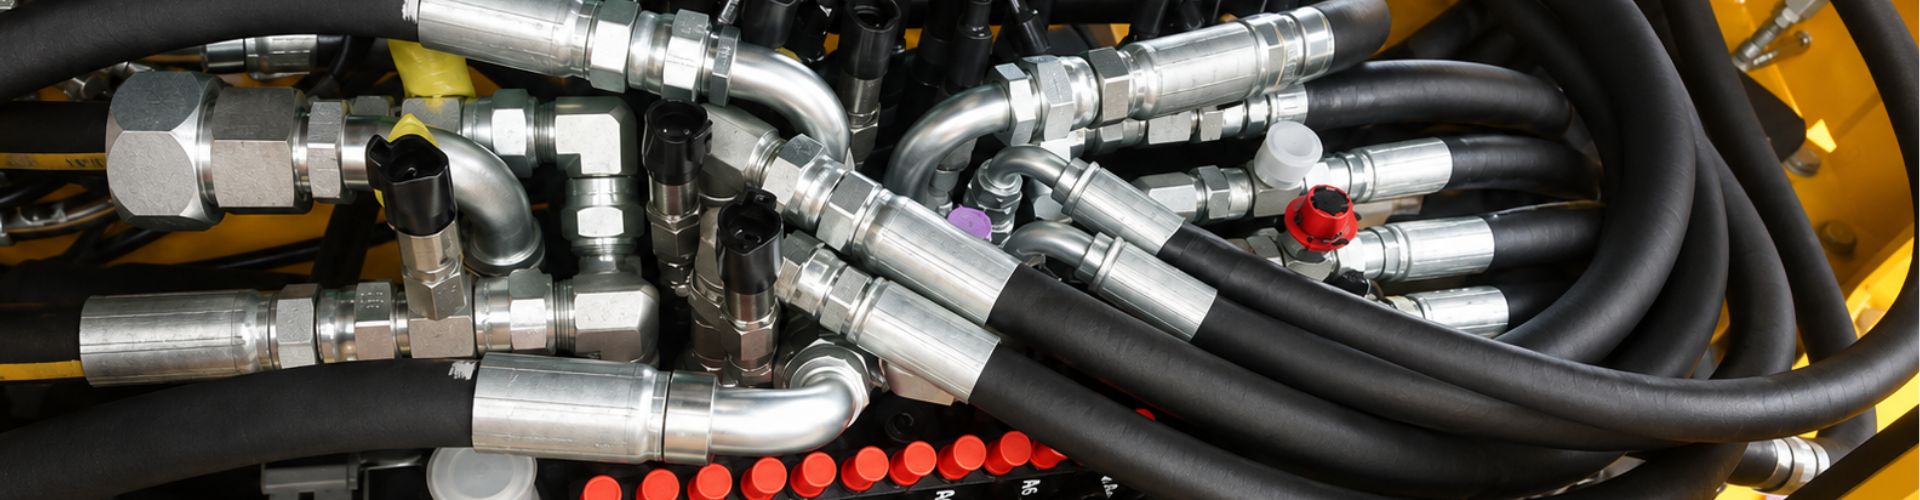
Proper installation of NPT fittings is crucial to ensure leak-proof connections. Incorrect installation can lead to gaps or misalignment in the threads, causing leaks that can compromise system integrity and lead to costly repairs or downtime. Accurate installation not only prevents leaks but also enhances the safety and efficiency of the entire system. Well-installed NPT fittings minimize the risk of hazardous leaks, ensuring safe operation in high-pressure and high-temperature environments.
Pipe Wrenches
Pipe wrenches are crucial for gripping and turning pipes and fittings during installation. Their adjustable jaws allow for a secure grip on various pipe sizes, providing the leverage to tighten or loosen fittings effectively.
Thread Sealant (e.g., Teflon Tape, Pipe Dope)
Thread sealant is essential for ensuring a leak-proof seal between threaded connections. Teflon tape and pipe dope are commonly used to fill the gaps in the threads, preventing leaks and enhancing the overall integrity of the connection.
Pipe Cutter
A pipe cutter is used to cut pipes to the required length. It provides a clean and precise cut, ensuring the pipe ends are smooth and ready for threading. Using a pipe cutter also reduces the risk of damaging the pipe compared to other cutting methods.
Thread Gauge
A thread gauge is used to measure and verify the thread size and pitch of pipes and fittings. This tool ensures that the threads are compatible, which is crucial for achieving a proper seal and avoiding leaks.
Before beginning the installation, carefully inspect the fittings and pipes for any signs of damage or defects, such as cracks, dents, or irregularities. Cleaning is also crucial; use brushes and rags to remove any dirt, oil, or debris from the threads. This ensures a clean surface for the thread sealant to adhere to, which is essential for creating a leak-proof seal.
Choosing the Right Thread Sealant
Selecting the appropriate thread sealant is vital for the success of the installation. Teflon tape and pipe dope are the two most common options. Teflon tape is ideal for most standard applications due to its ease of use and effectiveness in preventing leaks. Pipe dope, or thread compound, provides a more durable seal and is often used in high-pressure or high-temperature environments. Consider the specific requirements of your application when choosing the sealant.

Measuring and Marking the Pipe
Accurate measurement is key to ensuring that the pipe fits correctly within the system. Use a tape measure to determine the required length, and mark the pipe with a pencil or marker at the desired cut point. Double-check measurements to avoid any errors that could compromise the installation.
Using a Pipe Cutter
Secure the pipe in a pipe vise or similar tool to prevent movement. Place the pipe cutter on the marked line, ensuring it is aligned correctly. Rotate the cutter around the pipe, tightening it gradually until the pipe is cut through completely. This method ensures a clean, straight cut, which is necessary for proper threading.
Threading the Pipe with a Die Set
After cutting, the next step is to thread the pipe. Use a die set appropriate for the pipe size. Apply threading oil to the pipe end to lubricate and cool the threads during the process. Position the die over the pipe end and turn it clockwise, ensuring even pressure to create consistent threads. Continue threading until the required length of the threads is achieved. Clean the threads with a brush to remove any metal shavings or debris.
How to Apply Teflon Tape Properly
Start by wrapping Teflon tape around the male threads of the pipe. Begin at the end of the pipe and wrap the tape clockwise, overlapping each layer by about half the tape’s width. Apply 2-3 layers of tape, ensuring that the tape is snug and flat against the threads. Avoid over-taping, as this can cause difficulty when threading the fittings together.
Using Pipe Dope Effectively
If using pipe dope, apply a thin, even layer of the compound to the male threads of the pipe. Use a brush or the applicator provided to spread the dope, ensuring it covers all the threads but does not clog them. Pipe dope is particularly useful for applications where the connection may need to be adjusted after initial assembly.
Hand-Tightening the Fittings
Begin by screwing the fitting onto the pipe by hand. Hand-tightening ensures that the threads are properly engaged without the risk of cross-threading. Turn the fitting clockwise until it becomes difficult to turn by hand.
Final Tightening with a Pipe Wrench
Once hand-tightened, use a pipe wrench to secure the fitting further. Position the wrench on the fitting and turn it clockwise, applying firm but controlled pressure. Avoid over-tightening, as this can damage the threads or the fitting itself. Generally, a few additional turns after hand-tightening are sufficient to create a secure seal.
Checking Alignment and Fit
After tightening, check the alignment and fit of the pipe and fitting. Ensure that the connection is straight and properly seated. Misalignment can cause stress on the connection and lead to leaks or failure.
Pressure Testing for Leaks
Once the fittings are assembled, it’s crucial to test the connection for leaks. Perform a pressure test by filling the system with water or air and pressurizing it to the operating pressure. Observe the connection for any signs of leakage. If a leak is detected, depressurize the system and re-tighten the fitting or reapply thread sealant as needed.
Visual Inspection for Proper Installation
In addition to pressure testing, conduct a thorough visual inspection. Check for any signs of thread damage, misalignment, or improper sealing. Ensure that all fittings are correctly installed and that there are no visible gaps or irregularities. A meticulous inspection can prevent future issues and ensure the reliability of the connection.
Over-tightening is a frequent mistake during the installation of NPT fittings. While it might seem that tightening the fitting as much as possible will ensure a leak-proof connection, excessive force can actually damage the threads, distort the fitting, or even crack the pipe. This compromises the integrity of the connection and can lead to leaks or failures.
How to Prevent Over-tightening:
Hand-Tightening First: Always begin by tightening the fitting by hand. This helps to ensure the threads are properly engaged without any cross-threading.
Use a Pipe Wrench Sparingly: When using a pipe wrench, apply moderate force. Typically, after hand-tightening, only 1-2 additional turns with the wrench are necessary. Avoid using excessive force.
Follow Manufacturer Guidelines: Refer to the manufacturer’s recommendations for torque specifications if available. This provides a guideline on how much force to apply without risking damage.
Practice and Experience: With experience, you’ll develop a feel for how tight is “tight enough.” Practicing on spare fittings can help you learn the right amount of force to use.
Common Errors with Teflon Tape and Pipe Dope
Thread sealant is crucial for ensuring leak-proof connections, but improper application can cause issues. Common mistakes include using too much or too little sealant, incorrect wrapping techniques, and choosing the wrong type of sealant for the application.
How to Avoid Common Errors:
Using Teflon Tape:
Correct Wrapping Direction: Wrap the tape in the same direction as the threads (clockwise when looking at the pipe end). This ensures the tape does not unravel when the fitting is tightened.
Proper Coverage: Apply 2-3 layers of Teflon tape, overlapping each layer by about half the tape’s width. Ensure the tape covers the threads completely but does not extend beyond them.
Using Pipe Dope:
Even Application: Apply a thin, even layer of pipe dope to the male threads using a brush or the applicator provided. Avoid clogging the threads with excess compound.
Compatibility: Choose a pipe dope that is compatible with the materials and the type of fluid or gas being transported. Some pipe dopes are designed for specific applications and may not be suitable for all uses.
Ensuring Proper Threading to Avoid Leaks
Incorrect thread engagement can occur when the threads are not aligned properly, leading to cross-threading or insufficient engagement. This results in weak connections that are prone to leaking and failure.
How to Ensure Proper Thread Engagement:
Inspect Threads Before Use: Before installation, inspect the threads on both the pipe and fitting for any damage or irregularities. Damaged threads should be repaired or the component replaced.
Align Threads Correctly: When assembling the fitting, ensure the threads are properly aligned before starting to tighten. Begin threading by hand to avoid cross-threading.
Use a Thread Gauge: A thread gauge can help verify that the threads are the correct size and type, ensuring compatibility and proper engagement.
Thread the Pipe Correctly: When cutting and threading the pipe, use the correct tools and techniques to create precise threads. Apply threading oil to reduce friction and ensure clean, well-formed threads.
Common Signs and Causes
Leaks in NPT fittings can be identified through various signs and have several common causes:
Visible Drips or Moisture: The most obvious sign of a leak is visible moisture, drips, or puddles around the fitting. This indicates that the seal is not holding properly.
Pressure Drop: A noticeable drop in system pressure can indicate a leak somewhere in the piping system. Regular pressure monitoring can help detect this issue.
Hissing Sound: For gas systems, a hissing sound near the fitting may indicate escaping gas, signifying a leak.
Corrosion or Rust: Over time, leaks can lead to rust or corrosion around the fitting, which can be a visual cue to the problem.
Fluid Stains: Stains or discoloration on or around the pipe and fittings can also indicate a slow leak that needs addressing.
Common Causes of Leaks:
Improper Thread Engagement: Threads that are not properly aligned or cross-threaded can result in leaks.
Inadequate Thread Sealant: Insufficient or improperly applied thread sealant can fail to fill the gaps in the threads, leading to leaks.
Over-tightening or Under-tightening: Both over-tightening and under-tightening can compromise the integrity of the connection.
Damaged Threads: Threads that are worn, damaged, or corroded can prevent a proper seal from forming.
Reapplying Thread Sealant
Disassemble the Connection: Carefully unscrew the fitting to expose the threads. Use a pipe wrench if necessary, but avoid excessive force that could damage the threads further.
Clean the Threads: Remove any old thread sealant, dirt, or debris from the threads using a brush and rags. Ensure both the male and female threads are clean and dry.
Apply New Sealant:
Teflon Tape: Wrap the tape clockwise around the male threads, overlapping each layer by about half the tape’s width. Apply 2-3 layers for a good seal.
Pipe Dope: Apply a thin, even layer of pipe dope to the male threads, ensuring full coverage without clogging the threads.
Reassemble the Fitting: Screw the fitting back onto the pipe by hand, then use a pipe wrench to tighten it further. Avoid over-tightening.
Retightening Connections
Hand-Tighten First: Ensure the fitting is initially hand-tightened to engage the threads properly.
Use a Pipe Wrench: Apply moderate force with a pipe wrench to tighten the fitting further. Turn it until you feel resistance, then give an additional quarter turn. Check for leaks and tighten further if necessary, but avoid excessive force.
Recognizing When to Start Over with New Fittings
Severe Thread Damage: If the threads are significantly worn, corroded, or damaged, reapplying sealant will not be effective. New fittings and pipes should be used to ensure a proper seal.
Persistent Leaks: If leaks persist after multiple attempts to reapply sealant and retighten the fitting, it may indicate a deeper issue with the components. Starting over with new fittings is the best course of action.
Misaligned or Cross-Threaded Connections: If the threads were cross-threaded or misaligned during installation, the integrity of the connection is compromised. Disassemble and start over with new, properly aligned fittings.
Old or Worn Fittings: Over time, fittings can wear out due to repeated use, exposure to harsh conditions, or corrosion. Inspect the fittings regularly and replace them if they show signs of wear or damage.
Installing NPT fittings requires careful attention to detail and adherence to proper techniques to ensure leak-proof connections. The process involves preparing the pipes and fittings, cutting and threading the pipe, applying the correct thread sealant, assembling the fittings, and conducting thorough testing. Each step is crucial in achieving a secure and reliable connection that will withstand the demands of various applications. We encourage you to share your experiences, tips, and insights on installing NPT fittings.
NPT (National Pipe Taper) threads have a taper of 1/16 inch per inch, which means the diameter decreases along the length of the thread. This taper creates a tight, leak-proof seal when the fitting is tightened. Other types of pipe threads, such as BSP (British Standard Pipe), have different threading standards and are not directly compatible with NPT threads.
NPT fittings should be hand-tightened until snug, then further tightened with a pipe wrench by 1-2 additional turns. Avoid over-tightening, as it can damage the threads or fitting, leading to leaks or failure.
Yes, you can use both Teflon tape and pipe dope together for added security. Apply the Teflon tape first, wrapping it clockwise around the male threads, then apply a thin layer of pipe dope over the tape. This combination can provide a more effective seal, especially in high-pressure applications.
If a leak is detected, first depressurize the system and carefully disassemble the fitting. Clean the threads and reapply the thread sealant (Teflon tape or pipe dope) properly. Reassemble the fitting, ensuring it is tightened correctly. If the leak persists, inspect for damaged threads and consider replacing the fitting.
NPT fittings should be inspected regularly, especially in high-use or critical applications. A visual inspection every few months, combined with annual pressure testing, can help identify and address potential issues before they lead to significant problems.
NPT fittings can be reused if they are in good condition and the threads are not damaged. However, it is important to clean the threads thoroughly and reapply thread sealant before reassembling. For critical applications, it is often best to use new fittings to ensure a reliable seal.

Automated page speed optimizations for fast site performance
