Reusable hydraulic hose fittings provide a sustainable and cost-effective solution for adjustments and repairs without having to replace the entire hose. However, like all components, these fittings can fail, resulting in downtime and costly repairs. This guide is designed to give you the knowledge you need to identify, diagnose, and resolve problems with reusable hydraulic hose fittings, ensuring that your operations run smoothly and interruptions are minimized.
Reusable hydraulic hose fittings are essential for various applications, providing flexibility and cost savings. However, they can fail due to several reasons, from normal wear and tear to improper installation. Recognizing the signs of failure early can help prevent costly repairs and system downtime. Here are some of the most common symptoms to watch for:
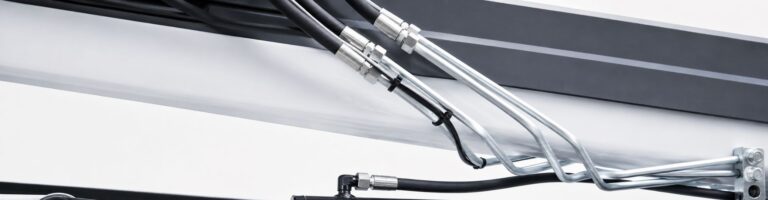
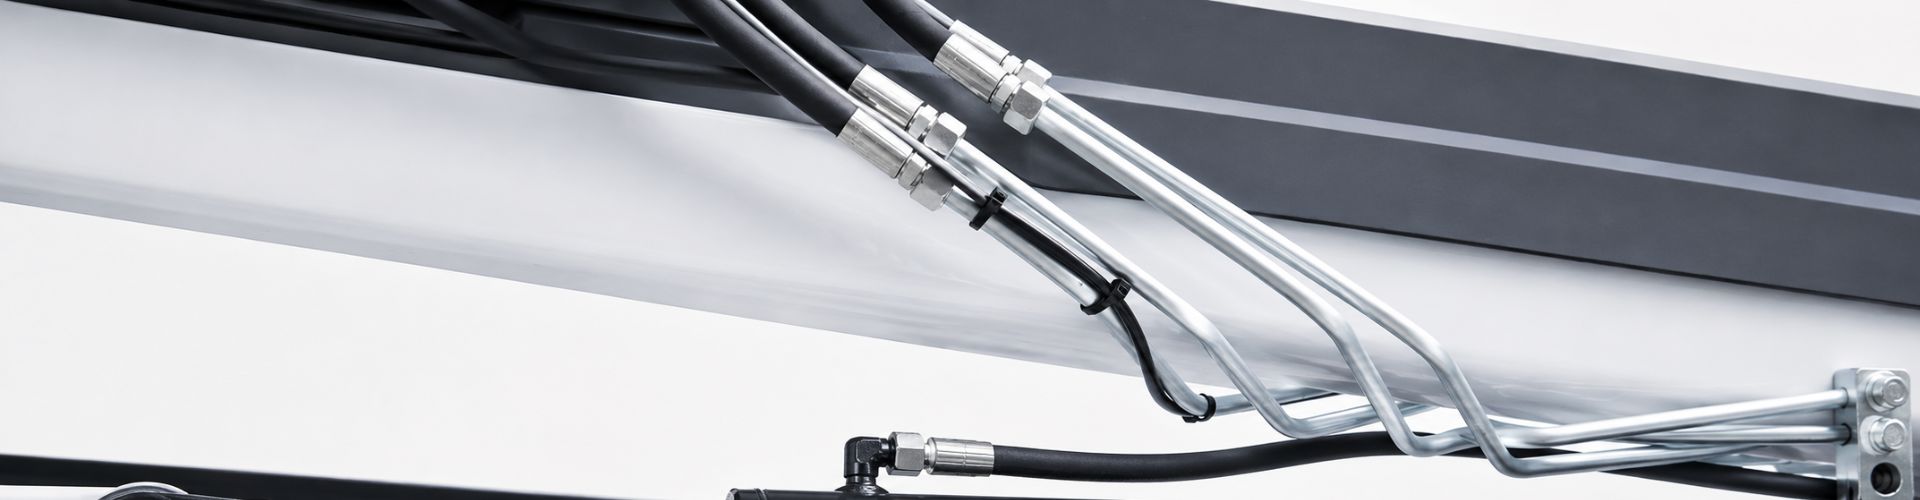
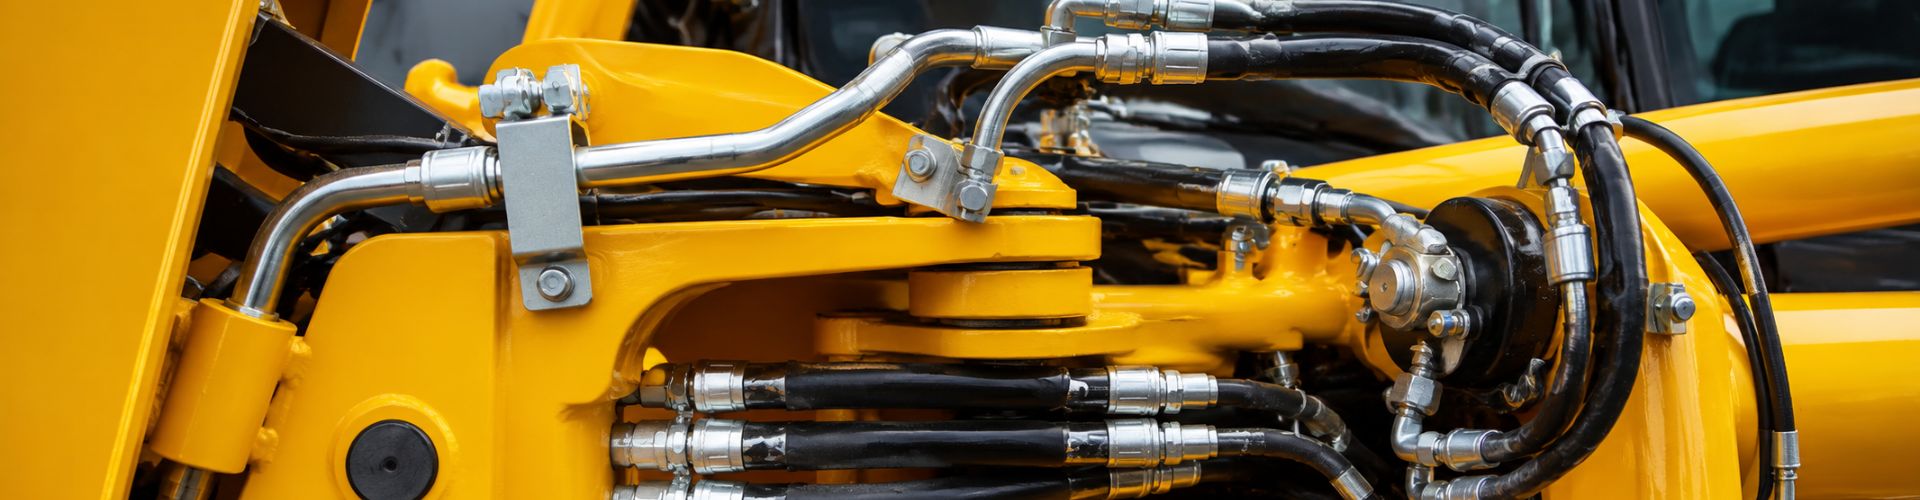
Description: Leaking is the most noticeable sign of a problem in hydraulic systems. Fluid escaping from the connection points can indicate issues such as worn seals or improper fitting. It’s essential to address leaks immediately to prevent system inefficiencies and potential safety hazards.
Detection Tips:
Check for Wetness: Regularly inspect the areas around hose fittings for any signs of wetness or puddles of hydraulic fluid.
Use Dye: Introduce a colored dye into the hydraulic fluid which can make leaks easier to detect visually.
Pressure Testing: Perform a pressure test by applying internal pressure to the system and observing if it maintains pressure over time.

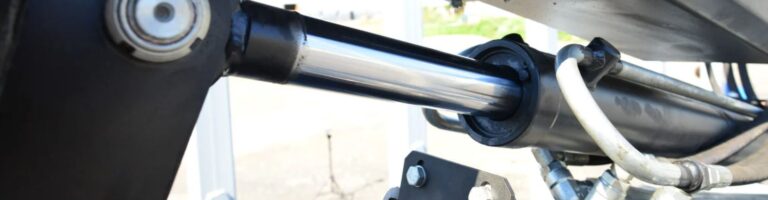
Description: A secure connection is vital for the proper function of hydraulic systems. If the fittings do not securely connect, it can lead to slips or disconnections under pressure, which are hazardous and can cause system failures.
Detection Tips:
Manual Testing: Gently tug on the hose to ensure that the fitting is secure and does not move or detach.
Inspect Installation: Double-check if the hose fittings are aligned correctly and tightened to the manufacturer’s specifications. Incorrect alignment can prevent a secure connection.
Description: Over time, fittings may exhibit visible signs of wear such as cracks, rust, or other damage. These physical damages can compromise the integrity of the connection.
Detection Tips:
Visual Inspection: Regularly examine the fittings for any signs of physical damage. Look for cracks in the metal or plastic, rust on metal surfaces, and wear on sealing surfaces.
Surface Checks: Feel the surface of the fittings for any irregularities that might not be immediately visible.
Description: Noises such as squeaking or popping during operation can indicate that a fitting is not seating correctly or that there is movement between components under pressure.
Detection Tips:
Listen During Operation: Pay close attention to the sounds coming from the hydraulic system during normal operation. Unusual noises are often the first sign of a problem.
Check Under Load: Operating the hydraulic system under load can exacerbate fitting issues, making them easier to detect.
Maintaining reusable hydraulic hose fittings involves regular inspections and addressing issues as they arise. This section details practical repair techniques for common problems, the tools you’ll need for these repairs, and guidance on deciding when to repair versus replace a fitting.
When managing and maintaining reusable hydraulic hose fittings, one of the most common issues you might encounter involves compromised O-rings.
Tools Required: O-ring pick, gloves.
Safety First: Before beginning, ensure the system pressure is relieved and the area is safe to work in.
Access the O-ring: Depending on the fitting design, you may need to disassemble parts of the fitting to access the O-ring.
Remove with Care: Use the O-ring pick to hook the old O-ring. Carefully lift it out of its seat without gouging or scratching any surfaces of the fitting, as this could impair reassembly and lead to leaks.
Dispose Properly: Consider environmental regulations and safety practices when disposing of hydraulic fluid-soaked O-rings.
Tools Required: Soft bristle brush, cleaning solvent, lint-free cloth.
Apply Solvent: Use a suitable cleaning solvent to loosen any stubborn debris or residue within the groove that held the O-ring.
Scrub Gently: With a soft bristle brush, clean the groove thoroughly to ensure no particulate matter remains that could damage the new O-ring.
Wipe Down: Use a lint-free cloth to dry and remove any remaining solvent or debris from the groove and surrounding area, preparing it for the new O-ring.
Materials Needed: Appropriate hydraulic fluid or O-ring lubricant.
Select the Right Lubricant: Ensure the lubricant is compatible with both the O-ring material and the hydraulic fluid. Incompatibility can cause O-ring swelling or degradation.
Apply Sparingly: Dab a small amount of lubricant on your fingertips and gently apply it around the new O-ring. Avoid over-lubrication, which can attract dirt or cause the O-ring to sit improperly.
Check O-ring Size: Ensure the replacement O-ring matches the size and specification of the old one. Using an incorrect size can result in poor sealing and increased wear.
Position Correctly: Carefully place the lubricated O-ring into the cleaned groove. Ensure it lays flat and even all around without any twists or kinks, which could compromise the seal.
Final Check: Once installed, give the O-ring a gentle tug to make sure it is seated correctly and securely.
Proper thread maintenance is crucial for the longevity and efficiency of reusable hydraulic hose fittings. Ensuring that the threads are clean and properly sealed can prevent leaks and other common issues.
Tools Needed: Clean rag, small wire brush (optional).
Remove Debris: Begin by wiping the threads with a clean, lint-free rag to remove any loose debris or dirt. If the threads are particularly dirty or if there is hardened residue, use a small wire brush to gently scrub the threads.
Inspect the Threads: After cleaning, inspect the threads closely for any signs of damage or wear, such as stripping or cross-threading. Damaged threads can compromise the integrity of the fitting and should be addressed immediately.
Materials Needed: PTFE thread tape.
Select the Right Tape: Ensure that the PTFE tape is appropriate for hydraulic applications. Some tapes are better suited for different types of fluids and pressures.
Wrap the Tape: Start wrapping the tape at the end of the thread nearest the fitting body, overlapping each wrap by about half the width of the tape. Wrap in the direction of the thread’s spiral—this ensures that the tape will tighten onto the thread as the fitting is screwed in, rather than bunching up or unwrapping.
Cover All Threads: Continue wrapping until all the threads are covered with one to two layers of tape. Be careful not to overwrap, as too much tape can make screwing the fitting together difficult and may promote leaking rather than prevent it.
Tools Needed: Suitable wrench or socket.
Hand Tightening: Initially, reconnect the fittings by hand to prevent cross-threading. Screw the fitting together until it is hand-tight.
Use a Wrench: Use the appropriate wrench or socket to tighten the fitting according to the manufacturer’s specifications. It’s important not to over-tighten, as this can damage the threads and the seal, potentially leading to leaks.
Double-Check for Leaks: After the system is repressurized, check around the fitting for any signs of leaks. If leaks are detected, slightly increase the tightness of the fitting, but be cautious not to over tighten.

Ensuring that Reusable hydraulic fittings are properly tightened is crucial for maintaining system integrity and preventing leaks. Over-tightening can damage fittings and threads, leading to system failures, while under-tightening may result in leaks.
Tools Needed: None required for inspection, but a flashlight or magnifying glass can help.
Visual Inspection: Carefully examine the threads and the sealing surfaces of the fittings for any signs of wear, damage, or contamination. Look for burrs, cracks, or stripped threads.
Clean if Necessary: If debris or old thread sealant is present, clean the threads and sealing surfaces before proceeding. This ensures that the fitting will seat properly and form a tight seal.
Check for Compatibility: Make sure that the fittings are compatible in terms of size, thread type, and material specifications. Mismatched or incompatible fittings can cause improper threading and sealing.
Tools Needed: Correct size wrench or socket set.
Select the Right Tool: Use a wrench or socket that fits the fittings snugly. Avoid using adjustable wrenches or pliers, which can slip and damage the fittings.
Tighten Gradually: Start by hand-tightening the fitting to ensure it is not cross-threaded. Once hand-tight, use the wrench to tighten further.
Avoid Over-Tightening: Apply steady pressure and avoid sudden force. Over-tightening can strip threads or crack the fittings, especially if they are made of softer materials like brass or aluminum.
Tools Needed: Torque wrench (if specific torque is recommended).
Consult Manufacturer’s Specifications: Before tightening, refer to the manufacturer’s torque specifications for the specific type of fitting. These specifications are designed to ensure optimal tightness without damaging the fittings.
Use a Torque Wrench: For critical connections, using a torque wrench is advisable to apply the exact amount of force recommended. Adjust the torque wrench to the correct setting based on the specifications.
Double-Check Tightness: After the initial tightening, it may be wise to check the tightness again after a short period of operation. This is because vibrations and pressure changes can affect the fittings.
In the lifecycle of hydraulic hose fittings, determining when to replace a component versus when to repair it is critical for maintaining system reliability and operational efficiency. This decision impacts not only the safety and performance of the hydraulic system but also the cost-effectiveness of its maintenance.
Assessment:
Decision Criteria:
Assessment:
Decision Criteria:
In addition to assessing the physical condition of the fittings, a cost-benefit analysis should be conducted to determine the most economically viable option:
Downtime Costs: Consider how long the system will be out of operation for both repair and replacement. Downtime can often be more costly than the fitting itself.
Repair Costs vs. Replacement Costs: Evaluate the cost of repairing the fitting (including labor and parts) against the cost of a new fitting and installation. Factor in the likelihood of future repairs or potential failures.
Risk Assessment: Weigh the risks associated with a potential failure of a repaired fitting versus a new one, especially in critical applications.
Troubleshooting and maintaining reusable hydraulic hose fittings is critical to the life and efficiency of your hydraulic system. Reliable system performance can be ensured by understanding common problems, employing effective diagnostic and repair strategies, and adhering to routine maintenance practices. Employing these techniques will minimize downtime and extend the life of hydraulic components. We invite you to share your experiences and other tips with us; your insights may be helpful to others!
Common signs of failure include noticeable leaks at the connection points, poor connection integrity (e.g., the fitting slips or disconnects under pressure), visible wear and tear such as cracks or rust on the fitting, and unusual noises like squeaking or popping during operation.
It’s recommended to inspect these fittings at regular intervals, which depend on their usage and environmental conditions. A general rule is to check them during routine maintenance of the hydraulic system, or at least every six months.
If a leak is detected, immediately shut down the system to prevent further damage or safety hazards. Inspect the fitting for any signs of wear, damage, or improper installation. Depending on the condition, tighten the fitting, replace the seals, or replace the entire fitting if necessary.
Generally, a cracked fitting should be replaced rather than repaired. Cracks can compromise the structural integrity of the fitting, leading to potential failures under pressure, which could be hazardous.
Basic tools required include wrenches or sockets that match the fitting size, an O-ring pick for seal replacement, cleaning rags, and possibly PTFE tape or suitable sealant for threading. A torque wrench may also be needed to ensure connections are tightened to the manufacturer’s specifications.
Evaluate the fitting based on its age, the severity of any damage, and the cost-effectiveness of repair versus replacement. If the fitting shows significant wear or damage, or if the cost of frequent repairs exceeds the cost of replacement, it’s advisable to replace the fitting.


