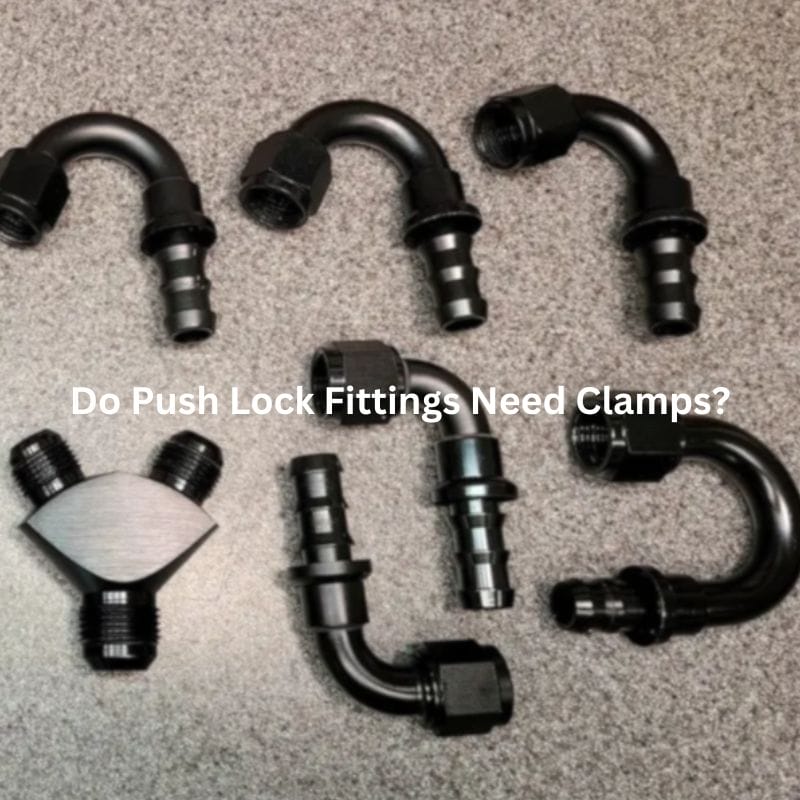
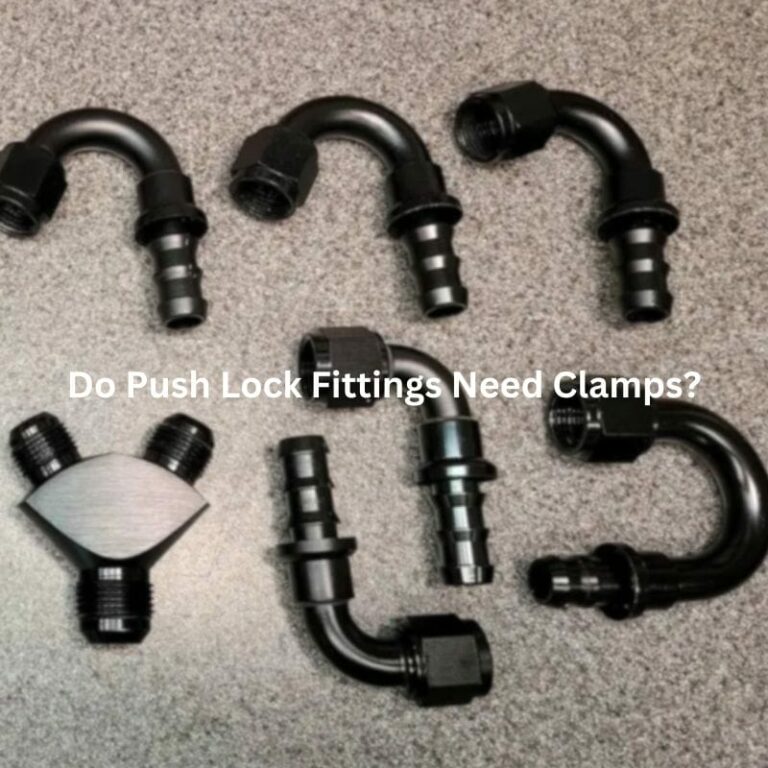
Do Push Lock Fittings Need Clamps?
Introduction
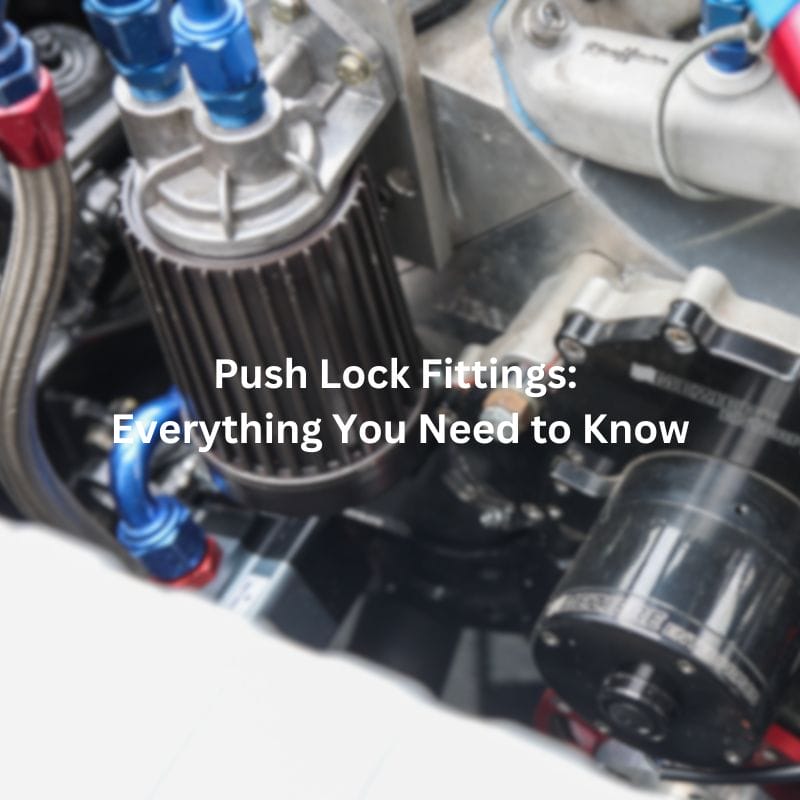
Imagine you’re in the middle of a crucial project, replacing hoses on a high-performance hydraulic system. The stakes are high, and the last thing you need is a leak or failure. You’ve opted for push lock fittings, praised for their easy installation and reliable performance. This post delves into the heart of this debate, examining whether push lock fittings require clamps and under what circumstances they might be necessary. By exploring the design, we aim to provide a comprehensive understanding that will help you make informed decisions for your projects.
Understanding Push-Lock Fittings
Definition and Use
Push-lock fittings are a type of hose fitting that features a barb construction that hooks onto the inside of the hose to create a secure, leak-proof connection. Their primary use is to simplify the assembly process of hydraulic and pneumatic systems and are ideal for applications where speed and reliability are critical. Push-lock couplings reduce installation time and the possibility of human error, ensuring consistent and reliable connections.
Types of Push Lock Fittings
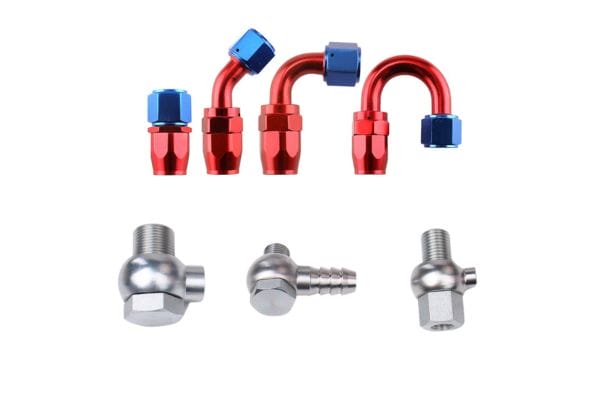
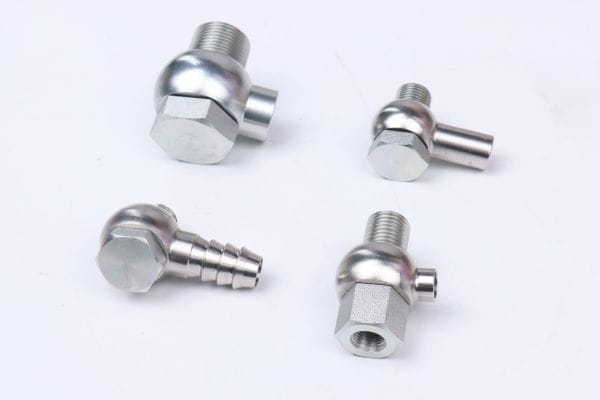
The market offers a variety of push lock fittings to accommodate different needs and applications. Common types include:
Straight Push Lock Fittings: These are the most basic type, designed to connect two hoses in a straight line. They are often used in simple, linear fluid or air transfer systems.
Elbow Push Lock Fittings: Featuring a 90-degree bend, these fittings are used to navigate tight spaces and change the direction of the hose without kinking.
Tee Push Lock Fittings: These fittings allow for the branching of hoses, enabling a single fluid or air source to be distributed to multiple destinations.
Reducer Push Lock Fittings: Used to connect hoses of different diameters, these fittings facilitate the transition between varying hose sizes within a system.
Swivel Push Lock Fittings: Designed to rotate, these fittings prevent hoses from twisting and tangling, enhancing the durability and flexibility of the hose system.

Materials and Manufacturing
Push lock fittings are typically made from high-quality materials that ensure durability and performance under various operating conditions. Common materials include:
Brass: Known for its corrosion resistance and excellent conductivity, brass is a popular choice for push lock fittings used in hydraulic and pneumatic systems.
Stainless Steel: Offers superior strength and resistance to corrosion and high temperatures, making it suitable for demanding industrial applications.
Aluminum: Lightweight and resistant to corrosion, aluminum push lock fittings are ideal for applications where weight savings are critical.
Composite Materials: These are often used in specific applications requiring unique properties, such as chemical resistance or non-conductivity.
How Push Lock Fittings Work
Mechanism of Action
Push lock fittings operate on a simple yet effective principle: the barb-and-hose interaction. When a push lock fitting is inserted into a hose, the barb design creates multiple contact points within the hose. These barbs grip the inner wall of the hose, creating friction that holds the hose securely in place. The tighter the hose fits over the barbs, the more secure the connection.
Design Features
Several key design features contribute to the effectiveness and reliability of push lock fittings:
Barbed Structure: The barbs on push lock fittings are strategically spaced to maximize grip and create multiple sealing points. This design prevents the hose from slipping off, even under high pressure.
Tapered End: The leading edge of the fitting is often tapered to facilitate easy insertion into the hose. This feature reduces the risk of damaging the hose during installation and ensures a smooth, secure fit.
Extended Surface: The barbed area may have a textured or knurled surface to increase friction and improve the hose’s grip on the fitting, further preventing slippage.
Flexible Hose Compatibility: Push lock fittings are designed to work with a variety of hose materials, including rubber, PVC, and synthetic blends, making them versatile for different applications.
Applications
Push lock fittings are used in a wide range of applications across various industries due to their ease of use and reliable performance. Common applications include:
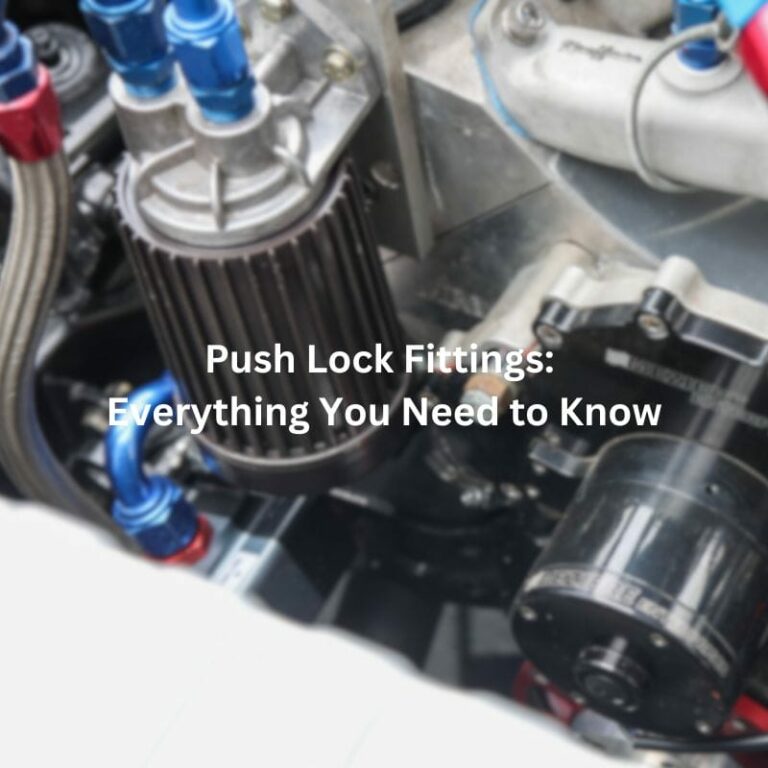
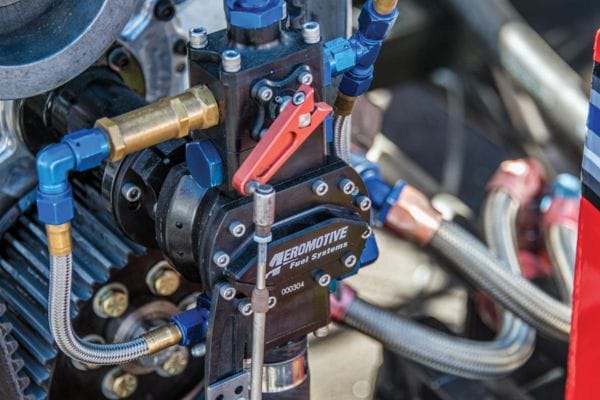
Automotive: In the automotive industry, push lock fittings are used in fuel lines, brake systems, and air conditioning systems. Their quick installation and secure fit make them ideal for both production and aftermarket modifications.
Hydraulic Systems: Push lock fittings are commonly found in hydraulic systems used in heavy machinery, construction equipment, and agricultural machinery. Their ability to maintain a tight seal under high pressure is crucial in these demanding environments.
Marine Applications: In marine environments, push lock fittings are used in various fluid transfer systems, including fuel and water lines. Their resistance to corrosion and ease of installation make them suitable for harsh maritime conditions.
Industrial Equipment: Push lock fittings are utilized in various industrial equipment, including pumps, compressors, and HVAC systems. Their reliability and quick installation process help maintain operational efficiency and reduce downtime.
Home and Garden: Push lock fittings are also used in home and garden applications, such as irrigation systems, water filtration systems, and home brewing setups.
The Role of Clamps in Hose Fittings
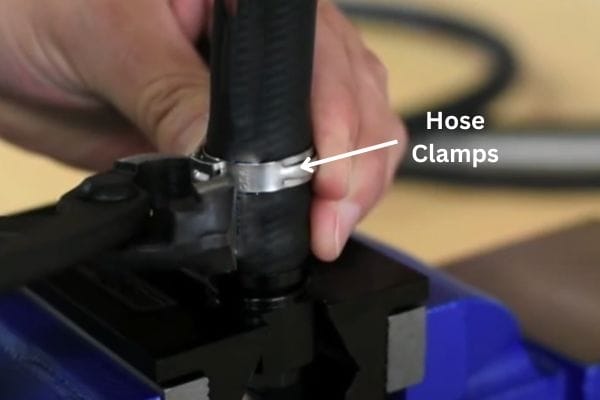
General Use of Clamps
Clamps are widely used in hose fittings to secure hoses to fittings, preventing leaks and ensuring a reliable connection. They provide an additional layer of security by applying external pressure on the hose, which enhances the grip of the hose on the fitting. Clamps are particularly essential in high-pressure systems, where the risk of the hose detaching from the fitting is higher. By using clamps, engineers and technicians can ensure that the connection remains tight and leak-free under various operating conditions, including vibration, thermal expansion, and pressure fluctuations.

Types of Clamps
There are several types of clamps used in hose fittings, each designed for specific applications and hose types. The most common types include:
Worm Gear Clamps: These clamps feature a slotted band and a screw mechanism. As the screw is tightened, the band tightens around the hose, providing a secure fit. Worm gear clamps are versatile and commonly used in automotive and industrial applications.
Spring Clamps: These clamps are made from a single piece of spring steel. They are designed to apply consistent pressure around the hose, compensating for changes in temperature and pressure. Spring clamps are often used in automotive cooling systems.
T-Bolt Clamps: T-bolt clamps provide a high level of clamping force and are used in high-pressure applications. They feature a T-shaped bolt and a band, which are tightened to secure the hose. These clamps are commonly used in heavy machinery and industrial applications.
Ear Clamps: Also known as Oetiker clamps, these clamps have one or two ears that are pinched to tighten the clamp around the hose. Ear clamps provide a secure and tamper-resistant connection, making them suitable for applications where a permanent connection is desired.
Constant-Tension Clamps: These clamps are designed to maintain a constant clamping force despite changes in temperature and pressure. They are commonly used in applications where thermal expansion and contraction are significant factors, such as in automotive exhaust systems.
Quick-Release Clamps: Quick-release clamps feature a mechanism that allows for rapid installation and removal. These clamps are ideal for applications where hoses need to be frequently disconnected and reconnected, such as in some laboratory and medical equipment.
Advantages and Disadvantages
Using clamps in hose fittings has several advantages and disadvantages that need to be considered:
Advantages:
Enhanced Security: Clamps provide an additional layer of security, ensuring that the hose remains firmly attached to the fitting, even under high pressure and stress.
Leak Prevention: By applying external pressure, clamps help prevent leaks at the connection point, which is critical in systems that handle fluids or gases.
Adaptability: Clamps can be used with a wide variety of hose materials and fitting types, making them a versatile solution for many applications.
Situations Where Clamps May Be Necessary
High-Pressure Applications
In high-pressure applications, the force exerted on hose fittings can be substantial, which may cause the hose to detach from the fitting if not adequately secured. While push lock fittings are designed to hold firmly under standard conditions, the additional security provided by clamps can be crucial in the following scenarios:
Hydraulic Systems: In hydraulic systems operating at very high pressures, the risk of hose blow-off increases. Adding clamps to push lock fittings can provide the extra grip needed to ensure the hose remains securely attached.
Industrial Machinery: Equipment such as heavy-duty pumps, compressors, and presses often operate under high pressure. Using clamps with push lock fittings in these systems can prevent failures that could lead to downtime and costly repairs.
Chemical Processing Plants: In environments where high-pressure fluids are transported, such as in chemical plants, clamps can help maintain the integrity of connections, preventing hazardous leaks.
Extreme Conditions
Extreme conditions, such as high temperatures and intense vibrations, can challenge the reliability of hose connections. Clamps can be particularly beneficial in these environments:
High-Temperature Environments: In applications where hoses are exposed to high temperatures, such as in engine compartments or industrial ovens, the hose material can expand and contract. Clamps help maintain a secure connection by compensating for these thermal changes.
High-Vibration Environments: Machinery and equipment that generate significant vibrations, such as engines, turbines, and construction equipment, can cause hoses to work loose over time. Clamps add stability, ensuring that the hose remains securely attached despite constant movement.
Outdoor and Marine Applications: Hoses used in outdoor or marine environments face fluctuating temperatures, moisture, and UV exposure. Clamps provide additional security to handle these variable conditions, preventing hose slippage and leaks.
Aging and Wear
Over time, hoses can degrade due to exposure to the elements, repeated use, and wear and tear. In older systems, clamps can help maintain a secure fit and prevent leaks:
Aged Hose Materials: As hoses age, they can become less flexible and more prone to cracking or losing their grip on fittings. Adding clamps can help compensate for these changes, ensuring a tight connection.
Frequent Disconnection and Reconnection: In applications where hoses are frequently disconnected and reconnected, such as in laboratory or test environments, the hose ends can wear out. Clamps provide a reliable way to maintain a secure fit despite this wear.
Maintenance and Retrofitting: During maintenance or retrofitting of older systems, clamps can be added to existing push lock fittings to enhance the security of connections, especially if the original fittings have become less effective over time.
By recognizing these situations where clamps may be necessary, you can ensure the longevity and reliability of your hose connections. Whether dealing with high-pressure systems, extreme environmental conditions, or aging hoses, the added security of clamps can provide peace of mind and prevent costly failures.
Practical Tips for Using Push Lock Fittings and Clamps
Installation Tips
Select the Right Fitting and Hose: Ensure that the push lock fitting and hose are compatible in terms of size and material. Check manufacturer specifications to confirm compatibility.
Prepare the Hose: Cut the hose to the desired length using a sharp knife or hose cutter to ensure a clean, straight edge. Avoid using a saw, as it can create uneven cuts that compromise the seal.
Lubricate the Hose: Apply a small amount of lubricant (e.g., soapy water or a specific hose lubricant) to the inside of the hose. This will ease the insertion of the fitting and prevent damage to the hose.
Insert the Fitting: Push the fitting into the hose with a firm, steady pressure. Ensure the hose is fully seated against the fitting’s shoulder for a secure connection. Twisting the hose slightly while inserting can help achieve a better fit.
Check for Proper Seating: Verify that the hose covers all the barbs on the fitting. The hose should fit snugly without gaps or misalignment.
Secure with Clamps (if necessary): If using clamps, position them just behind the last barb of the fitting. Tighten the clamp evenly to avoid pinching or damaging the hose. Do not overtighten, as this can cause leaks or hose failure.
Maintenance and Inspection
Regular Inspections: Periodically check the fittings and hoses for signs of wear, damage, or leaks. Inspect the clamps for corrosion or loosening.
Re-tighten Clamps: If clamps are used, ensure they are tight but not overly so. Over time, clamps may need to be adjusted to maintain a secure fit.
Check Hose Integrity: Look for cracks, brittleness, or other signs of aging in the hose material. Replace hoses that show significant wear or damage.
Clean the Fittings: Keep the fittings clean and free from debris that could compromise the seal. Use a soft brush or cloth to remove dirt and grime.
Monitor Performance: Keep an eye on the performance of the system. Unexplained drops in pressure or efficiency could indicate a problem with the hose connections.
Troubleshooting
Leaks at the Connection Point:
Cause: Improper installation, damaged hose, or loose clamp.
Solution: Reinstall the fitting, ensuring the hose is fully seated. Check the hose for damage and replace it if necessary. Adjust or replace the clamp if it is loose or damaged.
Hose Slipping Off the Fitting:
Cause: Inadequate hose grip, insufficient barb engagement, or lack of clamp.
Solution: Ensure the hose is pushed onto the fitting. Use a clamp to secure the hose if it continues to slip off.
Difficulty Inserting Fitting into Hose:
Cause: Hose is too tight or insufficient lubrication.
Solution: Apply more lubricant to the inside of the hose. Verify that the hose and fitting sizes are compatible.
Clamps Damaging the Hose:
Cause: Over-tightening of clamps.
Solution: Loosen the clamps slightly and check for damage. Replace damaged hose sections and re-tighten clamps to a snug, but not excessive, fit.
Hose Kinks or Bends:
Cause: Improper hose routing or excessive length.
Solution: Re-route the hose to avoid sharp bends and ensure a smooth path. Cut the hose to the appropriate length to prevent kinks.
Conclusion
In summary, push lock fittings are designed for easy installation and reliable performance, utilizing a barbed structure to create a secure connection. While they often function well without clamps, certain situations—such as high-pressure applications, extreme conditions, and aging hoses—may benefit from the additional security clamps provide. Considering these factors, whether push lock fittings need clamps depends on the specific requirements of your application.
FAQ
What are push lock fittings?
Push lock fittings are hose fittings designed for quick and secure connections without the need for clamps. They feature a barbed structure that grips the hose tightly, creating a leak-proof seal.
Do push lock fittings always need clamps?
No, push lock fittings do not always need clamps. They are designed to provide a secure connection on their own. However, in high-pressure or extreme conditions, using clamps can add extra security.
What types of hoses are compatible with push lock fittings?
Push lock fittings are compatible with various hose materials, including rubber, PVC, and synthetic blends. It is important to check the manufacturer’s specifications for compatibility.
How do I install a push lock fitting?
To install a push lock fitting, cut the hose cleanly, lubricate the inside of the hose, and push the fitting firmly into the hose until it is fully seated against the fitting’s shoulder.
When should I use clamps with push lock fittings?
Clamps should be used with push lock fittings in high-pressure applications, extreme temperature or vibration conditions, and when dealing with aging or worn hoses to ensure a secure connection.
How can I maintain and inspect push lock fittings?
Regularly inspect push lock fittings for signs of wear, damage, or leaks. Check clamps for corrosion or loosening, and re-tighten them as needed. Replace any damaged hoses to maintain a secure connection.


