
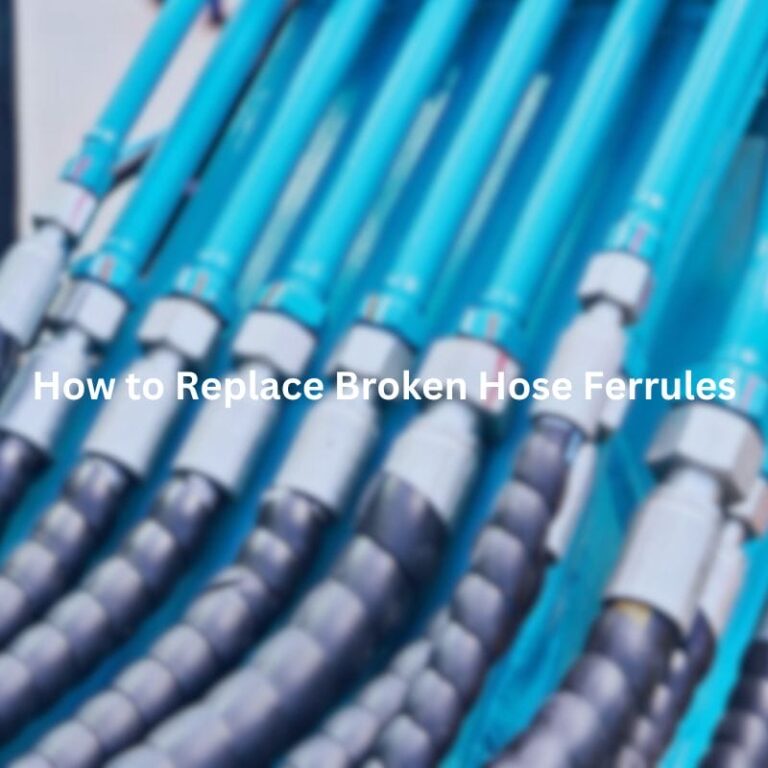
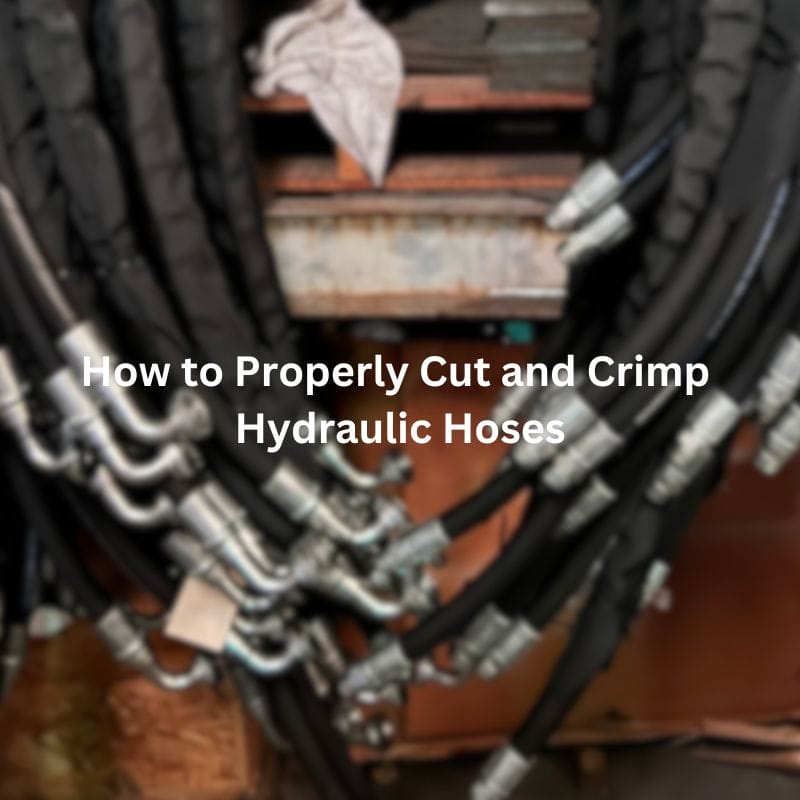
Hydraulic Hose Detail: Color Coding, Ferrules, and Skiving
Table of Contents
Introduction
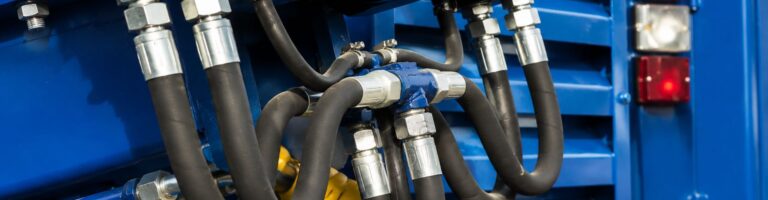
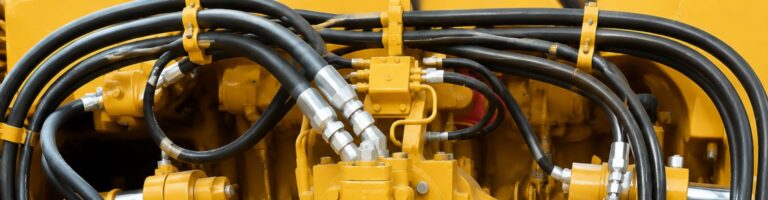
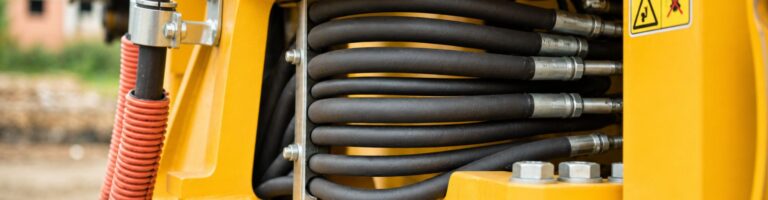
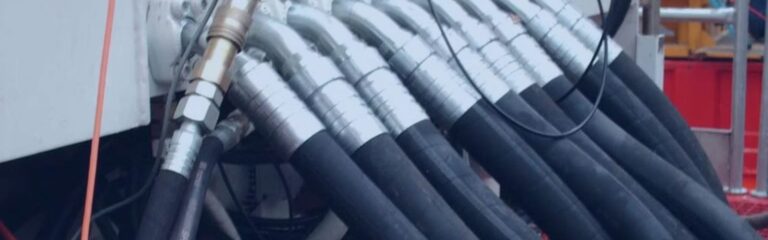
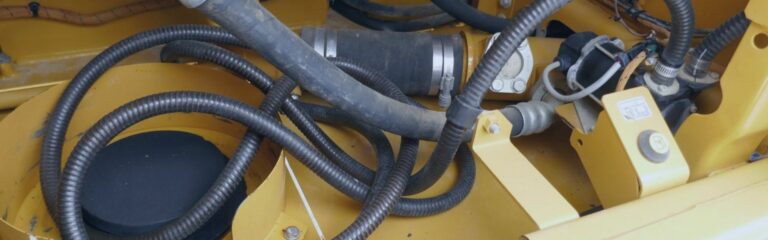
Hydraulic hoses serve as the conduits for transferring fluid power, enabling complex systems to function efficiently and reliably. However, the performance and safety of hydraulic systems hinge not just on the hoses themselves, but also on a deeper understanding of the various elements that make up these systems—such as color coding, ferrules, and skiving. In this post, we will delve into the intricacies of hydraulic hose color coding, the vital role of ferrules, and the technical process of skiving.
Understanding Hydraulic Hose Color Coding
Purpose of Color Coding
Facilitates Quick and Accurate Identification of Hoses:
Color coding serves as a visual cue that helps operators and maintenance personnel quickly identify specific hoses. This is particularly useful in complex systems where multiple hoses are used, each carrying different fluids or operating under different pressures.
Enhances Safety by Reducing the Risk of Incorrect Connections:
By clearly distinguishing between hoses, color coding reduces the likelihood of incorrect connections. This is vital in preventing cross-contamination of fluids or accidental connection to a high-pressure line, both of which could lead to system failure or safety hazards.

Common Industry Standards
Overview of Standard Color Codes Used in the Industry:
The hydraulic industry typically follows standardized color codes to maintain consistency and ensure that hoses can be easily identified across different systems and applications. For example:
Red: Often used to indicate high-pressure lines.
Blue: Typically denotes low-pressure return lines.
Yellow: This may be used for fluid lines carrying specific types of oil or hydraulic fluid.
Explanation of What Each Color Typically Represents:
Each color within the coding system usually corresponds to a particular characteristic of the hose, such as:
Pressure Rating: Color coding helps identify hoses that are rated for specific pressure ranges, ensuring they are used correctly in high or low-pressure applications.
Fluid Type: Different colors might indicate the type of fluid carried by the hose, such as hydraulic oil, coolant, or air, helping to prevent cross-contamination and ensure the proper fluid is used for the right application.
Benefits of Implementing Color Coding
Improves Workflow Efficiency:
Color coding allows for faster hose identification, reducing the time needed for installation, inspection, and maintenance. This leads to more efficient workflows, especially in environments where quick turnaround is essential.
Minimizes Downtime by Reducing Connection Errors:
By minimizing the chances of incorrect connections, color coding reduces the likelihood of errors that could lead to system malfunctions or failures. This, in turn, helps to keep machinery running smoothly and minimizes costly downtime.
Enhances Maintenance Procedures:
Maintenance crews can quickly identify which hoses need to be checked, replaced, or maintained based on the color coding, streamlining the maintenance process and ensuring that the right hoses are serviced at the right time.
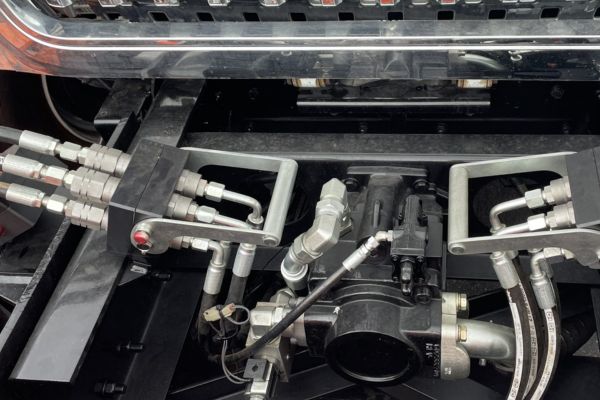
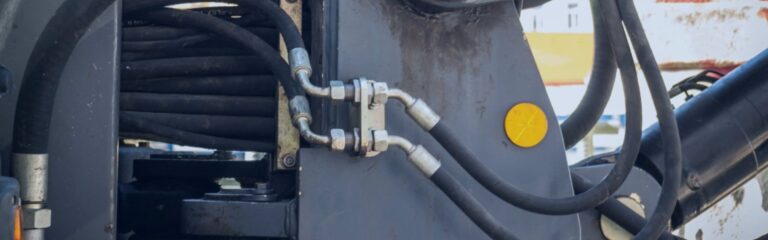
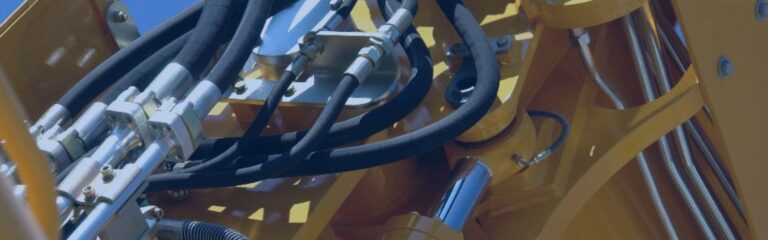
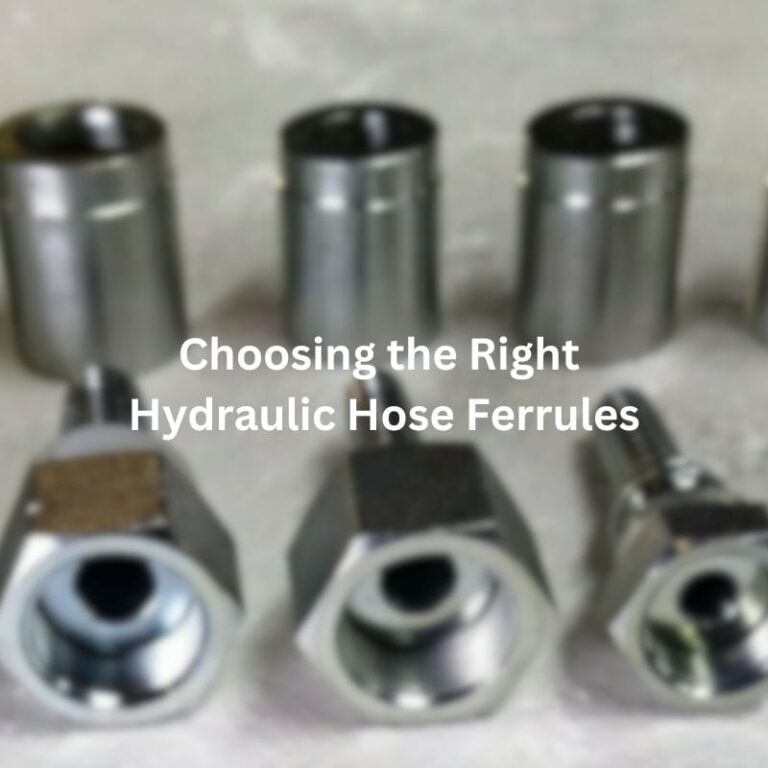
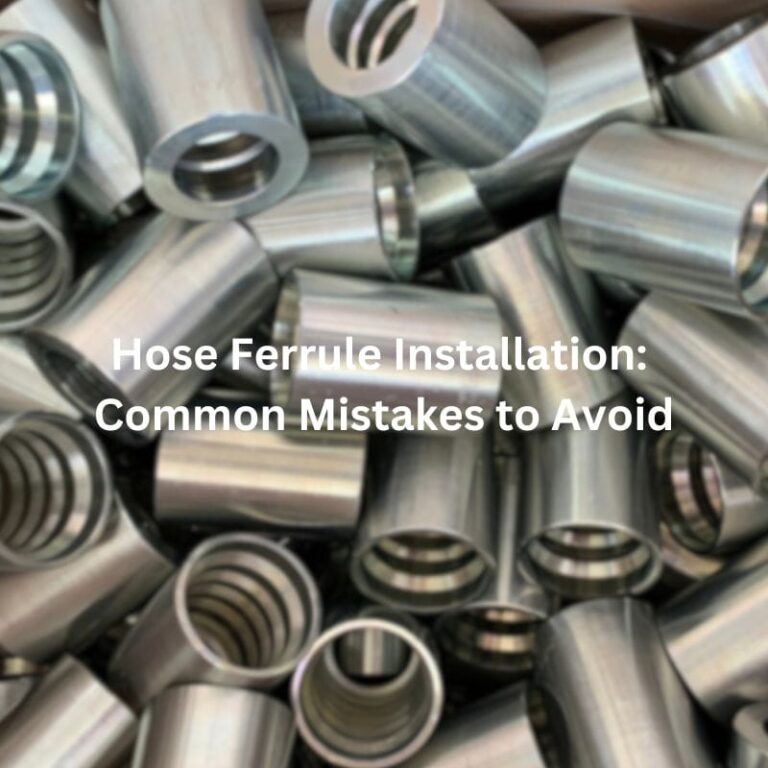
Ferrules in Hydraulic Hose Assemblies
Definition and Function of Ferrules
Explanation of What Ferrules Are and Their Role in Hose Assemblies:
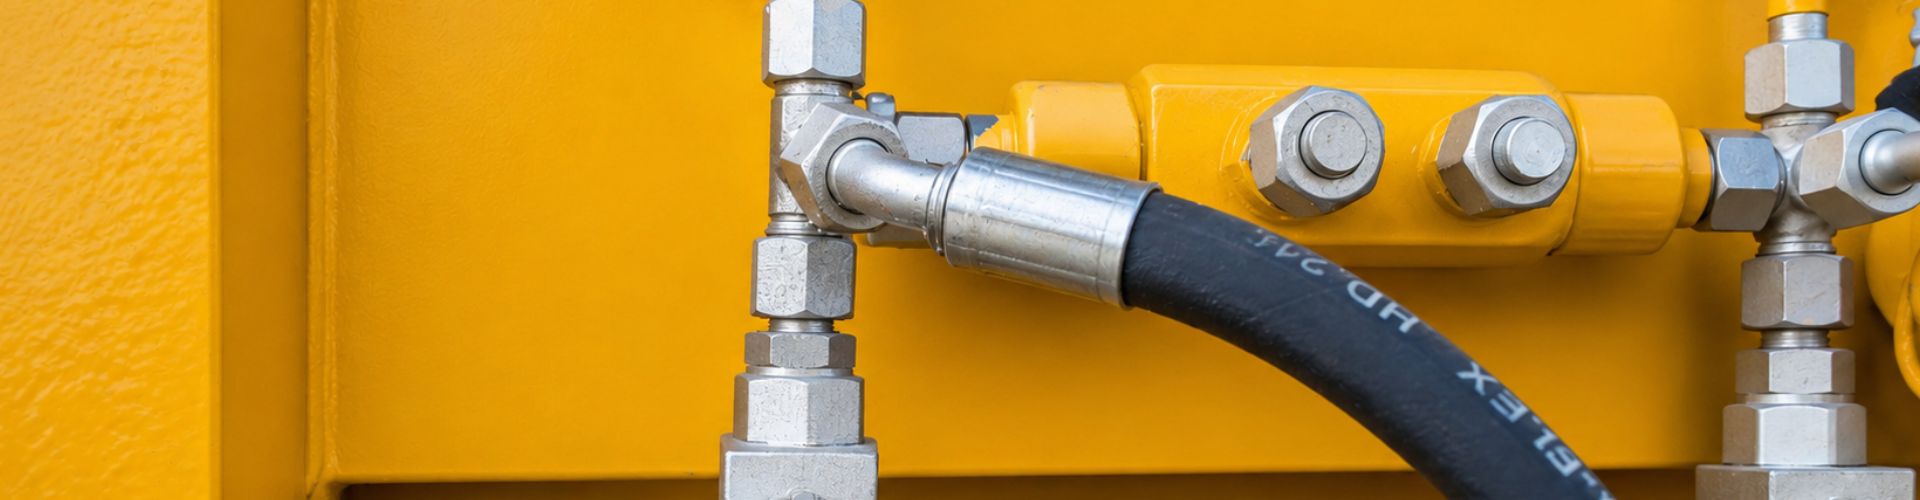
Ferrules are metallic or non-metallic rings or sleeves that are placed over the end of a hose before it is attached to a fitting. Their primary role is to provide a secure and tight seal between the hose and the fitting, preventing leaks and ensuring the integrity of the hydraulic system.
Importance of Ferrules in Securing the Hose to the Fitting:
Ferrules play a critical role in the hydraulic hose assembly by ensuring that the hose remains securely attached to the fitting under high pressure. Without a properly installed ferrule, the hose could detach from the fitting, leading to system failure and potential safety hazards.
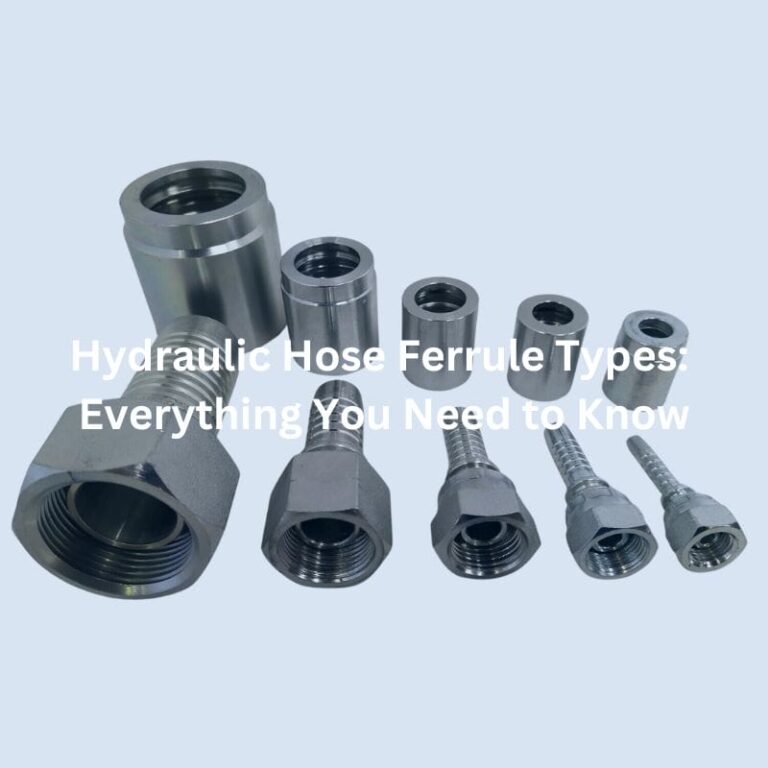
Types of Ferrules
Overview of Different Types of Ferrules:
Standard Ferrules: Typically used in most hydraulic applications, these ferrules are designed to provide a secure fit for hoses of various sizes.
Crimped Ferrules: These are specifically designed to be crimped onto the hose using specialized tools. Crimped ferrules offer a permanent, high-pressure connection that is often preferred in industrial settings.
Reusable Ferrules: These ferrules can be detached and reused if the hose needs to be replaced. They are often used in situations where frequent maintenance or hose replacement is expected.
Comparison of Materials Used for Ferrules:
Stainless Steel Ferrules: Known for their durability and resistance to corrosion, stainless steel ferrules are ideal for harsh environments or applications involving corrosive fluids.
Brass Ferrules: Brass ferrules are often used for lower-pressure applications or where corrosion resistance is less of a concern. They are easier to work with but may not offer the same level of durability as stainless steel.

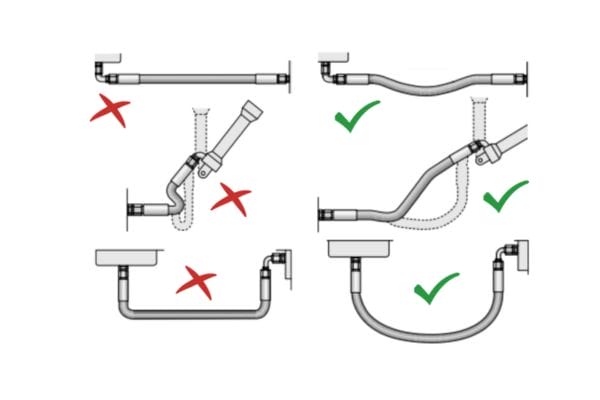
Installation Process
Step-by-Step Guide to Installing Ferrules on Hydraulic Hoses:
Preparation: Select the appropriate ferrule size for the hose and fitting. Ensure that the hose end is clean and cut squarely.
Positioning the Ferrule: Slide the ferrule onto the hose, ensuring it is positioned correctly for crimping or securing to the fitting.
Crimping or Securing: Use the appropriate crimping tool or technique to secure the ferrule onto the hose. For crimped ferrules, follow the manufacturer’s specifications for pressure and crimping depth.
Final Inspection: Check the connection for any signs of improper sealing or misalignment. Ensure that the ferrule is securely attached and that there are no visible gaps.
Best Practices for Ensuring a Secure and Leak-Free Connection:
Ensure that the correct tools and ferrules are used for the specific hose and fitting.
Always follow the manufacturer’s guidelines for crimping or securing the ferrule.
Conduct a pressure test after installation to confirm the integrity of the connection.
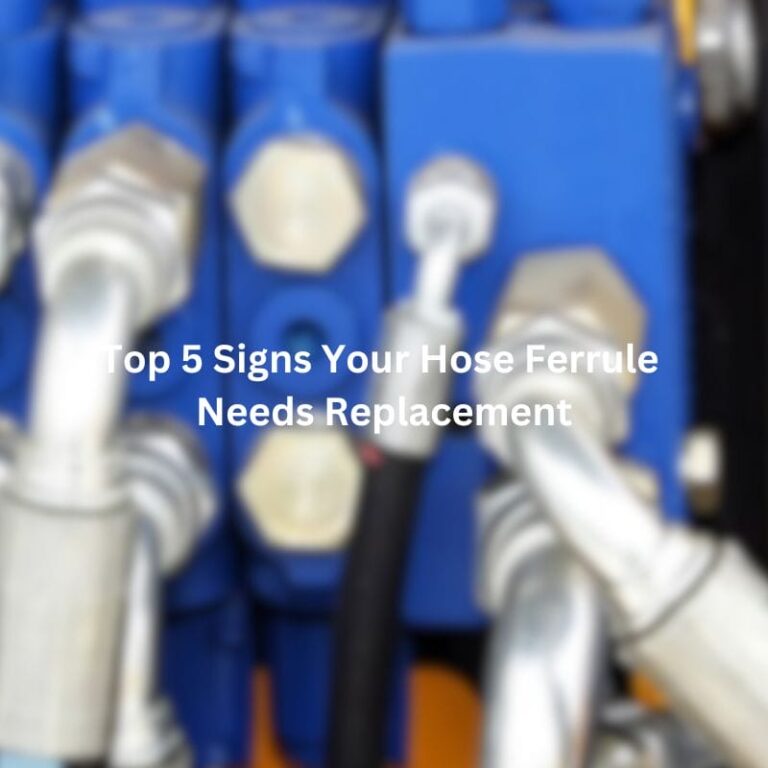
Common Issues and Troubleshooting
Typical Problems Encountered with Ferrules:
Improper Crimping: If the ferrule is not crimped correctly, it may not provide a secure seal, leading to leaks or hose detachment.
Material Compatibility Issues: Using the wrong material for the ferrule can result in corrosion, wear, or failure of the connection, especially in corrosive or high-pressure environments.
Solutions and Preventive Measures:
Proper Crimping Techniques: Ensure that crimping tools are calibrated correctly and that operators are trained in their use. Regularly inspect crimping equipment for wear or damage.
Material Selection: Choose ferrules made from materials that are compatible with the fluid being conveyed and the environmental conditions. Regularly inspect ferrules for signs of wear or corrosion and replace them as necessary.
Regular Maintenance: Implement a routine inspection and maintenance schedule to identify and address issues with ferrules before they lead to system failure.
Skiving in Hydraulic Hose Assemblies
What is Skiving?
Definition of Skiving and Its Purpose in Hydraulic Hose Assemblies:
Skiving refers to the process of removing a portion of the outer cover or inner tube of a hydraulic hose to ensure a better fit with the fitting. This process is crucial in certain hydraulic applications where a tight and secure connection is essential.
Difference Between Internal and External Skiving:
Internal Skiving: This involves removing a thin layer of the inner tube of the hose. This is typically done to accommodate fittings that require a precise fit with the hose’s interior.
External Skiving: Involves stripping away a portion of the outer cover of the hose. This allows the ferrule or fitting to grip the hose directly, providing a more secure connection in high-pressure applications.
When and Why Skiving is Necessary
Situations Where Skiving is Required (e.g., High-Pressure Applications):
Skiving is often required in high-pressure hydraulic applications where the hose must be tightly secured to prevent leaks or blow-offs. It’s particularly necessary when using certain types of fittings, such as those with a very tight tolerance that requires direct contact with the hose’s reinforcement layer.
The Benefits of Skiving for Hose and Fitting Longevity:
Enhanced Connection Strength: Skiving ensures that the fitting grips the reinforcement layer of the hose directly, providing a stronger and more reliable connection.
Reduced Risk of Hose Blow-Off: By allowing for a more secure fit, skiving reduces the risk of hose blow-off under high pressure, thereby improving safety and reducing downtime.
Improved Hose and Fitting Longevity: A properly skived hose is less likely to experience wear at the connection point, extending the life of both the hose and the fitting.

Skiving Process
Detailed Explanation of the Skiving Process:
Preparation: Begin by selecting the correct skiving tool and setting it to remove the appropriate thickness of the hose’s cover or inner tube.
External Skiving: Secure the hose in the skiving machine and carefully remove the outer cover to expose the reinforcement layer. Ensure that the skived section is smooth and even.
Internal Skiving: For internal skiving, adjust the tool to strip away the inner tube, leaving a precise and clean edge for the fitting.
Inspection: After skiving, inspect the hose to ensure that the skived area is even and that no reinforcement fibers are damaged. Clean any debris from the skived section before proceeding with the fitting installation.
Tools and Equipment Needed for Skiving:
Skiving Machines: Specialized machines designed for either internal or external skiving, available in manual or automatic versions.
Blades: High-quality, sharp blades are essential for achieving a clean and precise skive.
Measuring Tools: To ensure the correct amount of material is removed, precise measuring tools should be used to check the skived area.
Impact of Skiving on Hose Performance
How Skiving Affects the Durability and Performance of the Hose:
Enhanced Seal Integrity: By allowing for a tighter fit between the hose and the fitting, skiving improves the overall seal integrity, reducing the likelihood of leaks.
Improved Pressure Handling: A properly skived hose is better equipped to handle high pressures without failing, which is crucial in demanding hydraulic applications.
Reduced Wear and Tear: Skiving minimizes friction between the hose and fitting, reducing wear and extending the lifespan of the assembly.
The Importance of Precise Skiving in Avoiding Hose Failure:
Precision in Skiving: Inaccurate skiving can lead to improper fitting installation, which can cause leaks, hose blow-offs, or even catastrophic failure of the hydraulic system.
Consistency in Process: Maintaining consistency in the skiving process is crucial to ensure that all hoses in an assembly meet the same high standards of performance and reliability.
Integration of Color Coding, Ferrules, and Skiving
How These Elements Work Together
Explanation of How Color Coding, Ferrules, and Skiving Interact to Create a Reliable Hose Assembly:
Synergy Between the Elements: In a hydraulic hose assembly, color coding, ferrules, and skiving are not isolated practices but are interconnected processes that, when used together, enhance the reliability and functionality of the system.
Color Coding for Identification: The use of color coding in hoses allows for quick identification, ensuring that the correct hose is used in the right application. This reduces the risk of errors during installation and maintenance, which is critical for ensuring that the hose assembly operates as intended.
Ferrules for Secure Connections: Ferrules provide the mechanical strength needed to secure the hose to the fitting. When combined with proper skiving, ferrules ensure a tight seal and prevent hose blow-offs, which could otherwise lead to system failure.
Skiving for Precision Fitting: Skiving ensures that the hose’s inner or outer layers are precisely prepared to fit the ferrule and fitting perfectly. This process is especially important in high-pressure applications where any gap or misalignment could result in leaks or hose damage.
The Role of Each Component in Ensuring System Integrity
Color Coding’s Role in System Integrity:
Prevents cross-connection errors by ensuring that each hose is easily identifiable.
Helps maintenance personnel quickly identify and replace hoses, reducing downtime and preventing operational mishaps.
Ferrules’ Role in System Integrity:
Provides the necessary clamping force to keep the hose securely attached to the fitting, preventing leaks and ensuring that the hydraulic system operates at optimal pressure levels.
Enhances the durability of the hose assembly by protecting the hose end from wear and tear.
Skiving’s Role in System Integrity:
Ensures a smooth and even surface for the ferrule and fitting to grip, reducing the risk of leaks and enhancing the assembly’s ability to handle high pressures.
Prevents damage to the hose’s reinforcement layer, which is crucial for maintaining the hose’s structural integrity under stress.
Conclusion
The conclusion emphasizes the critical role of color coding, ferrules, and skiving in ensuring the reliability and safety of hydraulic hose assemblies. By implementing these practices, operators can achieve greater safety, efficiency, and longevity in their systems. The integration of these elements is not just beneficial but essential for preventing leaks, ensuring proper connections, and maintaining system integrity, especially in high-pressure environments. Readers are encouraged to adopt these practices consistently, explore additional resources, and consult with experts for tailored solutions to optimize their hydraulic systems.
FAQ
Color coding helps with the quick and accurate identification of hoses, reducing the risk of incorrect connections and enhancing safety in hydraulic systems.
Ferrules secure the hose to the fitting, preventing leaks and ensuring the reliability and durability of the hose assembly.
Skiving is the process of removing part of the hose’s cover or inner tube to ensure a better fit with the fitting. It is necessary in high-pressure applications where a secure connection is essential.
No, the material of the ferrule should be compatible with the fluid and the environmental conditions. Common materials include stainless steel for corrosion resistance and brass for lower-pressure applications.
Proper skiving enhances the hose’s ability to handle high pressure, prevents leaks, and extends the lifespan of the hose and fitting by ensuring a precise fit.
Skiving is not always necessary; it depends on the specific application and the type of fittings being used. It is typically required in high-pressure scenarios where a tight connection is critical.


