
What is a Ferrule Fitting: The Detailed Guide
What is a Ferrule Fitting: The Detailed Guide Contact Us
What is a Ferrule Fitting: The Detailed Guide Contact Us
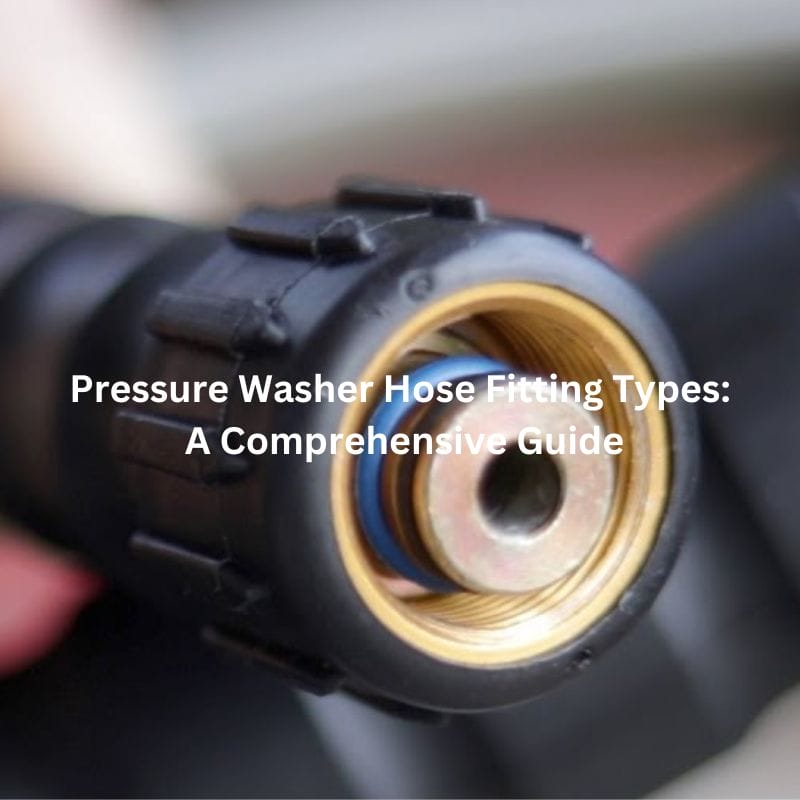
Pressure Washer Hose Fitting Types: A Comprehensive Guide Contact Us
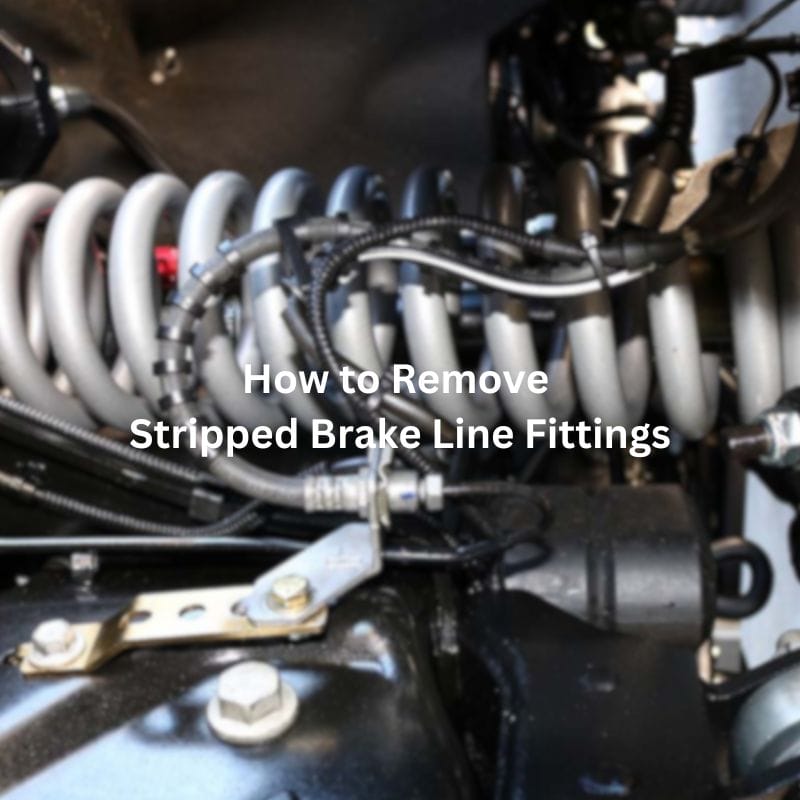
How to Remove Stripped Brake Line Fittings Contact Us Table
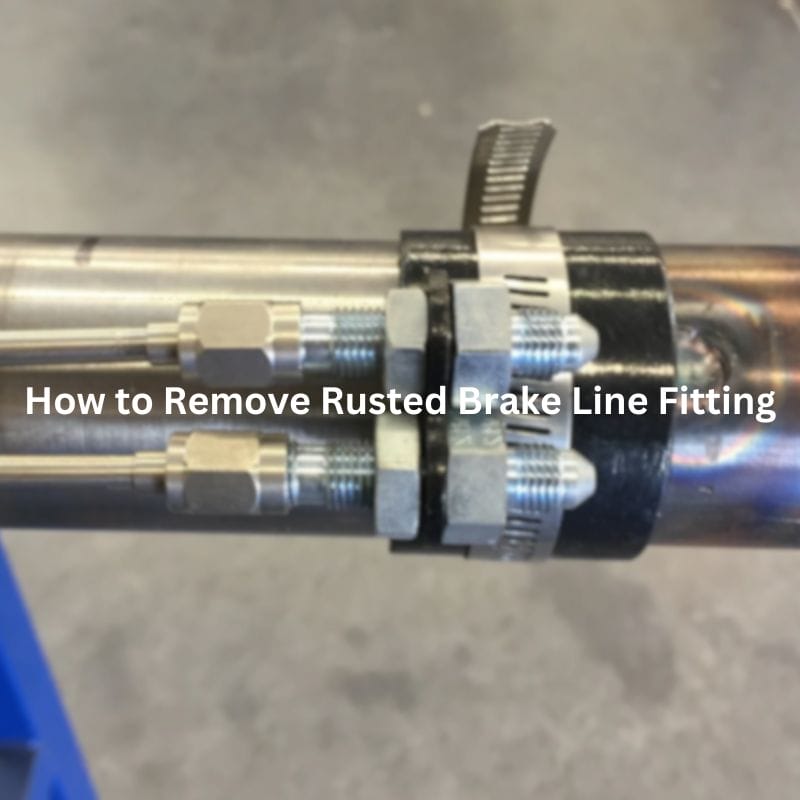
How to Remove Rusted Brake Line Fitting Contact Us Table
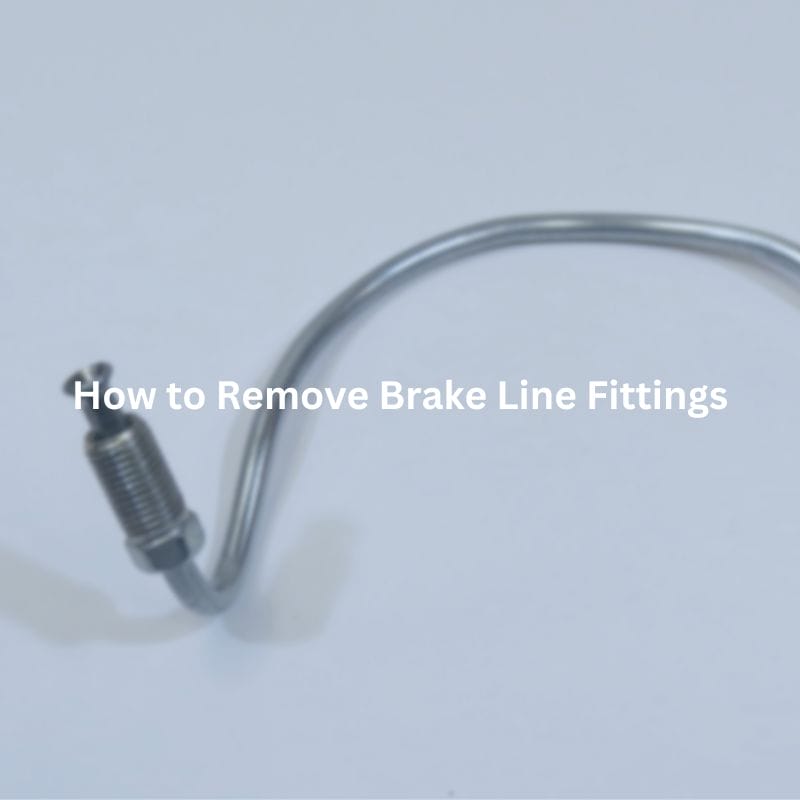
How to Remove Brake Line Fittings Table of Contents Introduction
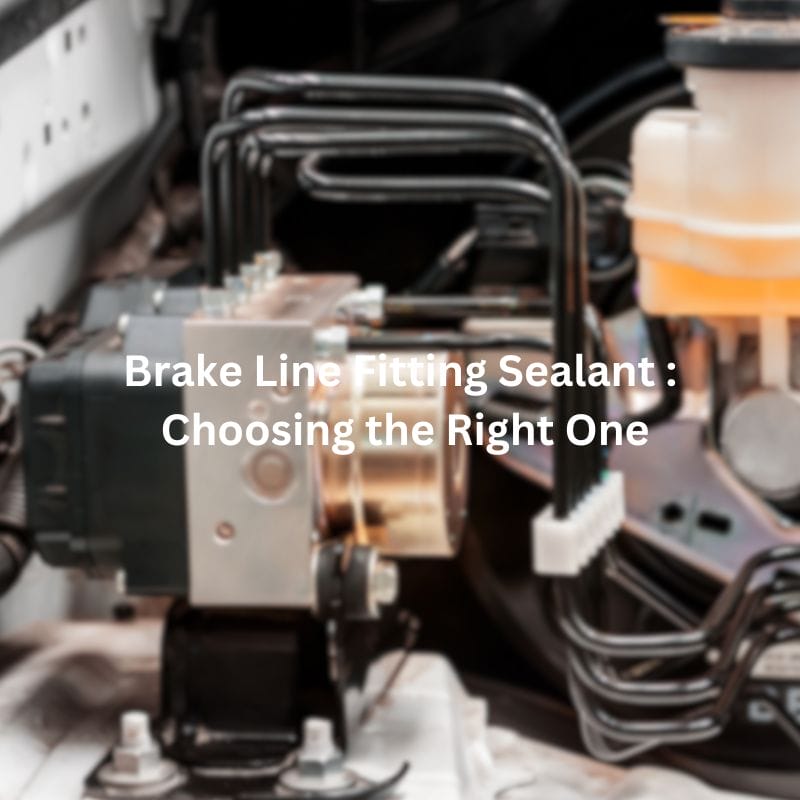
Brake Line Fitting Sealant: Choosing the Right One Contact Us
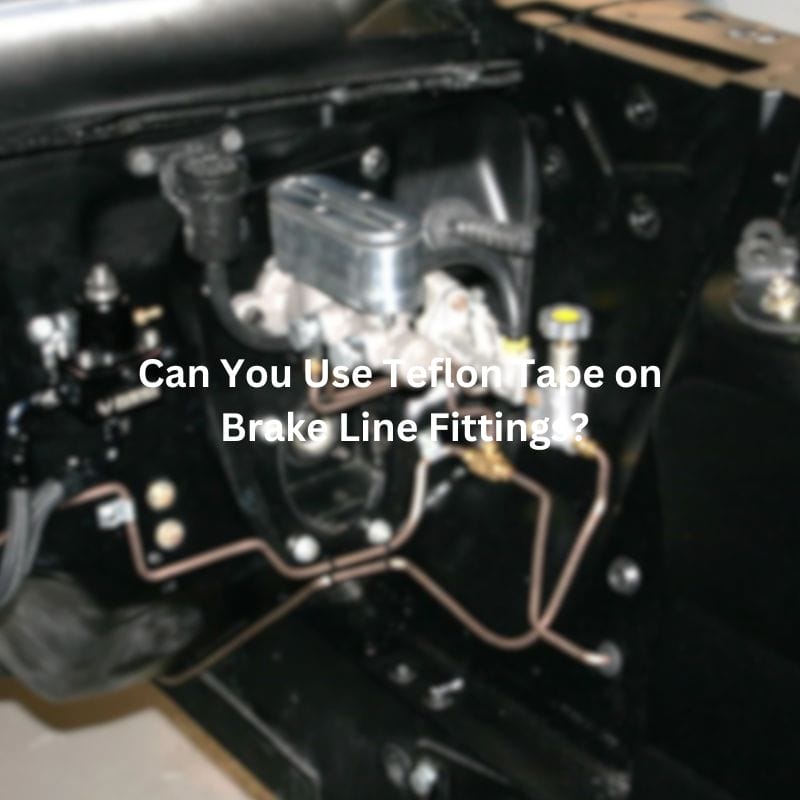
Can You Use Teflon Tape on Brake Line Fittings? Contact
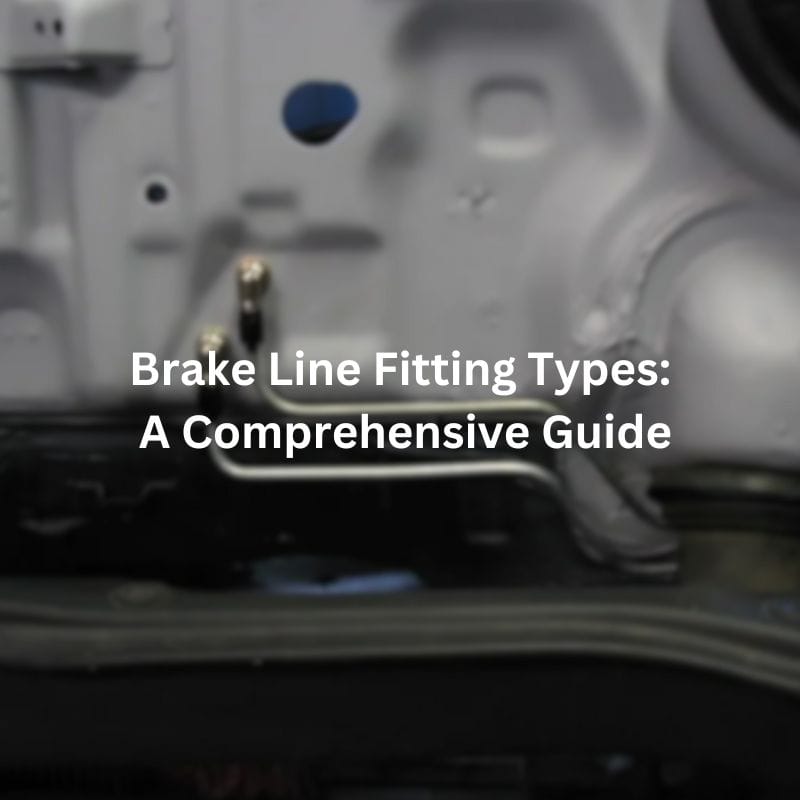
Brake Line Fitting Types: A Comprehensive Guide Table of Contents

Brake Line Fitting Repair: A Step-by-Step Guide Contact Us Table

Stop Brake Line Leaking at Fitting with These Simple Steps