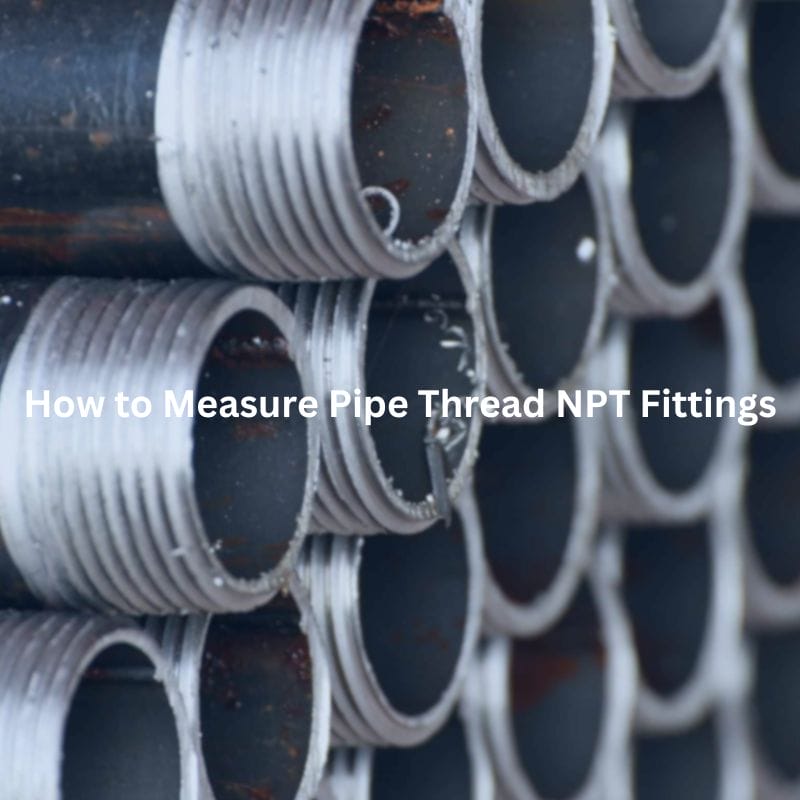
How to Measure Pipe Thread NPT Fittings
How to Measure Pipe Thread NPT Fittings Contact Us Table
How to Measure Pipe Thread NPT Fittings Contact Us Table
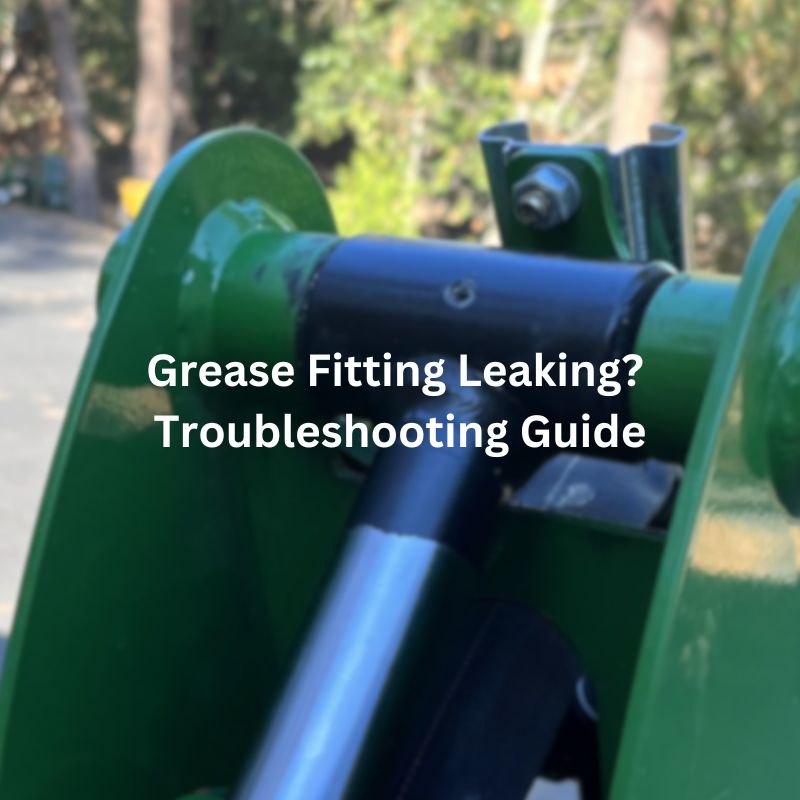
Grease Fitting Leaking? Troubleshooting Guide Contact Us Table of Contents
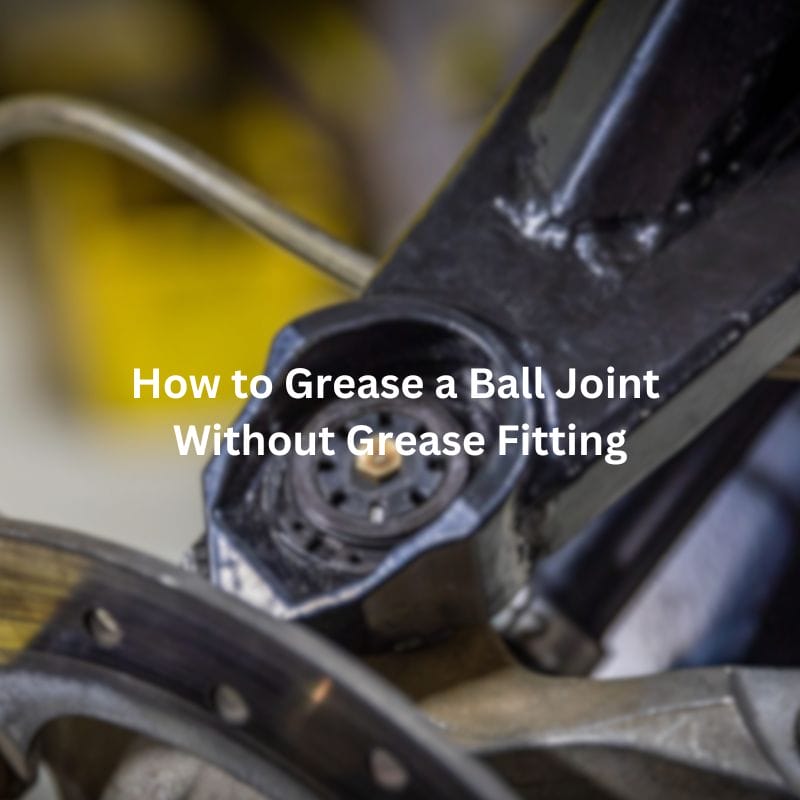
How to Grease a Ball Joint Without Grease Fitting Contact
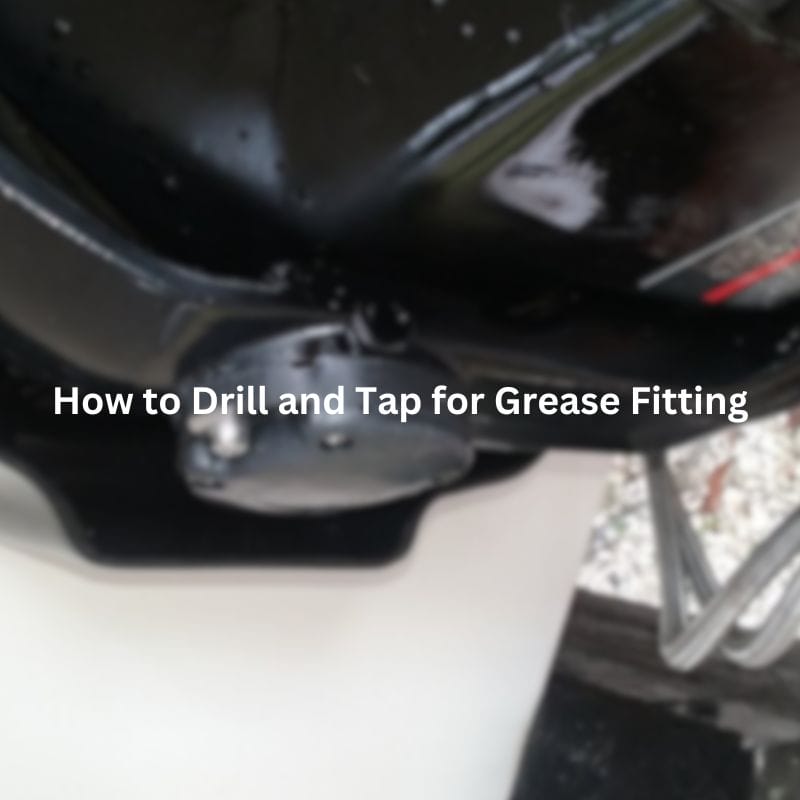
How to Drill and Tap for Grease Fitting Contact Us
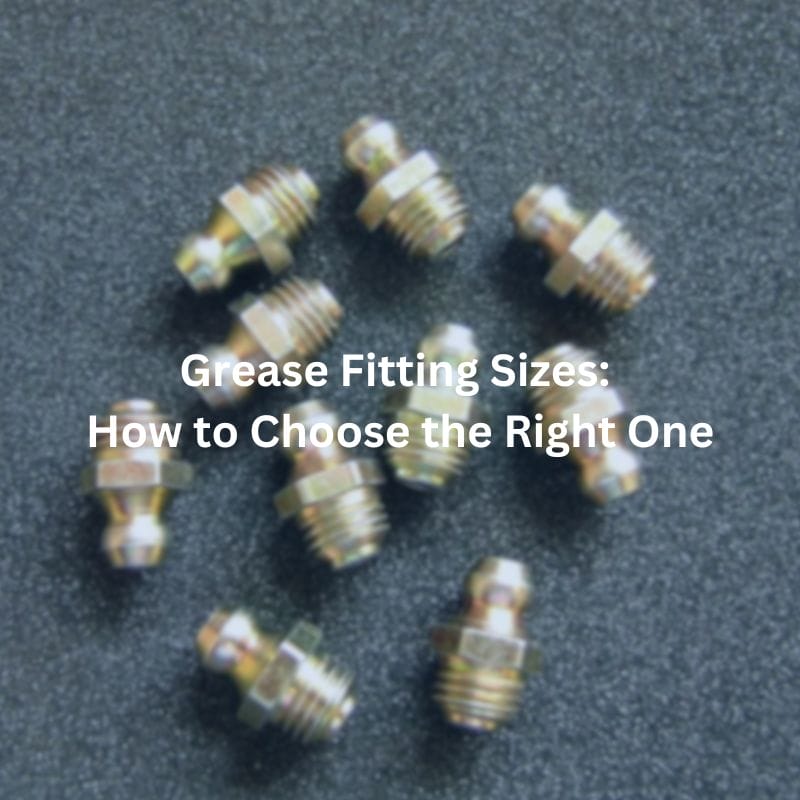
Grease Fitting Sizes: How to Choose the Right One Contact
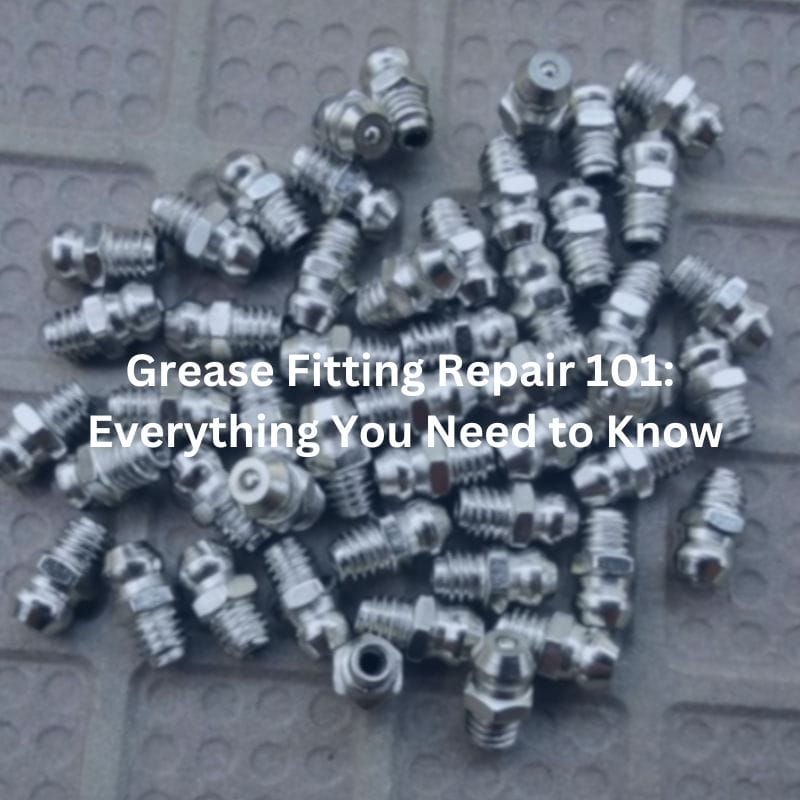
Grease Fitting Repair 101: Everything You Need to Know Introduction
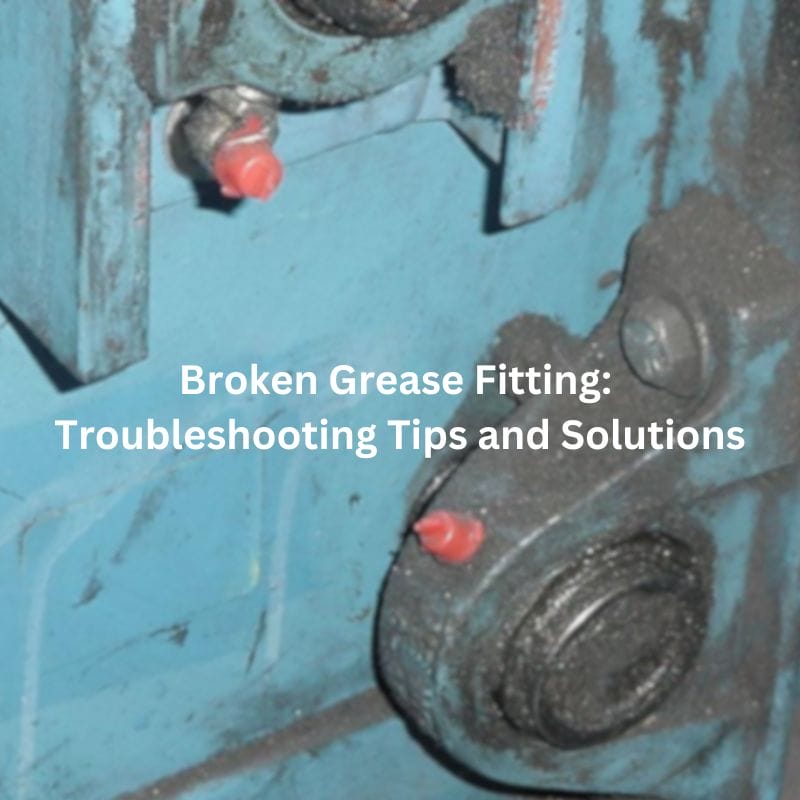
Broken Grease Fitting: Troubleshooting Tips and Solutions Contact Us Table
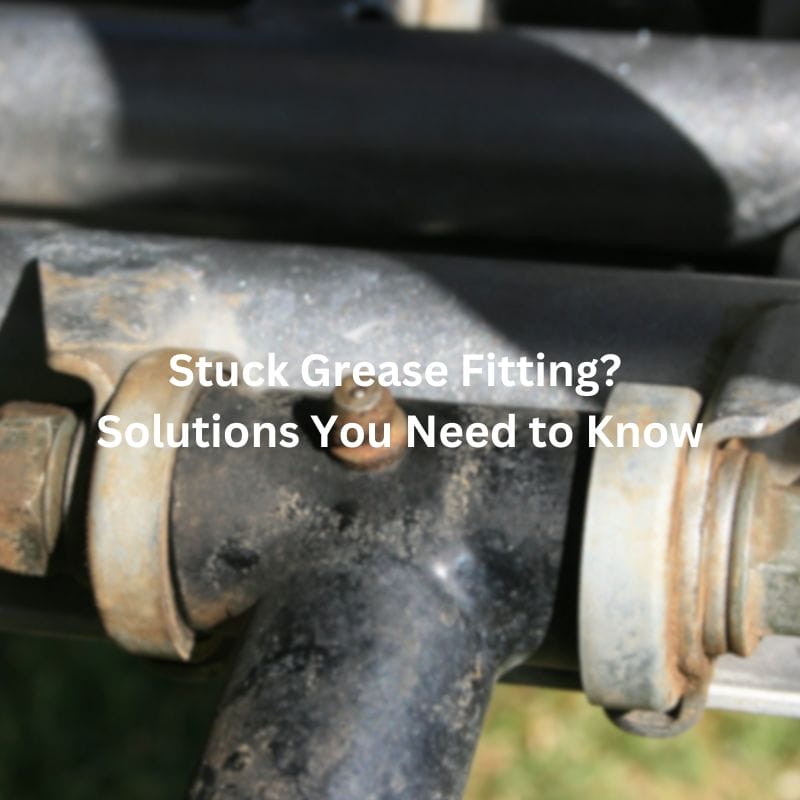
Stuck Grease Fitting? Solutions You Need to Know Contact Us
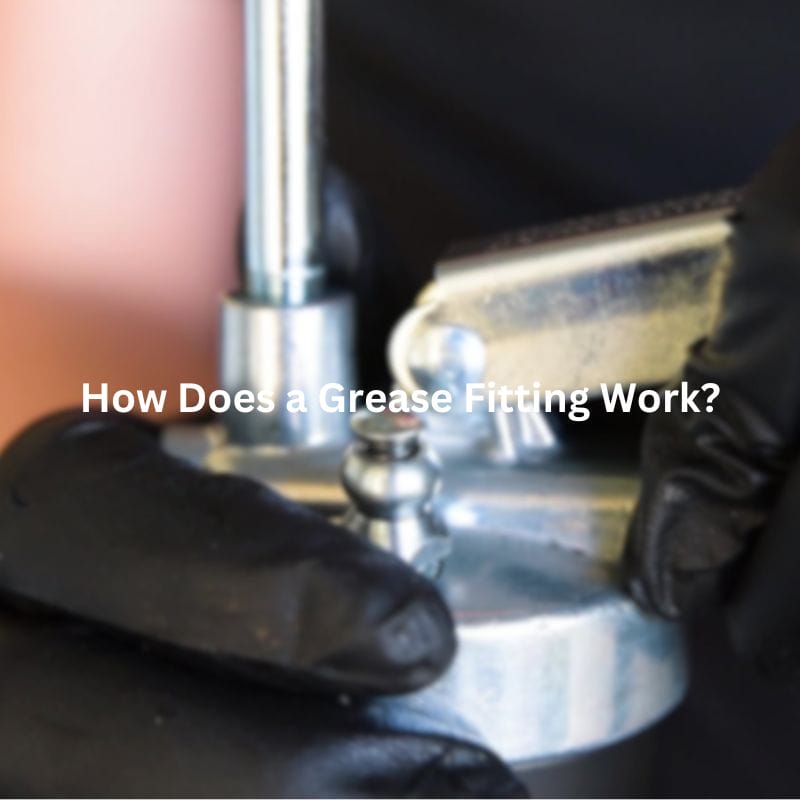
How Does a Grease Fitting Work? Contact Us Introduction Did