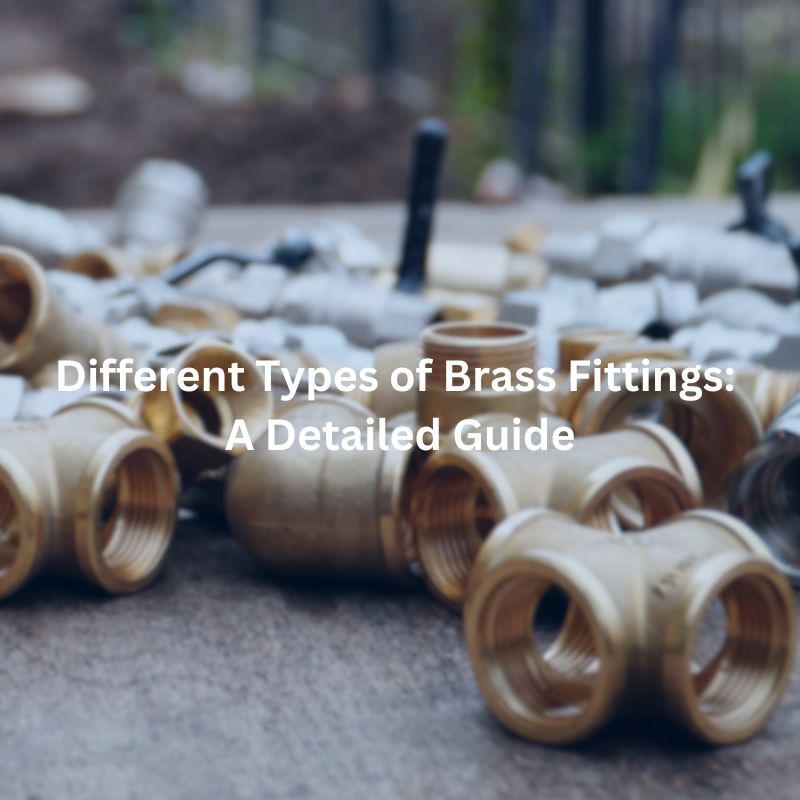
Different Types of Brass Fittings: A Detailed Guide
Different Types of Brass Fittings: A Detailed Guide Contact Us
Different Types of Brass Fittings: A Detailed Guide Contact Us


What Does JIC Mean in Hydraulic Fittings? Table of Contents

How to Solder Copper Pipe to Brass Fitting Contact Us

JIC Fitting Measurements: Basic Tips and Errors Contact Us Table

Different Flare Fitting Types: A Comprehensive Overview Contact Us Table

JIC Fitting Specifications: What You Need to Know Contact Us

37 Degree Flare vs 45 Degree Flare: Key Differences Contact

How to Seal BSP Fittings? Introduction Leaks can cause inefficiencies,